How to Use Sublimation Sticker Paper Step by Step (Without Ruining Sheets)
I still remember the first time I tried sublimation sticker paper and watched a perfect design turn dull and useless after pressing. That little mistake sent me down a rabbit hole of testing temps, pressure, cutting, and sealing until it finally clicked why some sublimation stickers work and others don’t.
If you’re trying sublimation sticker paper for the first time or you’ve had mixed results, this guide walks you through the full process step by step.
In this guide, you’ll learn:
- How to prepare designs for sublimation sticker paper
- Recommended heat press temperatures and press times
- How to cut sublimation stickers cleanly
- When and how to waterproof your stickers for durability
If you want professional-looking sublimation stickers without trial and error, this guide walks you through the full process from start to finish.
What You Need Before You Start
Before you open your design software or turn on the heat press, make sure your setup is ready. Sublimation stickers are simple once you dial things in, but missing one piece can throw everything off. If you’re brand new, it helps to skim a full overview of how to sublimate stickers at home so the workflow makes sense from start to finish.
Required Materials
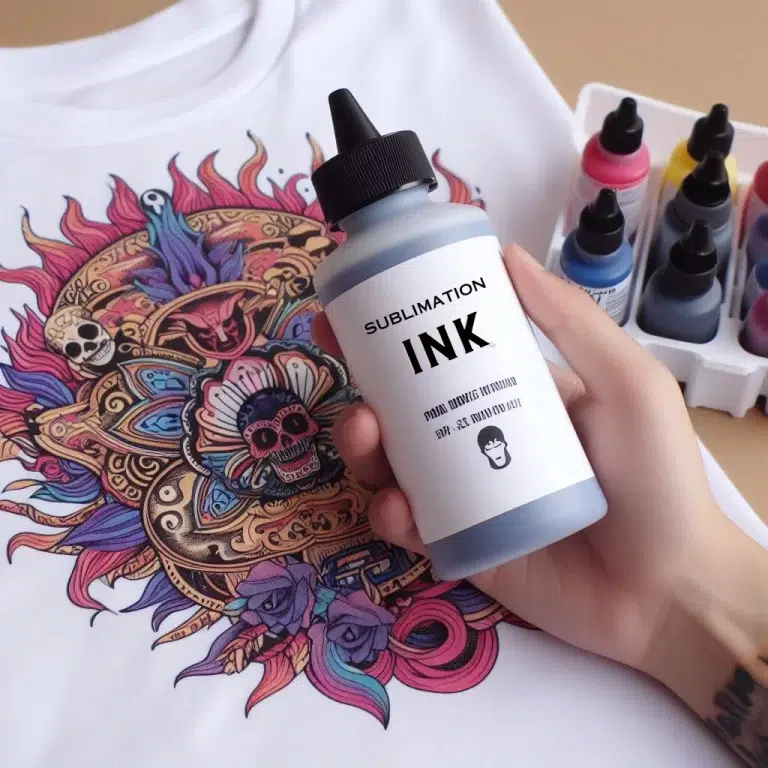
➡️ Sublimation printer with sublimation ink
➡️ Sublimation sticker paper
➡️ Heat press
➡️ Protective paper like butcher or parchment paper
➡️ Heat-resistant tape
➡️ Cutting tool, Cricut, Silhouette, or scissors
These are non-negotiable. Regular ink or regular sticker paper won’t give you the same results, even if it looks okay at first.
Optional Tools
➡️ Laminating sheets or waterproof spray
➡️ Cutting mat
➡️ Color calibration or ICC profile
Optional doesn’t mean useless. These tools help with durability, cleaner cuts, and better color accuracy, especially if you plan to sell stickers.
Step 1 – Design Your Stickers
Design is where most sticker problems actually start. Not at the heat press. Not at cutting. If the file isn’t set up right, sublimation will expose every weakness.
Choose the Right Canvas Size
Start with the actual sticker size you want, not a full letter page unless you’re doing a sheet.
Common sizes people use:
➡️ 2 × 2 inches
➡️ 3 × 3 inches
➡️ 2 × 3 inches
Leave space between designs for cutting, and add a small bleed so you don’t end up with white edges after trimming.
Design Tips for Sublimation Stickers
Sublimation ink is transparent, so it needs color to show.
➡️ Use bold, saturated colors
➡️ Avoid white areas, they’ll turn clear or blend into the paper
➡️ Stick to 300 DPI so edges stay sharp
If you’re unsure whether sublimation ink even works on sticker paper, this breakdown on using sublimation ink on sticker paper clears up a lot of confusion.
Mirroring Your Design (When Needed)
Mirror only if the paper manufacturer tells you to.
➡️ Mirror when sublimating onto a coating that transfers ink off the paper
➡️ Don’t mirror if the sticker paper is designed for face-up pressing
Always check the paper instructions. Guessing here leads to backwards text.
Step 2 – Print on Sublimation Sticker Paper
Printing is where color accuracy lives or dies. Small setting changes make a big difference.
Printer Settings to Use
Keep things simple.
➡️ Paper type set to plain or premium presentation
➡️ Print quality on high
➡️ Turn off color correction if you’re using an ICC profile
If your colors look dull later, this is usually the reason.
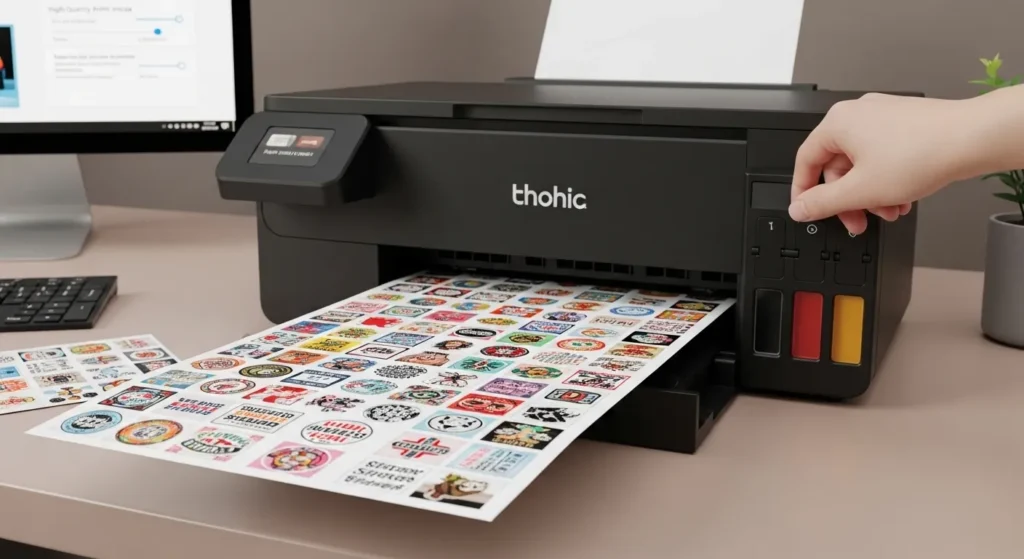
Loading Sublimation Sticker Paper Correctly
Most sublimation sticker papers have a printable side and a backing side.
➡️ Check for arrows or markings
➡️ Do a small test print if you’re unsure
➡️ Load one sheet at a time to avoid jams
Misfeeds cause smudging and wasted paper fast.
Drying Time Before Pressing
Don’t rush this.
➡️ Let prints dry at least 10 to 15 minutes
➡️ Longer if humidity is high
Wet ink plus heat equals blur and ghosting.
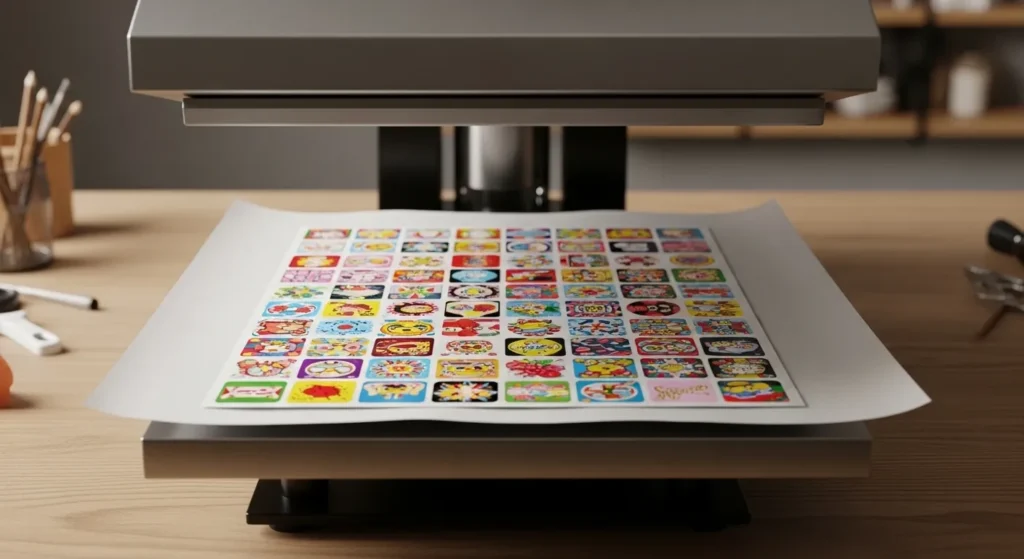
Step 3 – Heat Press Sublimation Sticker Paper
This is the step everyone cares about, and it’s where precision matters most. The paper you use also matters a lot, so it’s worth understanding how sublimation sticker paper is built and why it behaves differently under heat.
Recommended Heat Press Temperature
Most sublimation sticker paper works in this range:
➡️ 385°F to 400°F
➡️ 195°C to 205°C
Too hot and you scorch the coating. Too cool and colors won’t fully transfer.
Recommended Press Time
➡️ 30 to 45 seconds is typical
➡️ Thicker papers may need a few extra seconds
Always adjust in small increments. Big jumps cause damage fast.
Pressure Settings
Use light to medium pressure.
➡️ Too much pressure pushes ink sideways
➡️ Too little pressure causes uneven color
A lot of ghosting issues are pressure-related, not time-related.
Pressing Setup
Layer order matters.
➡️ Heat press platen
➡️ Protective paper
➡️ Sticker paper (printed side up or down based on instructions)
➡️ Protective paper on top
Tape edges lightly so nothing shifts when the press closes.
Step 4 – Cooling and Peeling
What you do after pressing affects how long the sticker lasts.
Cooling Time After Pressing
Let the sheet cool flat.
➡️ Cooling helps the coating set
➡️ Peeling too fast can cause haze or smearing
A couple of minutes is usually enough.
How to Handle the Sticker Sheet
Peel gently and evenly.
➡️ Don’t bend the sheet while hot
➡️ Avoid sliding it across surfaces
Handling mistakes here undo a perfect press.
Step 5 – Cut Your Sublimation Stickers
Once the transfer is locked in, it’s time to cut.
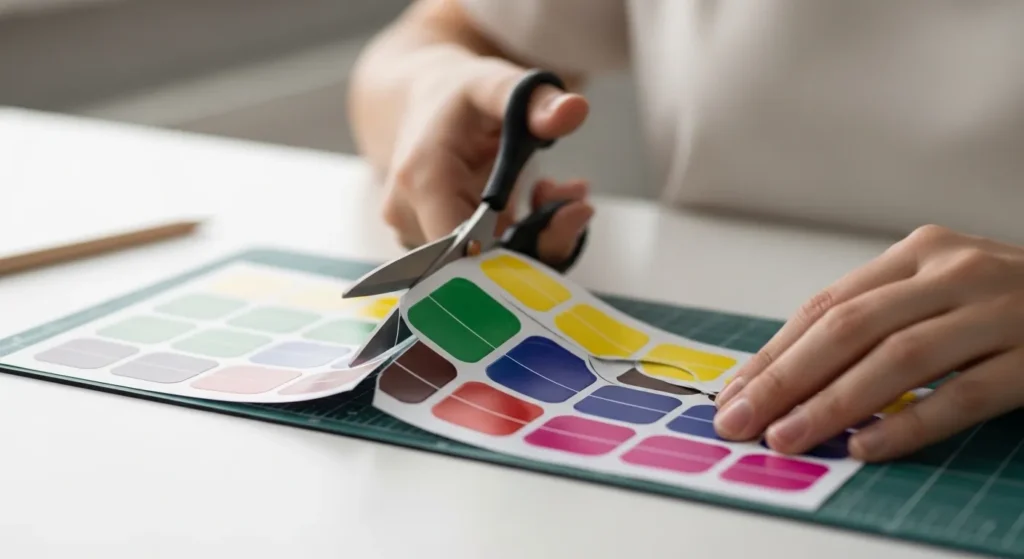
Cutting by Hand
Hand cutting works fine for small batches.
➡️ Use sharp scissors or a craft knife
➡️ Cut slowly to avoid jagged edges
It’s slower, but great for testing designs.
Cutting with Cricut or Cutting Machines
For larger runs, machines save time.
➡️ Use print-then-cut mode
➡️ Start with light pressure settings
➡️ Adjust blade depth if edges tear
If your cuts aren’t clean, it might be a printer issue, not the blade. Choosing the right printer matters, and this guide on the best printer for stickers helps narrow things down.
Step 6 – Waterproof and Protect Your Stickers
This is where most people get disappointed if they skip steps.
Are Sublimation Stickers Waterproof on Their Own?
Short answer, not fully.
➡️ Sublimation resists fading
➡️ It does not seal against water or abrasion
Without protection, stickers are best for indoor use.
Waterproofing Options
Two common methods work well.
➡️ Clear laminate sheets for maximum durability
➡️ Waterproof spray sealants for a thinner finish
Test first. Some sprays can dull colors.
When Waterproofing Is Necessary
➡️ Outdoor use
➡️ Water bottles or tumblers
➡️ High-touch surfaces like laptops
If the sticker will get wet or rubbed often, seal it.
Common Mistakes When Using Sublimation Sticker Paper
Most issues trace back to setup, not bad materials.
Faded or Dull Colors
➡️ Low heat
➡️ Wrong printer settings
➡️ No ICC profile
Fix those before changing paper.
Poor Adhesion
➡️ Dirty surfaces
➡️ Skipping waterproofing
Sublimation doesn’t fix surface prep problems.
Smudging or Ghosting
➡️ Moving paper during pressing
➡️ Pressing while ink is still wet
Slow down and secure everything.
Tips for Long-Lasting Sublimation Stickers
A little care goes a long way.
➡️ Apply stickers to clean, dry surfaces
➡️ Avoid harsh cleaners
➡️ Store unused sheets flat and away from humidity
Stickers fail faster from handling than from printing.

If you want to go deeper, check out the full breakdown of sublimation sticker paper and make sure your printer setup is solid before scaling up.
Frequently Asked Questions
Do I need a special printer?
Yes, you need a printer converted for or designed for sublimation ink.
Can I use regular sticker paper?
No, regular sticker paper isn’t coated for sublimation and won’t hold ink properly.
Can I sublimate on vinyl sticker paper?
Not directly. Vinyl needs special coatings or transfer methods.
How long do sublimation stickers last?
Indoors, several years. Outdoors, much longer with proper waterproofing.