Sublimation Setup for T-Shirts: Equipment, Settings, and Fabric Guide

A design that looks sharp on screen and comes out faded, shifted, or blurry on the shirt usually isn’t a design problem. It’s a setup problem.
Shirt sublimation has more moving parts than people expect: fabric content, placement, pressure, and timing all have to line up, and getting one of them wrong shows up immediately on the finished shirt.
This guide walks through exactly what you need, how to lay out your design correctly, and the settings that actually work, so your first shirt looks as good as the file on your screen.
What You Need to Sublimate T-Shirts
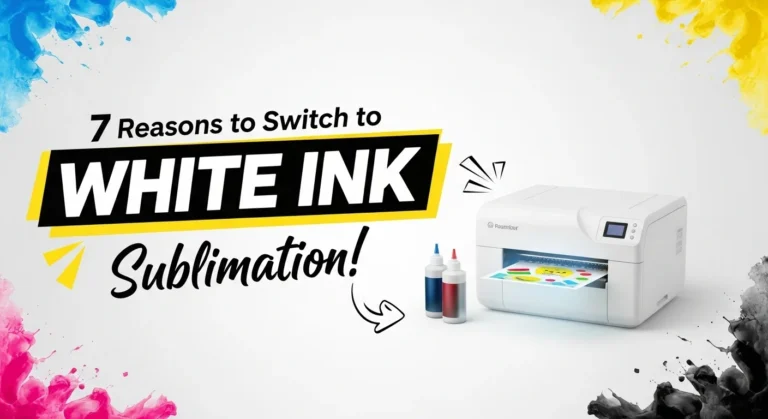
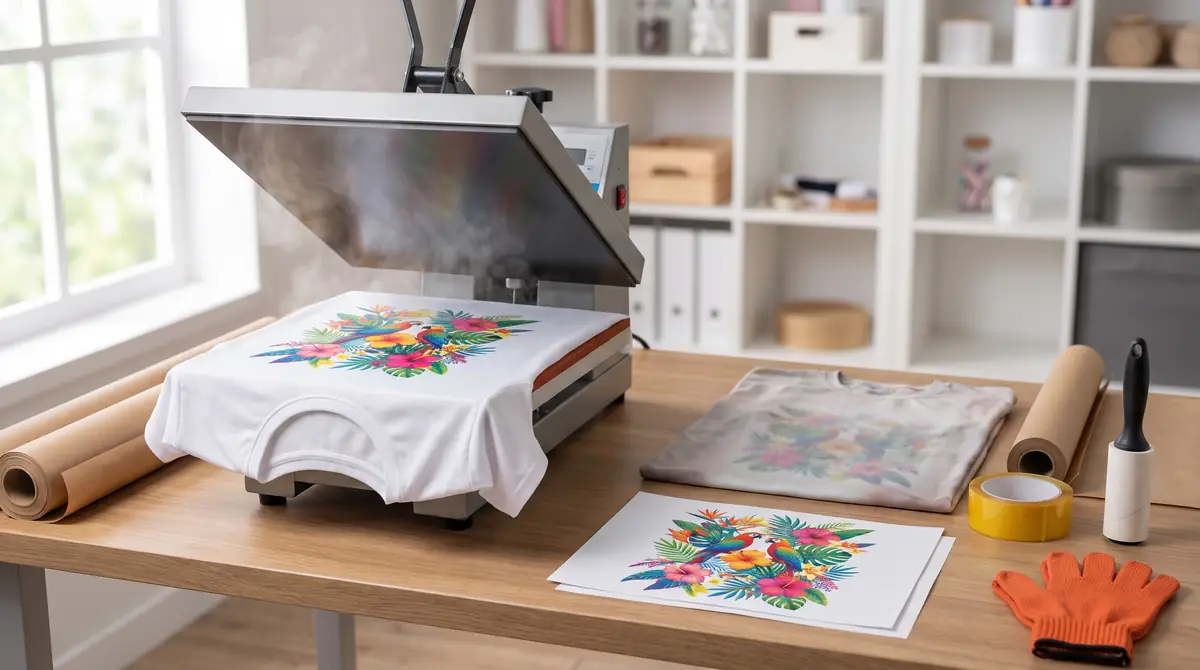
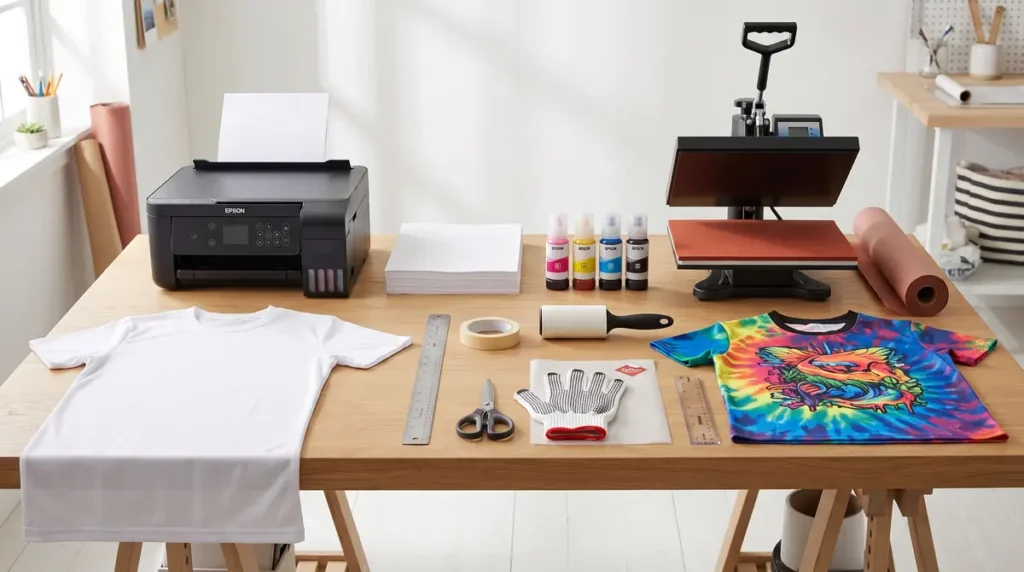
To sublimate a t-shirt, you need a sublimation printer loaded with sublimation ink, sublimation transfer paper, a heat press, a polyester or high-poly-blend shirt, heat-resistant tape, and a protective sheet to cover the design during pressing.
A lint roller is worth keeping nearby too, since loose fibers on the shirt surface can cause spotty transfer.
Choosing the Right Shirt (Fabric Matters More Than People Expect)
The single biggest factor in how a sublimated shirt turns out isn’t the printer or the press. It’s the fabric. Sublimation ink bonds with polyester fibers at a molecular level, which means the shirt needs enough polyester content to hold the color.
A 100% polyester shirt gives the brightest, most saturated results, since every fiber in the fabric can accept ink. Poly-blends still work, but the color fades in proportion to the cotton content.
A 50/50 blend typically produces a noticeably softer, more muted print than a 90/10 poly-cotton blend, and pure cotton won’t hold sublimation ink at all without a special coating.
If you’re deciding between blend options, this breakdown of what shirts are best for sublimation printing covers the tradeoffs by percentage.
Equipment Checklist
Here’s the full list of what you’ll actually use for a t-shirt sublimation setup:
- Printer and sublimation ink. Either a purpose-built sublimation printer or a converted inkjet running sublimation ink.
- Sublimation paper. Standard letter or tabloid-size sheets work for most shirt designs.
- Heat press. A flat press suits shirts specifically, since the flat platen applies even pressure across the whole design area. Mug presses and tumbler attachments won’t work for apparel.
- Heat-resistant tape. Keeps the paper from shifting mid-press, which is the leading cause of ghosting and blurred edges.
- Protective or parchment sheet. Placed over the transfer paper during pressing to protect both the shirt and the press plate.
- Lint roller. A quick pass over the shirt before pressing removes loose fibers that would otherwise show up as small white specks in the finished print.
How to Layout a Sublimation T-Shirt (Placement and Alignment)
Placement is where a lot of beginners lose consistency, since a design that’s slightly off-center or crooked is obvious the moment someone puts the shirt on.
- Lay the shirt flat on your press or a prep table and smooth out any wrinkles before measuring anything.
- Find the horizontal center by folding the shirt in half vertically and creasing lightly, or by measuring from both shoulder seams to the middle.
- Measure down from the collar. For adult sizes, 2 to 3 inches below the collar seam is a standard starting point for a chest-level design. Adjust based on the size of your artwork.
- Use a T-shirt ruler or placement guide if you’re producing shirts regularly. A dedicated ruler with center and collar-drop markings removes the guesswork and keeps every shirt consistent.
- Account for the collar and seams. Keep your design at least an inch clear of the collar band and side seams, since pressing directly over a seam creates uneven pressure and a weaker transfer at that spot.
- Smooth the shirt flat on the press one more time immediately before placing the transfer paper. Any wrinkle under the paper becomes a permanent crease or blank spot in the final print.
Sublimation T-Shirt Workflow (From Print to Press)
- Design and mirror your artwork. Sublimation prints transfer as a mirror image, so flip the design horizontally before printing.
- Print on sublimation paper using your printer’s sublimation settings and the correct ICC color profile.
- Pre-press the shirt for 5 to 10 seconds with no paper. This removes surface moisture and wrinkles that would otherwise interfere with the transfer.
- Position the transfer using the layout method above, then secure it in place with heat-resistant tape on at least two sides.
- Cover with a protective sheet and press using the settings below.
- Peel the paper while the shirt is still warm. Waiting until it’s fully cool can cause the paper to stick.
- Let the shirt cool completely before folding, packaging, or wearing it.
If you want a deeper look at how time, temperature, and pressure interact across different sublimation projects, this sublimation heat guide covers the underlying settings logic in more detail.
Heat Press Settings You’ll Use
| Setting | Typical Range | Notes |
|---|---|---|
| Temperature | 380–400°F (193–204°C) | Higher end for 100% polyester, lower end for blends |
| Time | 45–60 seconds | Longer times risk scorching, shorter times risk incomplete transfer |
| Pressure | Medium to firm | Light pressure is one of the most common causes of faded or patchy results |
These ranges work as a reliable starting point, but every press runs slightly differently, and blends behave differently than 100% polyester.
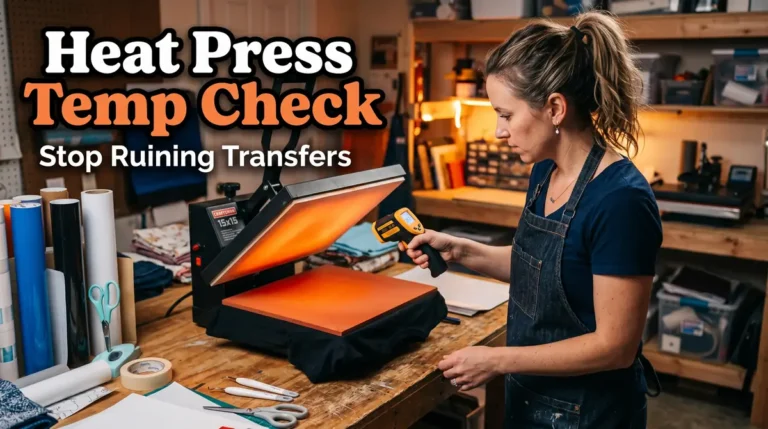
If your prints are coming out inconsistent even with these settings, it’s worth confirming your press is actually holding the temperature it displays.
This guide on setting up a heat press for sublimation covers pressure calibration in more depth, and checking your heat press temperature walks through how to verify accuracy.
Common Beginner Issues to Watch For
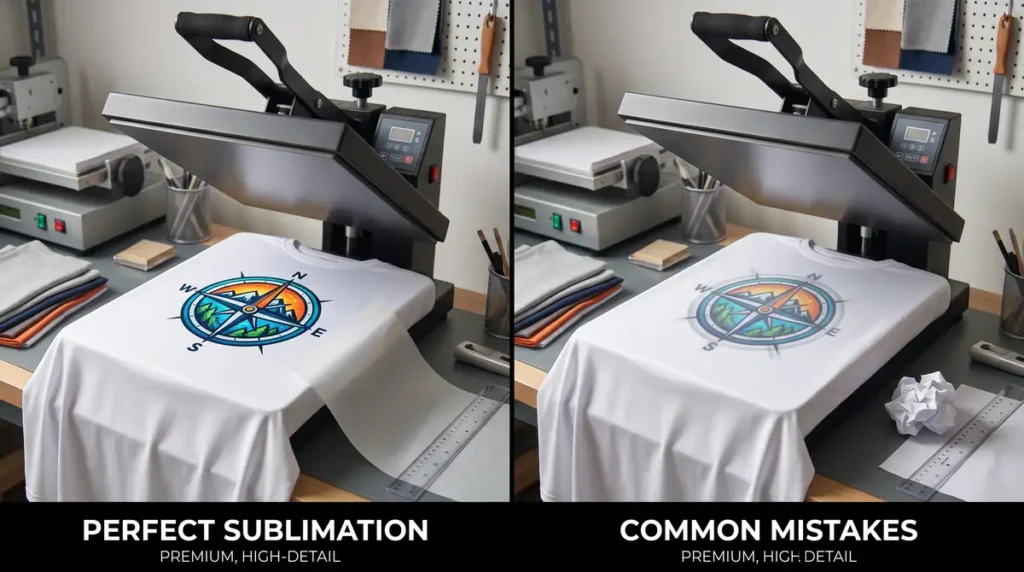
- Ghosting. This shows up as a faint double image around the design, usually caused by the paper shifting during the press. Taping the transfer down on at least two sides before pressing prevents most ghosting.
- Rocking instead of pressing straight down. Applying the press at an angle, or rocking it slightly as it closes, causes the paper to slide microscopically at the moment of contact. Close the press in one smooth, straight motion.
- Uneven pressure spots. If one corner of the design transfers well and another looks faded, the press platen may not be seated evenly, or the shirt has an uneven thickness (like a seam) under part of the design.
- Blurred edges from moisture. Skipping the pre-press step leaves residual moisture in the fabric, which can cause soft, blurred edges instead of a crisp print.
For a broader troubleshooting reference beyond these four issues, 10 common sublimation printing problems solved covers additional causes and fixes.
Can a Cricut Do Sublimation Printing?
No, not on its own. A Cricut is a cutting machine, not a printer, so it can’t apply sublimation ink or print a design by itself.
Where a Cricut fits into a sublimation workflow is on the preparation side: resizing artwork, creating cut templates, or trimming printed transfer paper to size.
The actual printing still has to come from a separate sublimation printer or a converted inkjet running sublimation ink.
If you’re working with a Cricut alongside a sublimation setup, Cricut sublimation explained covers exactly where the machine helps and where it doesn’t, and how to print sublimation on Cricut step by step walks through the combined workflow.
Can I Use Dollar Tree Mugs for Sublimation?
Generally, no, at least not reliably. Standard Dollar Tree mugs aren’t coated for sublimation, and without that polymer coating, sublimation ink has nothing to bond to, which usually means the design washes off or never transfers properly in the first place.
Some crafters experiment with adding a sublimation coating spray to uncoated blanks, but results vary significantly by mug material and coating quality, and it’s not a reliable substitute for a mug made specifically for sublimation.
If you’re sourcing blanks on a budget, how to choose the right sublimation blank explains what to look for so you’re not guessing at compatibility.
Best Shirts for Sublimation (Brands + Fabric Percentages)
The shirt you choose has a bigger impact on the final result than most beginners realize. Since sublimation ink bonds with polyester fibers, higher polyester content produces brighter colors, sharper details, and longer-lasting prints.
| Shirt Type | Polyester Content | Print Quality | Best For |
|---|---|---|---|
| 100% Polyester | 100% | Excellent | Vibrant graphics and full-color designs |
| Performance Shirt | 95–100% | Excellent | Sportswear and activewear |
| Poly-Cotton Blend | 80–90% | Very Good | Everyday apparel with a softer feel |
| Poly Blend | 65% | Good | Vintage-style prints |
| 50/50 Blend | 50% | Fair | Light, faded designs |
| Cotton Shirt | 0% | Not Recommended | Sublimation will not bond properly |
Popular shirt brands for sublimation include:
- Gildan Performance
- Jerzees Dri-Power
- Sport-Tek
- Team 365
- Augusta Sportswear
- Bella+Canvas Polyester Collection
If you want the brightest colors with minimal troubleshooting, start with a white 100% polyester shirt.
Polyester Percentage Comparison
The amount of polyester directly affects print brightness.
| Polyester Content | Color Brightness | Wash Durability | Recommended |
|---|---|---|---|
| 100% | Excellent | Excellent | Best Choice |
| 95% | Excellent | Excellent | Highly Recommended |
| 90% | Very Good | Very Good | Recommended |
| 80% | Good | Good | Good Option |
| 65% | Moderate | Good | Vintage Look |
| 50% | Light | Moderate | Faded Appearance |
| 0% Cotton | None | None | Not Suitable |
Higher polyester percentages produce brighter, more saturated colors because more fibers can absorb the sublimation ink.
ICC Color Profile & Print Settings
A proper ICC color profile helps your printer produce colors that closely match your design on screen. Without one, prints may appear dull, overly saturated, or have noticeable color shifts.
Before printing:
- Install the ICC profile recommended for your printer and sublimation ink.
- Select the correct paper type in the printer driver.
- Turn off automatic color correction if your software manages color.
- Print at the highest available quality.
- Always mirror the design before printing.
Using the correct ICC profile can reduce wasted transfers and improve color consistency across different projects.
Frequently Asked Questions
What do I need to sublimate t-shirts?
A sublimation printer with sublimation ink, sublimation transfer paper, a heat press, a polyester or high-poly-blend shirt, heat-resistant tape, and a protective sheet for pressing.
How do I layout a sublimation t-shirt?
Find the shirt’s horizontal center, measure down 2 to 3 inches from the collar for a standard chest placement, keep the design clear of seams and the collar band, and smooth out any wrinkles before pressing. A T-shirt placement ruler makes this consistent across multiple shirts.
Can a Cricut do sublimation printing?
No. A Cricut can help prepare or cut designs, but it can’t print sublimation ink. You still need a separate sublimation printer or a converted inkjet for the actual printing step.
Can I use Dollar Tree mugs for sublimation?
Not reliably. Standard Dollar Tree mugs typically aren’t coated for sublimation, so the ink has nothing to bond to. Mugs made specifically for sublimation, or blanks with a verified coating, give far more consistent results.
Quick Overview:
Get one shirt style and one setting combination working consistently before branching out into blends or specialty fabrics. Once you’ve got a 100% polyester shirt pressing cleanly at the same temperature, time, and placement every time, you’ll have a reliable baseline to adjust from when you try a different blend or a trickier design.