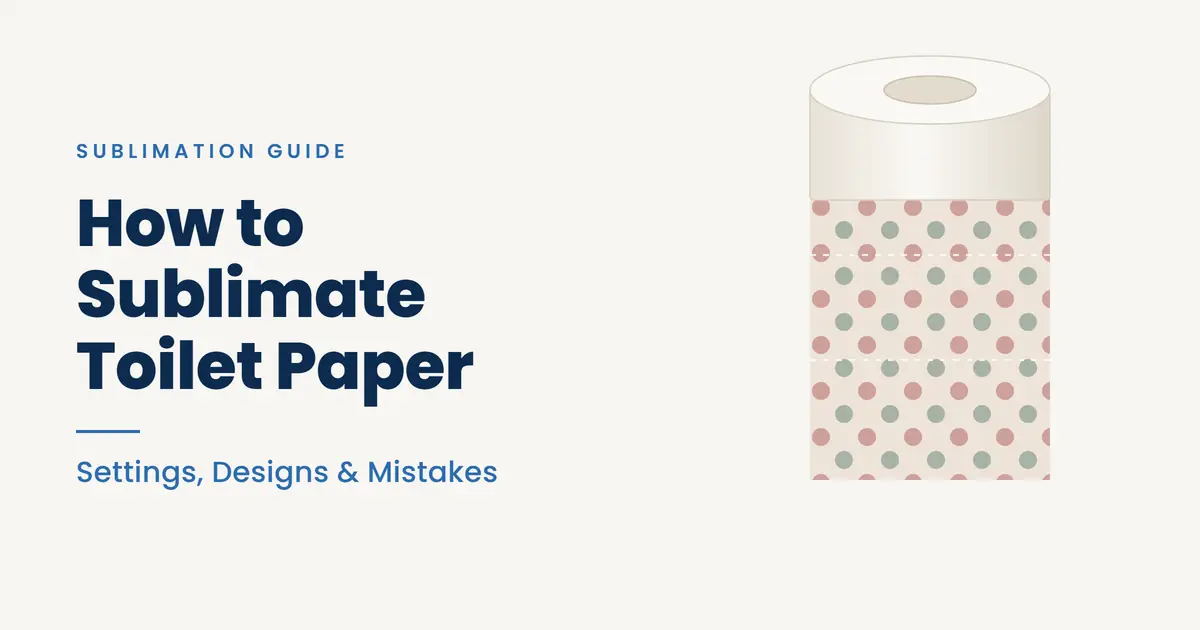
How to Sublimate Toilet Paper: Settings, Designs and Mistakes

Custom printed toilet paper is one of those gag gifts that gets a genuine laugh at a white elephant exchange or a milestone birthday. It photographs well, it costs almost nothing, and it takes about ten minutes.
It also looks softer than you expect. Most people press their first roll, see a muted version of the bright design that was on screen, and assume they got the settings wrong.
They usually did not. That soft look is what this material gives you, and understanding why takes the frustration out of it. There are also two ways to get considerably more colour, if that is what you are after.
Quick answer: Sublimating toilet paper works as a novelty project. A direct press produces a soft, faded, vintage-looking image because toilet paper has nothing for the dye to bond with. Adding a polymer coating spray or a laminate layer gives noticeably brighter colour.
Press somewhere between 350°F and 385°F for 30 to 45 seconds with light pressure, and treat the finished roll as a display and gift item rather than something to use.
Free Toilet Paper Template Pack
Sizing is the part of this project that wastes the most paper, and it is not your fault. There is no standard toilet paper square. Sheets currently run anywhere from 3.7 to 4.5 inches wide, and the old 4.5 inch square that most templates still assume has quietly shrunk on most major brands.
Design to the wrong size and you get one of two results: a design floating in the middle of the square with a bare margin around it, or one that runs off the edge and loses the ends of your punchline.
This free pack removes the guesswork. It includes:
- Four ready-sized design squares covering the most common US sheet dimensions
- A safe-area guide inside each square, so text stays clear of the edges
- A blank measuring sheet for rolls that do not match any of the four
- Everything laid out for standard 8.5 x 11 sublimation paper
Measure one square from your own roll before you pick a template. It takes ten seconds and it is the difference between a design that sits properly and one you press twice.
Does Sublimation Actually Work on Toilet Paper?
Partly, and the caveat is worth thirty seconds of your time because it explains every result you are about to get.
Sublimation dye bonds with polyester and polymer coatings. Under heat it turns to gas, penetrates the polymer, and locks in as the material cools. That bond is what makes a sublimated shirt permanent.
Toilet paper is cellulose. There is no polymer in it, so there is nothing for the dye to bond into. What happens instead is closer to staining. The dye deposits onto and between the fibres, which gives you a visible image, but a soft and slightly washed-out one rather than a saturated print.
Two things follow from that. Colours will read lighter than your design file, especially reds and deep blues. And the image is not water-fast, so it will run if it gets wet.
Neither matters for a gag gift sitting on a shelf. Both matter a lot if you were expecting shirt-quality results. This is the same limitation that makes sublimation on cotton disappointing, and it comes from the same place.
What You Need
Nothing here is specific to this project except the roll itself.
- A sublimation printer and sublimation paper
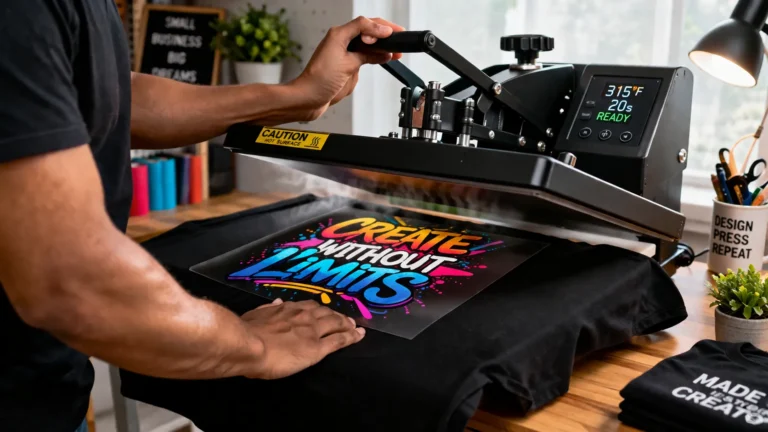
- A heat press, ideally a clamshell or swing-away for flat pressing
- A clean, unused roll of toilet paper, preferably a smooth rather than heavily quilted one
- Butcher paper or a similar protective sheet, for above and below the roll
- A pressing pad and a sheet of plain white cardstock
- Heat-resistant tape, used sparingly
Optional, depending on which method you pick: a polymer coating spray, or a thermal laminating pouch.
Choosing the Right Roll
The roll matters more here than on any other sublimation project, because you are already fighting a surface that mutes colour. Starting with the wrong tissue costs you contrast you cannot get back.
Four things to look at when you pick one up.
- Surface texture. Smooth beats heavily quilted. Embossing exists to raise surface area and absorbency, which is exactly what works against you when you want dye to sit visibly on the surface rather than sink in. Deep quilting also gives you an uneven pressing surface, so the design lands unevenly.
- Which side you press. Many embossed rolls are noticeably smoother on one face than the other. Unroll a sheet and feel both before you commit. Press the smoother side.
- Ply and thickness. Single ply tears easily under a press and during rewinding. Very thick plush rolls give you a soft, cushioned surface that presses unevenly. Two ply is the practical middle ground for most people.
- Lint. Rolls that shed fibres will leave them on your platen and in your design. Shedding comes from short, loosely bonded fibres, so tissue with a smoother finish and tighter ply adhesion holds together better under heat and handling.
Whiteness is worth a glance too. Sublimation dye is translucent, so it takes on whatever colour sits underneath it. A brighter white sheet gives you more contrast to work with than a greyer or cream one.
Tip: Buy two different rolls the first time and press the same design on both. One is smooth and plain, one is whatever you normally keep in the house. Ten minutes of testing tells you more than any recommendation, and you will use the loser as a normal roll anyway.
One thing worth being straight about: there is no tested guidance on how scented or lotion-treated tissue behaves under a heat press. Those additives are not designed to sit at 375°F, and nobody has published results either way. Plain untreated tissue is the sensible default until someone does.
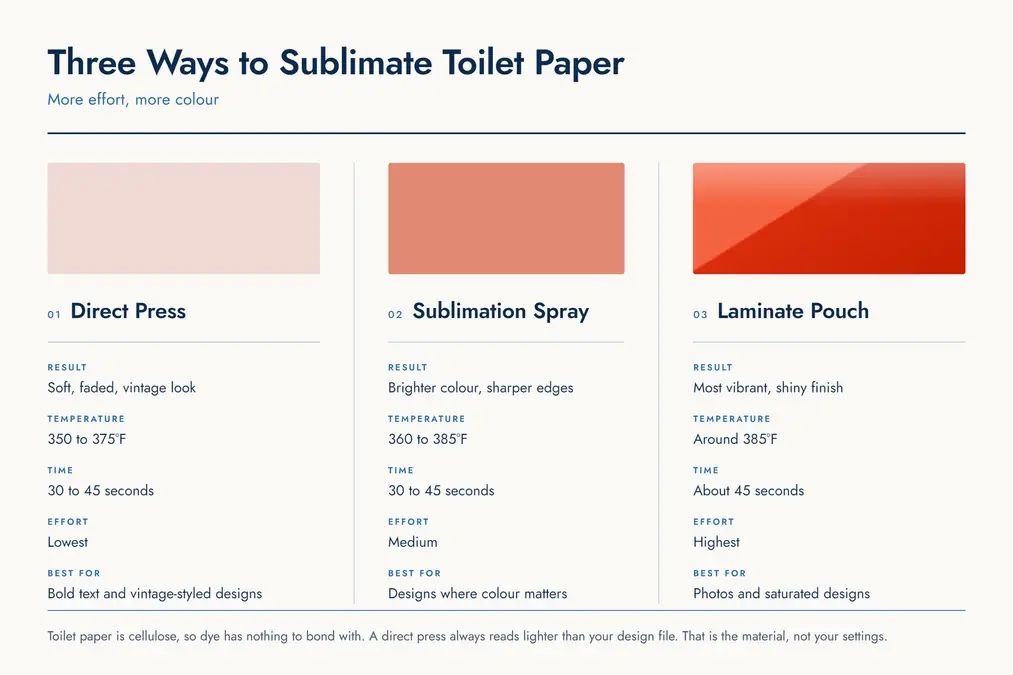
Three Methods, Ranked by Result
Direct Press (Softest Look)
Print, position, press. No preparation of the surface at all.
This produces the faded, vintage look described above. Some people prefer it, particularly for text-based jokes and vintage-styled designs where a soft print reads as intentional. It is also the fastest and cheapest, and there is nothing to go wrong beyond the pressing itself.
Sublimation Spray (Brighter Colour)
A polymer coating spray gives the dye something to bond with by putting a thin synthetic layer on the paper surface. Colours come out noticeably brighter and edges stay sharper with less bleed.
Apply in light mists rather than soaking the sheet, and let each coat dry fully. Toilet paper is thin enough that a heavy application will saturate through and tear. The treated sheet will also feel slightly stiffer than untreated tissue, which is normal.
Our guide to sublimation coating sprays covers how these products work, and the walkthrough on making any material sublimation-ready covers the same principle applied to other surfaces.
Laminate Pouch (Most Vibrant)
The brightest result, and the most involved. A closed thermal laminating pouch is trimmed to the size of one toilet paper square, then the design is sublimated onto the laminate, which is adhered to the roll.
You get vivid colour and a shiny finish, because you are effectively sublimating onto a plastic surface rather than paper. The trade-off is obvious in the hand, since the result looks like a laminated panel stuck to a roll rather than a printed roll.
Choose this when the photo matters more than the illusion.
Settings That Actually Work
You will find different numbers everywhere for this project, and the spread is genuine rather than one source being wrong.
| Method | Temperature | Time | Pressure |
|---|---|---|---|
| Direct press | 350°F to 375°F | 30 to 45 seconds | Light |
| Coated with spray | 360°F to 385°F | 30 to 45 seconds | Light |
| Laminate pouch | Around 385°F | About 45 seconds | Light to medium |
Two things drive the variation. Presses run differently from their displayed temperature, sometimes by a significant margin, so one person’s 350°F is another’s 375°F. And toilet paper varies in thickness and ply between brands more than you would think.
These sit lower than normal sublimation settings for a reason. Polyester apparel is usually pressed around 385°F to 400°F, and thin paper will scorch and yellow at the top of that range before the dye finishes moving. Start low, check the result, and work upward.
Tip: If your first press comes out patchy in some areas and fine in others, that is uneven platen heat rather than a paper problem. Our guide to checking whether your heat press temperature is accurate covers how to test for it. For the wider picture on time and temperature across materials, see our sublimation temperature chart.
Step by Step
- Design and print. Build your design at the size of one toilet paper square, mirror it, and print onto sublimation paper.
- Trim the print. Cut close to the design so there is less paper to manage on a surface that tears easily.
- Find your starting square. Unroll and count in at least three squares from the end. The glue that seals a new roll penetrates the first couple of layers and will not take dye evenly.
- Check the unroll direction. Make sure the sheets are coming off the top of the roll rather than the bottom. Get this backwards and your design faces inward once the roll is rewound.
- Build the stack. Pressing pad, then butcher paper, then plain white cardstock, then your target square laid flat with the rest of the roll off to the side.
- Position and secure. Lay the printed transfer face down. Use heat-resistant tape sparingly, or skip it entirely, since removing tape from toilet paper often tears it.
- Cover and press. Add butcher paper on top, then press at your chosen setting with light pressure.
- Peel and cool. Lift the transfer slowly while the sheet is still warm and let it cool flat before rewinding the roll.
Watch out: Never leave the press closed on toilet paper for longer than your set time, and never walk away mid-press. Tissue is extremely thin and it scorches fast. Butcher paper above and below is not optional here, both to protect the platen and to keep the tissue away from direct metal contact.
Design Ideas That Work on This Surface
Design for the surface you have rather than the one you wish you had. A soft, absorbent, off-white sheet flattens contrast and swallows fine detail.
What works:
- Bold text. Heavy weights, generous letter spacing, short punchlines. Text is the highest-hit-rate design for this project.
- Simple shapes with thick outlines. Icons, badges, seals, stamps. Anything that reads at a glance.
- Dark colours on their own. Navy, black, deep green. These survive the fade better than mid-tones.
- Deliberately vintage styling. Distressed textures and muted palettes look intentional rather than washed out.
What does not:
- Photographs, particularly faces
- Fine gradients and soft shadows
- Thin line work and small text
- Pale colours, which mostly disappear into the paper
If you want ready-made layouts to work from rather than building sizing by hand, our collection of sublimation printables and templates covers the sizing side.
Safety and Sensible Use
Three short points, and then the article moves on.
Treat the finished roll as a display item. Sublimation ink is not formulated or tested for the use toilet paper is actually made for. Most people press the outer squares, display or gift the roll, and leave it at that. That is the sensible way to enjoy the project.
Respect the fire risk. Tissue at 375°F is thin, dry, and flammable. Protective sheets above and below, an accurate press, and no unattended pressing. This is a project to stay next to.
Ventilate if you are spraying. Polymer coating sprays should be used in a well-ventilated space following the manufacturer’s own safety instructions, not just craft-blog advice.
Mistakes That Ruin the Roll
- Pressing at apparel temperatures. 400°F is right for a polyester shirt and too hot for tissue. You get scorching and yellowing before the dye has finished transferring.
- Using heavy pressure. Firm pressure crushes and tears the sheet, and it does not improve transfer on a surface that is not bonding anyway. Light is correct.
- Starting on the first square. The sealing glue on a fresh roll blocks dye unevenly, giving you a blotchy patch exactly where the design is.
- Over-taping. Heat tape holds well, and removing it from tissue usually takes the tissue with it. Use one small piece or none.
- Expecting shirt-level colour from a direct press. The most common disappointment, and it is a materials limit rather than a technique problem. If you need vibrancy, use a coating or a laminate.
If your presses are inconsistent across projects generally, our rundown of the heat press mistakes that ruin transfers covers the usual culprits.
Frequently Asked Questions
Will the design wash off?
Yes, if it gets wet. The dye sits in the paper fibres rather than bonding to a polymer, so water will make it run. This is not a durability failure to fix, it is how the material behaves, and it does not matter for a display or gift item.
What is the easiest way to make custom printed toilet paper?
Not sublimation, honestly. If you already own a sublimation setup it is a fun use for it, but if you are buying equipment specifically for this, a commercial custom printing service will be cheaper and produce a better result. Sublimating toilet paper makes sense as a project you add to a setup you already have.
Can I use an EasyPress or an iron instead?
A small heat press or EasyPress works, since the pressing area is only one square. An iron is harder to control because the heat is uneven and you cannot hold steady light pressure across the sheet, which is exactly what this project needs. If an iron is all you have, use a low setting, keep it flat rather than sliding it around, and check the result after a short press.
Do I need sublimation spray?
No, but it is the single biggest improvement available if colour matters to you. A direct press works fine for text-led and vintage-styled designs. A coating is worth it when the design has colour you actually want to see.
Can I actually use the printed sheets?
Treat them as decorative. Sublimation ink and coating sprays are not tested for that kind of contact, and the pressed sheets feel different from untreated tissue anyway. Press the outer squares, display or gift the roll, and leave the rest of it alone.
Why does my design look faded?
Almost certainly the material rather than your settings. Toilet paper has no polymer for the dye to bond with, so a direct press always reads lighter than the design file. Before adjusting temperature, check whether you actually pressed the right side of the sheet, then consider a coating spray if you want more colour.
Getting a Result You Are Happy With
Decide up front which version of this project you want. A soft vintage look from a direct press is quick, cheap, and completely fine for a joke gift. Vivid colour needs a coating or a laminate layer and a bit more work.
What ruins the experience is expecting the second result from the first method, then chasing it with more heat until the roll scorches. Press one square, look at it honestly, and adjust the method rather than the temperature.
For the wider picture on paper, weights and settings across all your projects, see our sublimation paper guide.