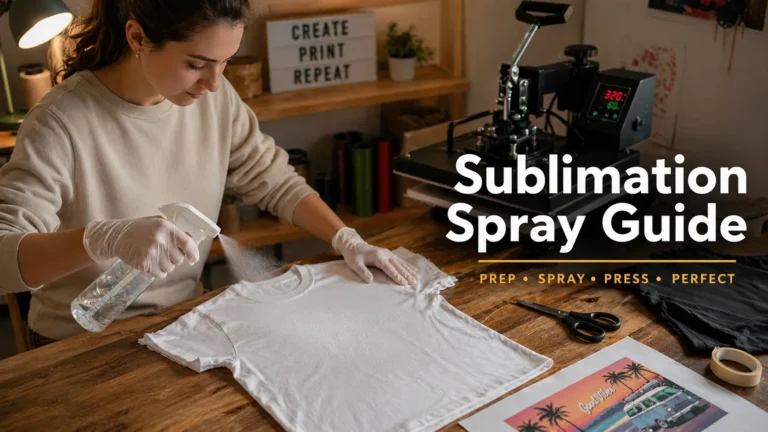
Can You Use Sublimation Ink on Sticker Paper? The Answer May Surprise
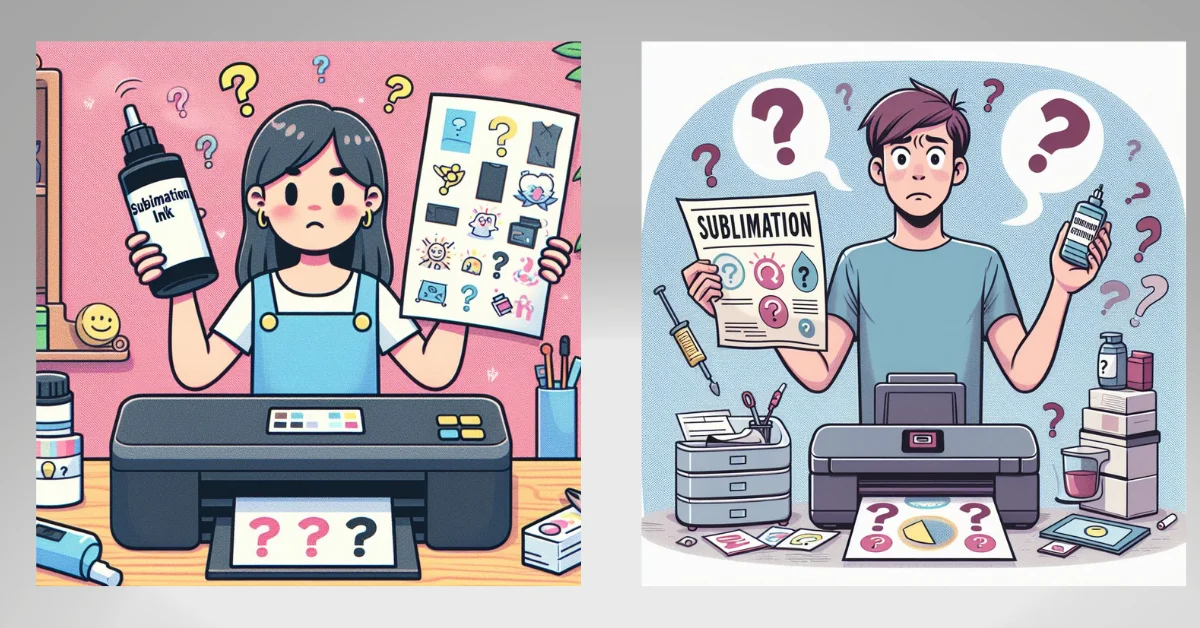
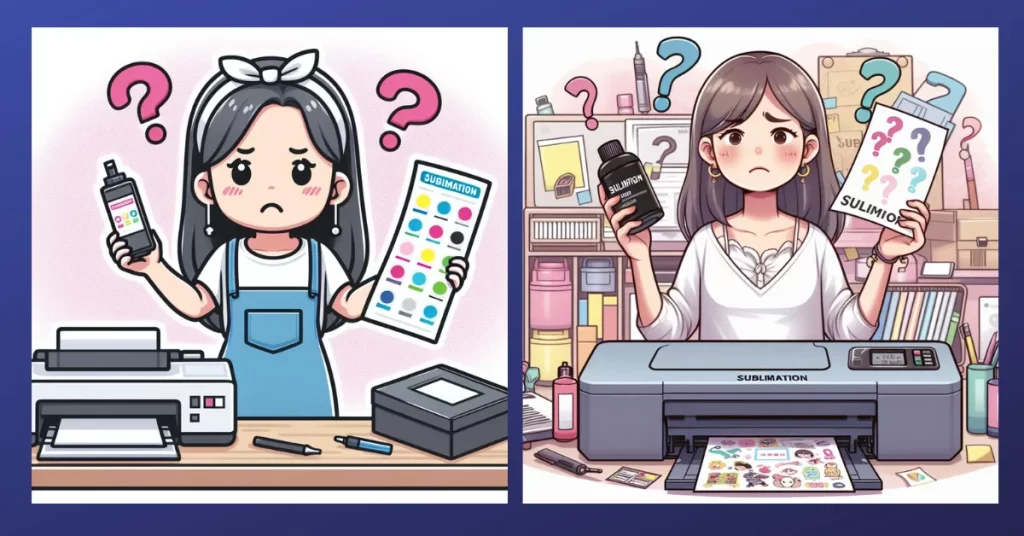
If you’ve ever tried printing stickers with sublimation ink, you’re not alone. This question comes up a lot, especially once people get comfortable with sublimation on shirts, mugs, and other blanks. Sticker paper seems simple enough, but sublimation doesn’t behave the same way here, and that’s where confusion starts.
Let’s clear it with details. The Short Answer: No
You can’t use sublimation ink on regular sticker paper and expect it to work correctly.
Even if the print looks fine right after printing, the result falls apart once heat is applied. The ink doesn’t bond, the image fades or disappears, and the sticker becomes unusable. This isn’t a settings issue or a brand issue. It’s a material compatibility problem.
How Sublimation Ink Actually Works
Sublimation ink isn’t like standard inkjet ink. Instead of sitting on top of a surface, it turns into a gas when heat is applied and bonds at a molecular level with compatible materials.
This process only works when:
- Heat and pressure are applied
- The surface is polyester-based or specially coated
- The material can accept gaseous dye and lock it in
That’s why sublimation works so well on polyester fabric, coated mugs, metal panels, and treated hard surfaces. If you’re new to this process, this breakdown of what sublimation printing is and how it works helps explain why material choice matters so much.
Sticker paper doesn’t meet those requirements.
The Solution: Sublimation Sticker Paper
Sublimation sticker paper exists specifically to solve this problem.
Unlike regular sticker paper, it includes a special coating that allows sublimation dye to bond when heat is applied. This coating mimics the behavior of polyester or treated hard blanks, making the sublimation process possible.
With sublimation sticker paper:
- The ink converts to gas properly
- The dye bonds to the coated surface
- The image stays visible and stable after pressing
This works for flat stickers, decals, and decorative applications where traditional sublimation surfaces aren’t practical. The coating process itself is similar to how sublimation coating works on non-polyester surfaces.
Here’s where Subli Genius Print steps in, bringing innovation to the forefront of sublimation printing. With a commitment to sustainable and cutting-edge printing solutions.
Types of Sublimation-Compatible Sticker Materials
Not all sublimation sticker materials are the same. The most common options include:
- Sublimation sticker paper, designed for flat, printed stickers
- Sublimation sticker vinyl, which adds flexibility and durability
- Specialty coated sheets, including metallic or glossy finishes
Each option behaves slightly differently under heat and pressure, and not every material is suited for every use case. If you’re unsure what surfaces are compatible overall, this guide on sublimating on different materials helps set realistic expectations.
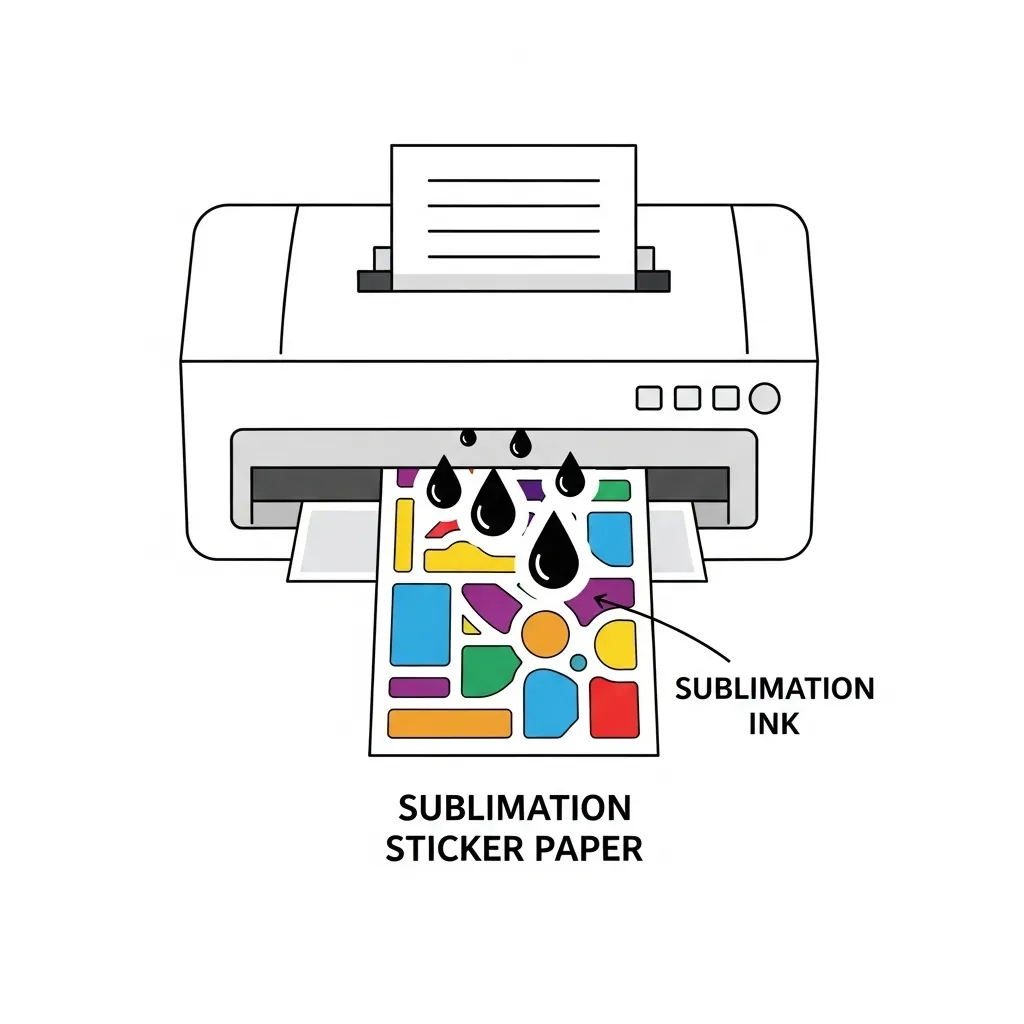
Why Regular Sticker Paper Doesn’t Work with Sublimation Ink
Regular sticker paper is designed to absorb liquid ink, not bond with dye gas.
When you apply sublimation heat to standard sticker paper:
- The paper absorbs the ink instead of releasing it
- There’s no coating for the dye to bond with
- Heat causes fading, discoloration, or full ink loss
Sometimes the print looks acceptable before pressing, which makes this even more frustrating. Once heat enters the equation, the failure becomes obvious. This issue shows up frequently in broader sublimation printing problems and solutions, especially when incompatible materials are used.
The Real Challenge with Sublimation Ink on Sticker Paper
The biggest challenge is that sublimation failures aren’t always immediate.
On regular sticker paper:
- Prints may look sharp right off the printer
- Colors can appear vibrant before heat
- The breakdown happens only during pressing
This leads many people to waste time adjusting temperatures, pressure, or ICC profiles when the real issue is the substrate itself. Sublimation is extremely unforgiving when it comes to surface compatibility, which is why understanding sublimation blanks and substrate compatibility saves so much trial and error.
Benefits of Sublimation Sticker Paper
- Vibrant, long-lasting colors: Sublimation printing is known for producing incredibly bright and saturated colors. Unlike traditional printing methods, where inks sit on top of materials, sublimation dyes are infused directly into the sticker paper’s coating. This translates to stickers that maintain their vibrancy and resist fading, even with exposure to sunlight and regular wear.
- Increased durability: Say goodbye to smudging and fading! Because the design becomes part of the sticker paper itself, sublimation stickers tend to be remarkably durable. They can often be made waterproof, scratch-resistant, and far less likely to fade compared to stickers made with standard inkjet printing methods.
- Versatility in sticker designs: The sky is the limit with sublimation! From detailed photographs to intricate patterns, bold text to complex artwork, any design you can envision can likely be turned into a sublimation sticker. This opens a whole world of creative possibilities for customization and personalization.
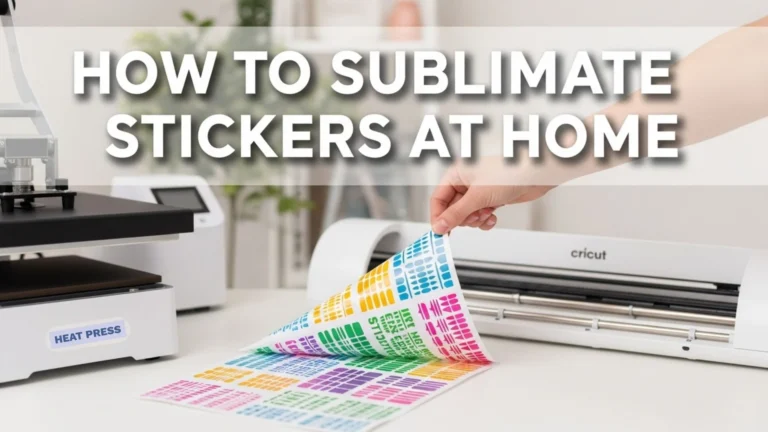
How to Make Sublimation Stickers Step by Step
Once you’re using the right sublimation-compatible sticker material, the process itself is straightforward. Most issues people run into at this stage come from skipping steps or treating sticker paper like fabric or mugs.
Here’s how the process works from start to finish.
1. Design Setup and File Preparation
Start with a high-resolution design. Stickers make imperfections obvious, especially around edges and fine text.
A few things matter here:
- Set your canvas size to match your sticker sheet
- Use RGB color mode unless your workflow requires otherwise
- Mirror your design if the sticker paper manufacturer recommends it
Clean edges and solid color fills transfer better than overly detailed gradients. If you’re still dialing in your workflow, understanding how to print sublimation images correctly can prevent early mistakes.
2. Printing with Sublimation Ink
Print your design using sublimation ink on sublimation sticker paper, not regular inkjet settings.
Important printing tips:
- Use the correct paper type in your printer settings
- Disable ink-saving or fast-draft modes
- Let the print dry completely before pressing
Even though the ink looks finished at this stage, it’s still inactive until heat is applied. This step only prepares the dye for transfer.
3. Heat Pressing the Sticker Sheet
Heat activates sublimation ink, so this step determines whether your stickers succeed or fail.
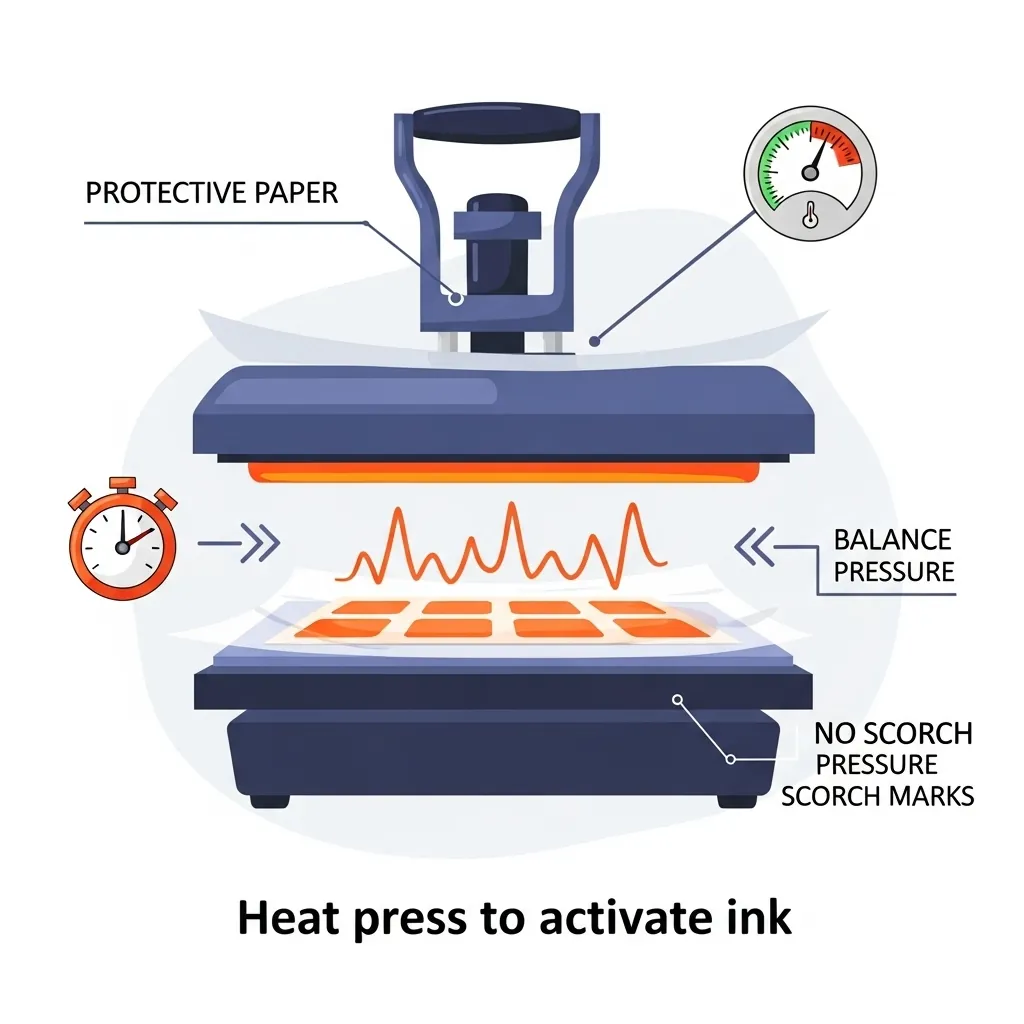
General best practices include:
- Preheat your press to the paper manufacturer’s recommended temperature
- Use light to medium pressure
- Protect the sticker sheet with protective paper on both sides
Pressing too hot or too long can scorch the coating, while too little heat prevents bonding. If you’re unsure how settings affect results, this guide on sublimation heat press settings explains why balance matters.
After pressing, allow the sheet to cool completely before handling.
4. Cutting Your Sublimation Stickers
Once cooled, the sticker sheet is ready to cut.
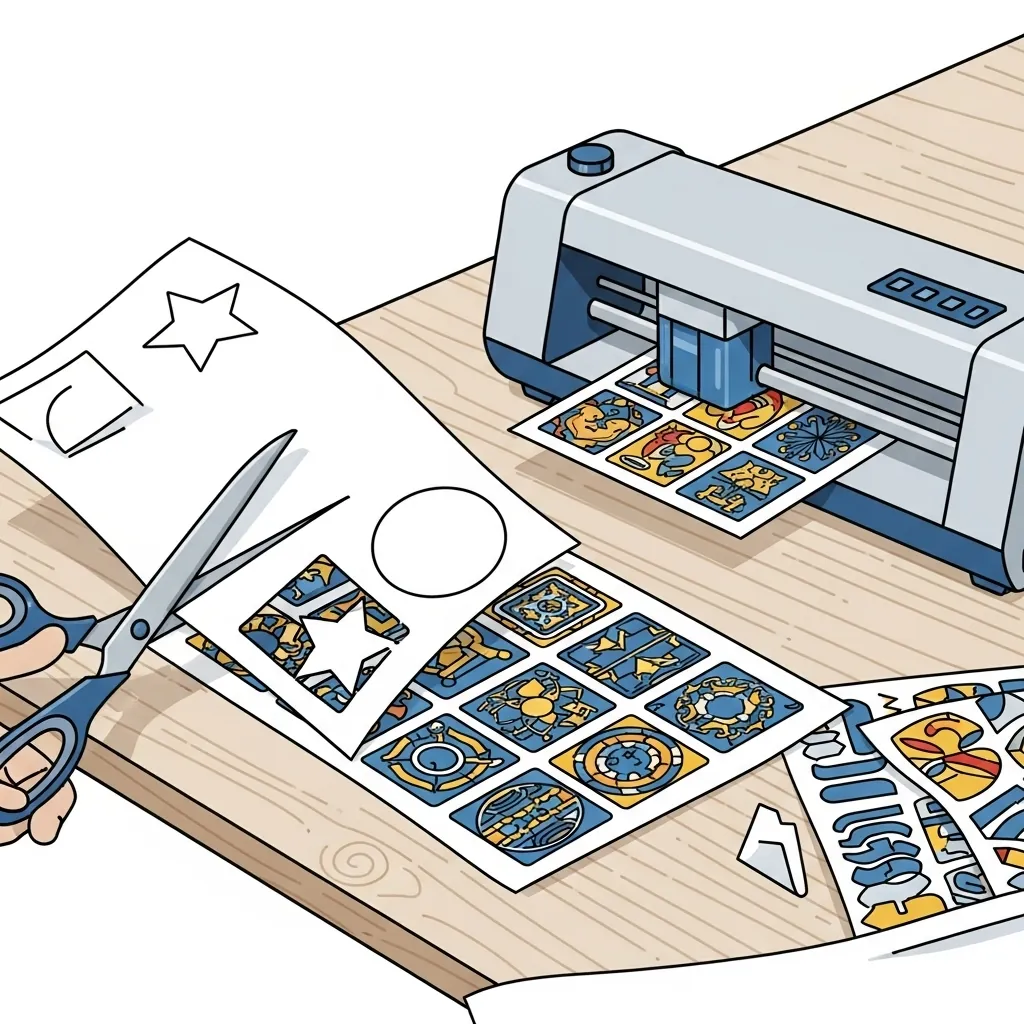
You can:
- Hand-cut for simple shapes
- Use a cutting machine for precision
- Kiss-cut or die-cut depending on your design needs
Make sure the adhesive backing remains intact during cutting. Rushing this step can cause lifting or edge damage.
Making Sublimation Stickers Durable and Waterproof
One common misconception is that sublimation automatically makes stickers waterproof. That isn’t always true.
Sublimation bonds the image, but durability depends on the sticker material and finishing steps.
Water-Resistant vs Waterproof Sublimation Stickers
| Feature | Water-Resistant Stickers | Waterproof Stickers |
|---|---|---|
| Moisture exposure | Handles light splashes or brief contact | Withstands prolonged water exposure |
| Protection level | Sublimation only | Sublimation plus added protection |
| Surface sealing | Not fully sealed | Fully sealed with laminate or coating |
| Outdoor use | Not recommended | Possible with proper sealing |
| Typical durability | Short-term | Longer-term |
| Required finishing | None beyond sublimation | Lamination or protective coating |
Sublimation alone doesn’t seal the surface against water. It only embeds the dye into the coating.
Lamination and Protective Coatings
To improve durability:
- Apply a clear laminate layer
- Use spray or roll-on sealants designed for decals
- Avoid coatings that react poorly to heat or adhesive
These steps help protect against scratching, fading, and moisture. Long-term durability expectations should match what sublimation prints are designed for, which is covered in this breakdown of sublimation print lifespan and durability.
Tools and Materials Needed for Sublimation Stickers
Having the right tools prevents frustration and wasted materials.
Essential Equipment
- Sublimation printer with sublimation ink
- Heat press with consistent temperature control
- Sublimation sticker paper or vinyl
- Protective paper or parchment
- Cutting tools or cutting machine
Software and Setup
Design software should allow:
- Accurate sizing
- Color control
- Clean export settings
If your prints aren’t matching expectations, your printer setup may need adjustment. This guide on sublimation printer settings explains how small tweaks make a big difference.
Further Reading
- Best Printer for Stickers: Explore our comprehensive guide to find the top printers tailored for sticker production, ensuring high-quality prints with every use.
- Best Printers for Vinyl Stickers: If vinyl stickers are your focus, this article details the best printers on the market that can handle vinyl materials, helping you achieve durable and vibrant results.
- Resources: Access a wealth of knowledge through our resources section, offering tips, tricks, and in-depth information on sublimation printing and beyond.
- Products: Discover our selection of high-quality printing products designed to elevate your printing projects, from sublimation inks to specially coated sticker paper and more.
Common Mistakes When Making Sublimation Stickers
Most sticker issues trace back to a few repeat mistakes.
Common problems include:
- Using regular sticker paper by mistake
- Pressing at the wrong temperature
- Skipping protective paper during pressing
- Cutting before the sheet cools
- Expecting sublimation alone to create waterproof stickers
These issues are easy to avoid once you understand how sublimation behaves on different surfaces. A broader overview of sublimation printing mistakes helps connect the dots.
Sustainability and Material Considerations
Sustainability in sublimation isn’t about being perfect. It’s about reducing waste and improving longevity where possible.
How Sublimation Stickers Compare
Sublimation stickers can reduce waste because:
- Misprints are often caused by setup, not adhesion failure
- Designs don’t peel or flake, reducing early disposal
- Sheets can be planned efficiently to reduce excess cuts
However, coated sticker materials and laminates aren’t always recyclable. Balancing durability with responsible material use is part of modern print workflows, which is explored more broadly in discussions around sustainability in sublimation printing.
Captivating Stats and Data
Interestingly, a shift towards more sustainable printing practices has been noted, with a 17% increase in the demand for eco-friendly printing supplies in the last year alone (Source: Global Printing Insights 2023).
This trend underscores the importance of choosing materials and inks that not only achieve high-quality prints but also minimize environmental impact.
For more reading about Subli Genius Print, or more about Buyers Guide.
FAQs:
Can you use sublimation ink on printable sticker paper?
No. Sublimation ink does not work on regular printable sticker paper because it needs heat and a polyester or coated surface to bond.
How long do you sublimate on sticker paper?
Most sublimation sticker papers need 30 to 60 seconds with light to medium pressure. Always follow the paper manufacturer’s settings.
What materials can you not sublimate on?
You cannot sublimate on cotton, untreated paper, untreated wood, regular vinyl, silicone, or any surface without a sublimation coating.
What kind of ink should you use for sticker paper?
Use standard dye or pigment ink for regular sticker paper. Sublimation ink is only for polyester or coated materials.