Top 10 Sublimation Printing Mistakes (and How Pros Avoid Them)

Most wasted sublimation blanks can be traced to a few checks that were missed before pressing: the wrong blank, poor artwork, incorrect settings, moisture, transfer movement, or an untested setup.
Use the mistakes below as a pre-press check so problems are caught before heat makes them permanent.
If your colors look dull or washed out, you can check our guide on why sublimation colors look dull and how to fix them to get brighter results.
60-Second Sublimation Pre-Press Checklist
Most sublimation mistakes are easier to prevent than fix. Before you press, take one minute to check the blank, artwork, printer output, and press setup.
Download the Printable Pre-Press Checklist
Use the 60-Second Sublimation Pre-Press Checklist PDF at your heat press station to catch setup mistakes before pressing.
Mistake 1: Using the Wrong Sublimation Blank
A good design and correct press settings cannot fix an incompatible blank. Before printing, confirm that the material is designed to accept sublimation dye.
Check the blank first
- Fabric: Higher polyester content generally produces stronger sublimation color. 100% polyester gives the strongest result, while blends usually look softer or more faded.
- Mugs and tumblers: Use blanks with a compatible sublimation coating.
- Metal and hard substrates: Confirm which side is coated and printable.
- Cotton: Standard sublimation ink does not bond directly to cotton fibers.
If you are unsure about a blank, test one sample before printing a full batch.
For more detail, see the Sublimation Material Guide.

Mistake 2: Using Low-Quality Artwork or Poor Design Setup
Artwork that looks acceptable on screen can still print soft, pixelated, stretched, or misaligned if it is not prepared at the final print size.
Check the design before printing
- Use a sharp source image at the size you plan to print
- Avoid enlarging small raster images too far
- Check spelling and design placement
- Confirm the correct orientation
- Mirror the design when your workflow requires it
- Make sure transparent backgrounds export correctly
Around 300 PPI is a useful target for detailed raster artwork, but the important check is whether the design remains sharp at the actual print size.
A test print on paper can reveal scaling, alignment, and image-quality problems before you use a blank.

Mistake 3: Using the Wrong Heat, Time, or Pressure
Too much or too little heat, press time, or pressure can affect color, sharpness, transfer coverage, and the blank itself.
Before pressing
- Start with the blank manufacturer’s recommended settings.
- Verify the actual heat press temperature if results are inconsistent.
- Set pressure before loading the finished product.
- Test one sample when using a new blank or supplier.
- Record settings that produce a clean result.
Do not assume settings from one mug, shirt, or metal blank will work for another.
If you need a starting point, use the Heat Press Settings Calculator.

Mistake 4: Using the Wrong Paper Side or Ink
Sublimation paper and ink problems can ruin a project before the blank ever reaches the press.
Check these before printing
- Load the coated or designated printable side of the sublimation paper correctly
- Confirm the printer contains the intended sublimation ink
- Inspect the first printed transfer
- Look for missing colors, streaks, or banding
- Make sure the paper is dry and undamaged
If the printed transfer already looks defective, stop there. Fix the printer or paper issue before pressing a blank.
Do not use the heat press to diagnose a problem that is already visible on the paper.

To reduce moisture-related problems, you can follow this guide on sublimation paper settings for cleaner prints.
Mistake 5: Not Preparing the Blank Before Pressing
Dust, lint, fingerprints, moisture, and surface debris can create white spots, pale areas, or uneven transfers.
Prepare the surface first
- Lint-roll polyester fabric
- Wipe hard blanks clean
- Remove dust, hair, and debris
- Make sure the printable surface is dry
- Flatten folds or uneven areas where possible
- Avoid touching the printable surface after cleaning
Some substrates benefit from a short pre-press to reduce moisture, but follow the blank manufacturer’s instructions rather than using one pre-press routine for every material.
A few seconds spent preparing the blank can prevent defects that are impossible to remove after pressing.

Before choosing shirts or blanks, it helps to review this polyester sublimation guide so you know which fabrics give the best color.
Mistake 6: Letting the Transfer Move During Pressing
Transfer movement can create ghosting, doubled edges, blur, or misalignment.
The goal is simple: keep the paper and blank from shifting while the sublimation dye is active.
Prevent movement before it happens
- Secure the transfer with heat-resistant tape where appropriate
- Make sure the paper sits flat against the printable surface
- Keep curved blanks tightly wrapped
- Close the press smoothly
- Avoid dragging or bumping the blank when opening the press
- Follow the blank and paper instructions for transfer removal
Do not assume every sublimation project requires the same hot-peel or cold-peel method.
For mugs and tumblers, poor wrapping and loose paper are common causes of movement, so check the fit before pressing.

Mistake 7: Failing to Inspect the Blank Before Pressing
A sublimation-compatible blank can still fail if the printable surface is damaged, dirty, warped, or covered with protective film.
Inspect every blank before pressing
Check for:
- Protective film that still needs to be removed
- Scratches or chipped coating
- Warping
- Cracks or damaged edges
- Dust or fingerprints
- Uneven coating
- The wrong printable side
This is especially important with metal blanks, ornaments, signs, and coated hard substrates where the printable surface may not be obvious.
If a single blank looks different from the rest of the batch, set it aside instead of risking the design and ink on a questionable surface.

Mistake 8: Skipping a Printer Check Before a Big Job
A clean heat press setup cannot fix a bad print coming from the printer. Before starting a large batch, inspect the first transfer for missing colors, banding, streaks, or obvious color problems.
Check the printer before pressing
- Run a nozzle check if print quality looks questionable
- Confirm all colors are printing
- Inspect the first transfer before using a blank
- Make sure the intended ICC profile and printer settings are selected
- Stop the batch if the transfer already shows defects
If the paper print has horizontal lines or missing colors, fix the printer-side problem before pressing. For deeper help, see How to Prevent Banding, Clogging, and Print Head Issues.
If the transfer prints cleanly but the pressed colors still look wrong, use the Sublimation Color Problems & Fixes guide instead.

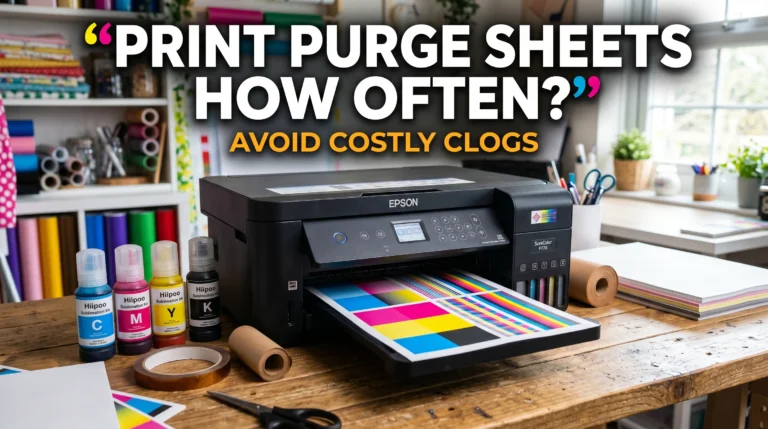
A simple routine helps prevent this. Print a small colour test once or twice a week, run a nozzle check before big projects, and use the correct ICC profile for your ink and paper. This keeps colours accurate and prevents wasted transfers.
Mistake 9: Wrong Tape or Poor Wrapping on Mugs and Tumblers
Tape and wraps do most of the work on curved surfaces. Low-quality tape or a loose wrap leaves marks, gaps, or uneven pressure, which usually shows up as faded seams or a design that doesn’t wrap smoothly.
Use true heat-resistant sublimation tape applied firmly without stretching it. For full wraps, keep the design tight against the surface with no air pockets, and check alignment before heating since even a small shift shows in the final result.
When experimenting with new curved surfaces, the sublimation on glass guide covers wrapping technique for glass specifically, and the mug press vs. convection oven comparison helps if you’re deciding which equipment to use for curved items.

When experimenting with new surfaces, you can learn more about sublimation on glass and how to get a clean transfer.
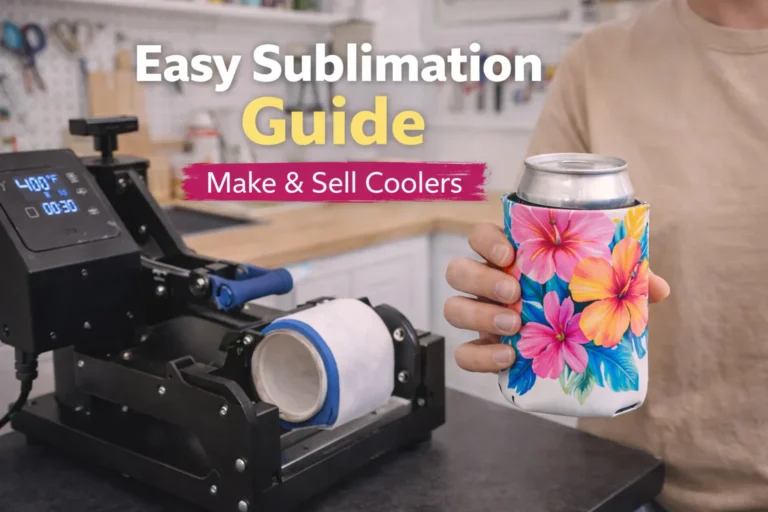
Watch the video below to see 7 common sublimation mug mistakes that cause faded, blurry, ghosted, uneven, or inaccurate prints, plus the fixes to try before pressing another mug.
Mistake 10: Skipping the Test Press
Going straight from setup to a full production batch can turn one small mistake into several wasted blanks. A single test press gives you a chance to confirm the settings, alignment, color, and transfer quality first.
Test one blank before the batch
- Start with the blank manufacturer’s recommended settings.
- Press one sample using the final artwork and transfer setup.
- Check color, sharpness, alignment, edges, and transfer coverage.
- If something needs adjustment, change only one setting at a time.
- Record the setting that produced the best result.
- Start the full batch only after the sample looks acceptable.
This is especially useful when you change blank suppliers, paper, ink, press equipment, or product type.
Use the Sublimation Troubleshooting Test Record to track temperature, time, pressure, and the result of each test so successful settings are easier to repeat.

If you’re unsure which products work best, this list of sublimation blanks and substrates covers the most reliable options.
10 Sublimation Mistakes to Check Before Pressing
| Mistake | Check Before Pressing |
|---|---|
| Wrong blank | Verify polyester content or sublimation coating |
| Poor artwork | Check final-size sharpness and orientation |
| Wrong press settings | Confirm time, temperature and pressure |
| Wrong paper/ink | Verify paper side and sublimation ink |
| Poor preparation | Clean, dry and lint-roll the blank |
| Transfer movement | Tape and position securely |
| Blank damage | Inspect coating, film and printable side |
| Printer problem | Inspect first transfer before pressing |
| Loose mug/tumbler wrap | Check contact and alignment |
| Skipping test press | Test one sample before the batch |

Frequently Asked Questions
What are the most common sublimation mistakes?
The most common sublimation mistakes are using an incompatible blank, poor-quality artwork, incorrect heat or pressure, printing on the wrong side of the paper, and allowing the transfer to move. Moisture, lint, damaged coatings, and skipping a test press can also ruin an otherwise good design.
What should I check before pressing sublimation?
Before pressing, confirm that the blank is sublimation-compatible, the printable surface is clean and dry, the artwork is sharp at its final size, and the transfer is positioned securely. Check the printer output for banding or missing colors, then verify the recommended time, temperature, and pressure for that specific blank.
How do I know which side of sublimation paper to print on?
Print on the coated or designated printable side of the sublimation paper. Depending on the brand, that side may look brighter, smoother, or have identifying marks on the back. Check the paper manufacturer’s instructions if the two sides are difficult to distinguish.
Can too much heat ruin a sublimation print?
Yes. Excessive heat or press time can cause colors to shift, blur, brown, or lose detail, and some substrates can warp or scorch. Start with the blank manufacturer’s recommended settings and make small adjustments rather than automatically increasing the temperature.
How can I prevent ghosting before pressing?
Secure the transfer firmly with heat-resistant tape and keep the paper from shifting while the press closes or opens. Curved products such as mugs and tumblers need especially tight, even contact. Follow the blank and transfer-paper instructions for removal rather than assuming every project requires the same hot- or cold-peel method.
Why don’t my sublimation colors match the screen?
A monitor and a pressed sublimation print produce color differently, so an exact visual match is not always possible. A suitable ICC profile, correct printer color-management settings, and a pressed color chart can make results more predictable. For deeper troubleshooting, see the sublimation color problems guide.
Should I test sublimation settings before printing a full batch?
Yes. Test one blank first whenever you use a new substrate, supplier, paper, ink, or press setup. Inspect color, sharpness, alignment, and transfer coverage before starting the full batch. If something needs adjustment, change one setting at a time so you can identify what actually improved the result.