
How to Unclog a Sublimation Printer: A Step-by-Step Tutorial
A clogged sublimation printer usually shows up as faded colors, missing lines, banding, or blank sections in prints. Most clogs are caused by dried sublimation ink inside the print head nozzles.
This guide walks through a structured, severity-based repair process so you can clear the clog without damaging the print head.
Confirm It’s Actually a Clog
Before cleaning anything, verify the issue.
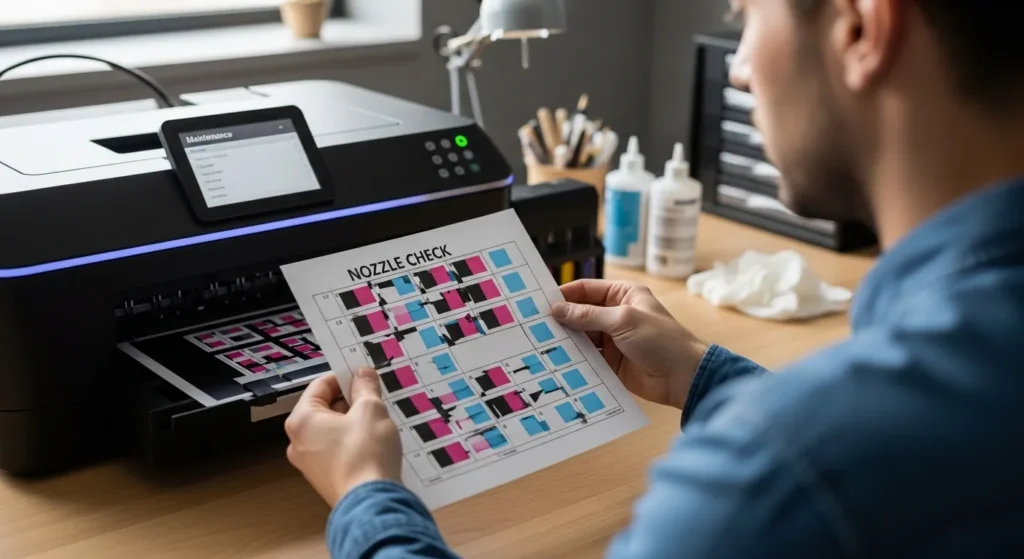
Run a Nozzle Check
From your printer’s maintenance menu:
- Print a nozzle check pattern
- Inspect for:
- Missing lines
- Broken grids
- Entire color channels absent
If the pattern is perfect, the issue is likely:
- Incorrect ICC profile
- Paper setting mismatch
- Ink starvation from air bubbles
- File or RIP error
If the pattern shows gaps or missing lines, proceed.
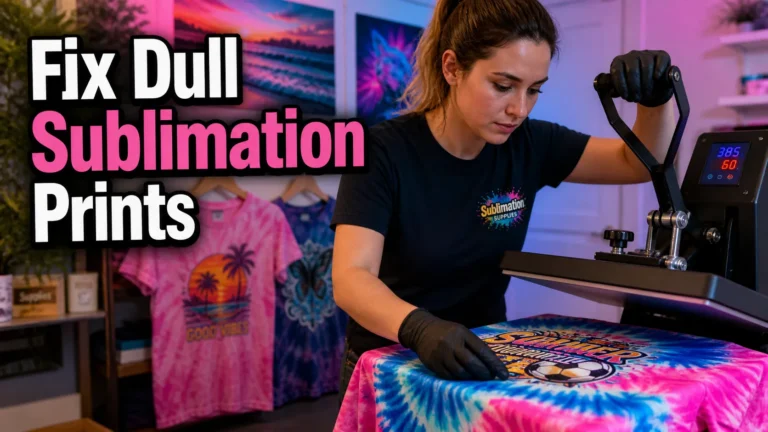
For deeper color-related diagnostics after cleaning, Why Sublimation Colors Look Dull and How to Fix It
Understand Why Sublimation Printers Clog
Sublimation ink behaves differently than standard dye ink.
- It contains solid dye particles that can settle or crystallize.
- Piezo print heads (common in Epson-based systems) are sensitive to air and dried residue.
- Long idle periods accelerate drying.
- Low ink levels can introduce air into the dampers.
Most clogs fall into one of three severity levels:
| Level | Symptoms | Repair Tier |
|---|---|---|
| Minor | Light banding, small gaps | Software clean |
| Moderate | Missing sections in one color | Manual clean |
| Severe | Entire channel missing | Advanced flush or service |
Tier 1: Minor Clogs (Software Cleaning First)
Use this when nozzle check shows small gaps.
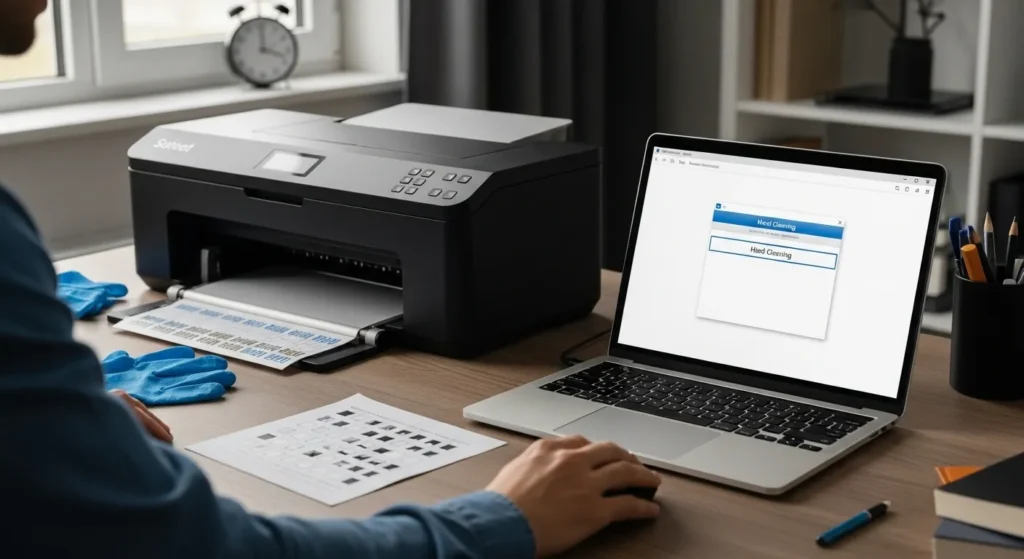
Steps
- Run Head Cleaning from maintenance utility.
- Wait 30–60 minutes.
- Print another nozzle check.
- Repeat once if necessary.
Do not run more than 2–3 cycles consecutively.
Each cycle consumes significant ink and can overheat the head.
If pattern improves but is not perfect, move to Tier 2.
Tier 2: Manual Cleaning (Moderate Clogs)
Use this when:
- A full color channel is partially missing
- Software cleaning didn’t fix it
- Printer has been idle for weeks
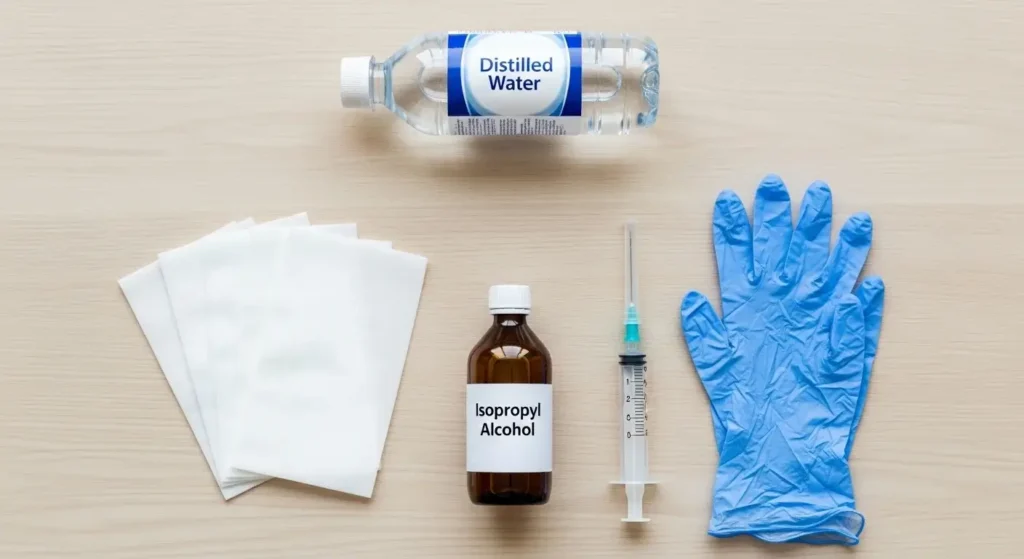
Tools Required
- Distilled water
- 90%+ isopropyl alcohol OR dedicated print head cleaning solution
- Lint-free wipes
- Syringe (no needle)
- Gloves
Never Use
- Tap water
- Glass cleaner
- Alcohol under 90%
- Compressed air
Step 1: Power Down Safely
- Turn printer off using power button.
- Unplug from wall.
- Move to protected workspace.
Step 2: Access the Print Head
Depending on your printer model:
- Some allow manual carriage movement.
- Some require service mode.
- Some require removing ink cartridges first.
Refer to your specific printer manual.
Step 3: Soak Method (Low-Risk Cleaning)
- Dampen lint-free wipe with cleaning solution.
- Place wipe on platen under print head.
- Gently move print head over the wipe.
- Let it sit 10–15 minutes.
This softens dried sublimation ink deposits.
Do not scrub.
Do not apply downward pressure.
Step 4: Gentle Channel Flush (If Accessible)
Only if your model allows line access.
- Attach syringe to ink intake nipple.
- Slowly push small amount of cleaning fluid.
- Use very light pressure.
If resistance is strong, stop immediately.
Forcing fluid can damage the piezo membrane permanently.
Step 5: Reassemble and Test
- Reinstall cartridges.
- Power printer on.
- Run nozzle check.
- Print solid color test page.
If 90% restored, allow printer to rest 12 hours before final clean cycle.
If no improvement, move to Tier 3.
For advanced maintenance beyond clog removal, How to Clean Your Sublimation Printer Properly
Tier 3: Severe Clogs (Full Channel Missing)
Symptoms:
- Entire color absent
- Ink not flowing at all
- Multiple head clean cycles failed
Option 1: Advanced Cleaning Kit
Use only if experienced.
Includes:
- Suction caps
- Dampers
- Vacuum extraction
Improper use can:
- Burn out head
- Flood internal electronics
- Misalign carriage
Option 2: Professional Service
If printer is:
- High-value model
- Under warranty
- Showing repeated clog patterns
Professional ultrasonic cleaning may be more cost-effective than replacing a print head.
After Cleaning: Verification Process
Never assume success without testing.
Print These in Order
- Nozzle check pattern
- Solid cyan page
- Solid magenta page
- Solid yellow page
- Solid black page
Look for:
- Even saturation
- No streaks
- No faded zones
If output is clean, repair is complete.
Why Sublimation Clogs Are More Serious Than Regular Ink
Sublimation ink contains dispersed dye particles designed to bond at high heat.
When left idle:
- Particles settle
- Solvent evaporates
- Residue crystallizes inside nozzles
Because most sublimation printers use piezoelectric heads, physical damage is irreversible.
Thermal inkjets tolerate clogs differently.
Piezo systems do not.
This is why aggressive flushing is risky.
Prevention Protocol (High Reliability Setup)
To reduce future clogs:
Weekly Activity
- Print full-color test page once per week.
- Avoid long idle periods.
Proper Shutdown
Always power off using printer button.
This parks the head in a sealed capping station.
Environmental Stability
Maintain:
- Room temperature: 65–75°F
- Moderate humidity
- Low dust
Ink Management
- Never let cartridges run dry.
- Use consistent ink brand.
- Avoid mixing different formulations.
Storage (If Not Used for 30+ Days)
- Consider flushing system with cleaning solution.
- Store in climate-stable environment.
When to Replace Instead of Repair
Replace print head if:
- Multiple severe clogs recur within 30 days
- Head overheating errors appear
- No ink flows after safe flush attempts
- Physical damage occurred
On many entry-level sublimation printers, print head replacement may exceed printer value.
For full system troubleshooting if cleaning doesn’t solve the issue: Comprehensive Guide to Fixing Sublimation Printing Mistakes
Quick Diagnostic Summary
| Symptom | Likely Cause | Action |
|---|---|---|
| Light banding | Minor clog | Software clean |
| Missing cyan only | Channel clog | Manual soak |
| All colors faded | Air in lines | Prime system |
| Entire color gone | Severe clog | Advanced flush or service |
| Random streaking | Dirty wiper blade | Clean maintenance station |
Final Repair Checklist
- Confirm clog with nozzle check
- Perform software clean (max 3 cycles)
- Attempt soak method
- Test again
- Escalate carefully if needed
- Implement prevention routine
Professional Sublimation Printing & Wholesale Custom Products
Looking for high-quality sublimation printing for apparel, drinkware, and promotional items? Subli Genius Print delivers vibrant color, sharp detail, and long-lasting results for businesses, brands, and resellers across the U.S.
Frequently Asked Questions
What’s the safest way to unclog a sublimation printer?
Start with the built-in head cleaning cycle, then use the soak method before attempting any manual flushing.
Can I use tap water to clean the print head?
No. Minerals in tap water can worsen clogs and damage internal components.
How often should I print to prevent clogs?
At least once per week with a full-color test page.
Why does sublimation ink clog faster?
It contains dispersed dye particles that settle and crystallize when left idle.
When should I stop trying to clean?
If strong resistance occurs during flushing or no improvement appears after safe cleaning steps.


5 Comments