

Polyester Sublimation Time & Temp: Printable Reference Card

For polyester sublimation, start with the garment, transfer-paper, ink-system, and blank manufacturer’s instructions. One published Sawgrass starting point for polyester fabric is 400°F (205°C) for 45 seconds with medium pressure, but the correct setting depends on the specific fabric, coating, press, and transfer system.
Use the quick reference below as a starting aid, not a universal formula. Polyester percentage mainly affects how much dye the fabric can retain and how the color looks after pressing. It does not, by itself, determine the correct temperature or time.
| Garment or fabric | Starting point | Pressure | What to check |
|---|---|---|---|
| Polyester fabric or performance shirt | Sawgrass example: 400°F (205°C), 45 sec | Medium | Blank and transfer instructions; test before production |
| Vapor-style polyester apparel | 380–390°F (193–199°C), 45–55 sec | Medium | Garment supplier’s instructions and press lines |
| Polyester blend shirt | Use the blank and transfer manufacturer’s setting | As recommended | Color strength, fabric construction, and wash expectations |
| Polyester tote or other coated blank | Use the substrate manufacturer’s setting | As recommended | Coating, seams, moisture, and pressure coverage |
Free polyester sublimation press-test card: Use this one-page printable PDF to compare blend expectations and record the actual garment, approved heat settings, and pressed results before a production run.
Important: Manufacturer instructions for the garment, transfer paper, ink system, and blank take priority over generic starting settings. Always test one item before a production run. For other blanks, use our heat press temperature chart by material rather than applying polyester settings to mugs or coated metal.
Best Temperature for 100% Polyester
For 100% polyester, start with the shirt and transfer manufacturer’s instructions. Two supplier references offer useful examples, but neither replaces settings for your exact garment:
- HeatPressNation shirt example: 385–400°F (196–204°C), 45–60 seconds, medium pressure
- Sawgrass polyester-fabric example: 400°F (205°C), 45 seconds, medium pressure
- Choose your actual starting point: follow the blank and transfer instructions, then check a pressed sample
These examples come from HeatPressNation’s polyester T-shirt instructions and Sawgrass’s heat-press chart. Lower-than-required heat or dwell time can leave a transfer incomplete, while excessive exposure or pressure may produce fabric shine. Test the actual blank before making a batch.
Do not raise temperature simply because a hoodie is thicker or lower it simply because a shirt feels lightweight. Check the fabric finish, garment seams, supplier limits, and press instructions first. Change one setting at a time only within the recommended range.
Pre-press only as directed for the blank and transfer system. Some suppliers recommend a brief moisture-removal pre-press, but extra heat or pressure can leave marks on sensitive polyester finishes. The five-step workflow below explains how to check.
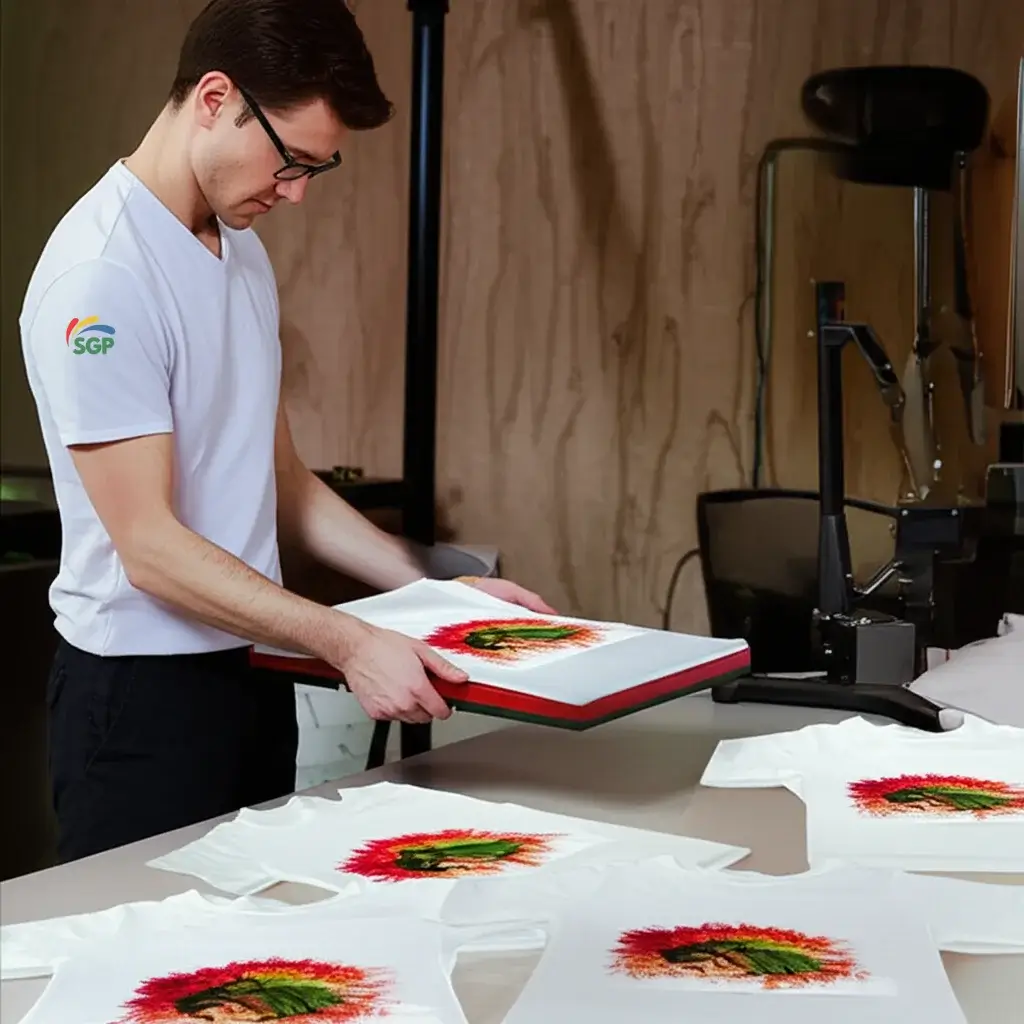
Time & Temp by Polyester Percentage
Polyester percentage mainly changes dye uptake and the visual result. Sublimation dye bonds to polyester fibers; cotton does not retain standard sublimation dye in the same way. A higher polyester content generally allows more of the design to remain vivid, while a blend can create a softer or vintage effect.
What Polyester Percentage Actually Changes
| Polyester content | Expected color behavior | Typical use | Heat-setting guidance | Important note |
|---|---|---|---|---|
| 100% | Most of the design can remain vivid when the blank and process are compatible | Performance shirts, apparel, and polyester blanks | Use the garment or blank manufacturer’s setting | Do not assume one universal setting |
| 80–90% | Often supports strong color, depending on the remaining fibers and fabric construction | Polyester-rich apparel | Use the specific blank and transfer instructions | Test for color and hand feel |
| 65/35 poly-cotton | Some dye remains on the polyester fibers; a softer or vintage result may be expected | Blended shirts and apparel | Do not lower temperature only because the percentage is lower | Follow the actual garment’s instructions |
| 50/50 blend | Only the polyester portion accepts standard sublimation dye in the same way; the result may be intentionally faded | Vintage-style projects and experiments | Use a validated setting for the specific blank and transfer | Set customer expectations before production |
What to Expect
- More polyester generally means more of the design can retain sublimation dye.
- There is no universal hard minimum percentage for every project. The acceptable blend depends on the intended look, blank, transfer system, and customer expectations.
- A 50/50 blend can receive sublimation dye on its polyester fibers, but it will usually not look like a 100% polyester print.
If color vibrancy is the goal, use 100% polyester whenever possible. If you prefer a vintage look, review our guide to sublimating 50/50 cotton-polyester blends before promising a particular result.
Check more about Polyester Hoodie for Sublimation
Sawgrass describes its polyester-fabric settings as starting points and advises users to follow the substrate manufacturer’s recommendations, use a calibrated press, and test the material. Do not treat one temperature or pressure setting as universal for every garment. For a hoodie or other thicker blank, check the blank supplier’s instructions instead of automatically raising the temperature.
Step-by-Step Sublimation Workflow
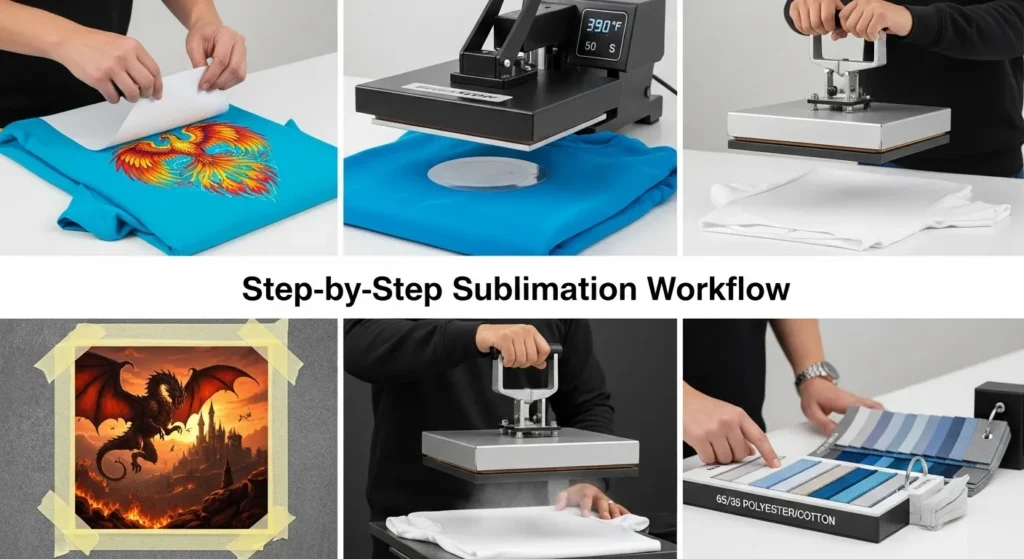
Use these five steps to set up a controlled polyester press test. The exact result depends on the garment, transfer supplies, press and manufacturer instructions.
Step 1: Choose the Right Fabric
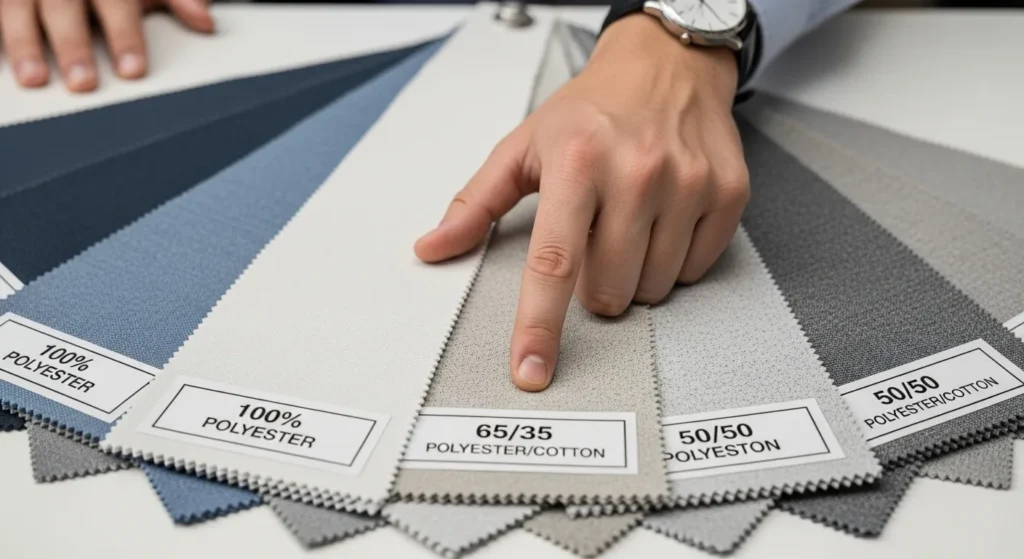
Choose 100% polyester when you want the strongest potential color from standard sublimation dye. Polyester-rich blends can also work, while lower-polyester blends often produce a muted or vintage-style image because the non-polyester fibers do not retain the dye in the same way. There is no universal 65% cutoff; test the exact garment and check that it can tolerate the recommended press conditions.
Step 2: Pre-Press the Fabric

Check the blank manufacturer’s instructions before pre-pressing. If a brief pre-press is recommended to remove moisture or wrinkles, use the supplier’s duration and let the garment settle as directed. Pre-pressing is not a universal requirement, and excess heat or pressure can create shine or dye migration on some polyester fabrics.
Step 3: Position and Secure the Design

Align the printed sublimation transfer face-down on the fabric. Secure it with heat-resistant tape at each corner to stop it from shifting when pressed. Even a small movement can cause blurred edges or double images.
Step 4: Set Press Parameters
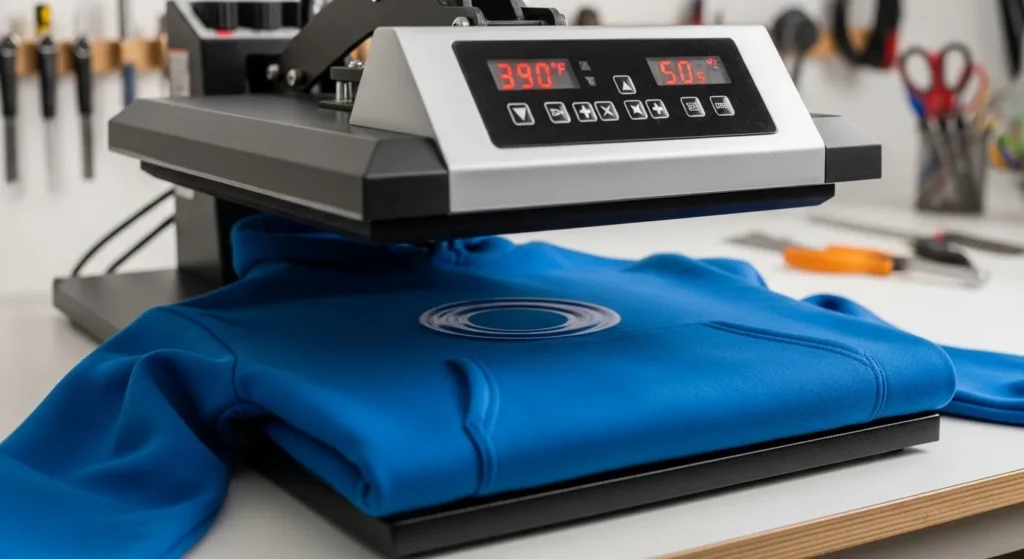
Set the press using the blank and transfer manufacturer’s instructions. Fabric thickness alone does not tell you whether to raise the temperature. A thicker garment may instead require a different dwell time, pressure adjustment, seam compensation, or another supplier-specific approach. Test the actual blank before production.
Step 5: Press, Peel, and Cool
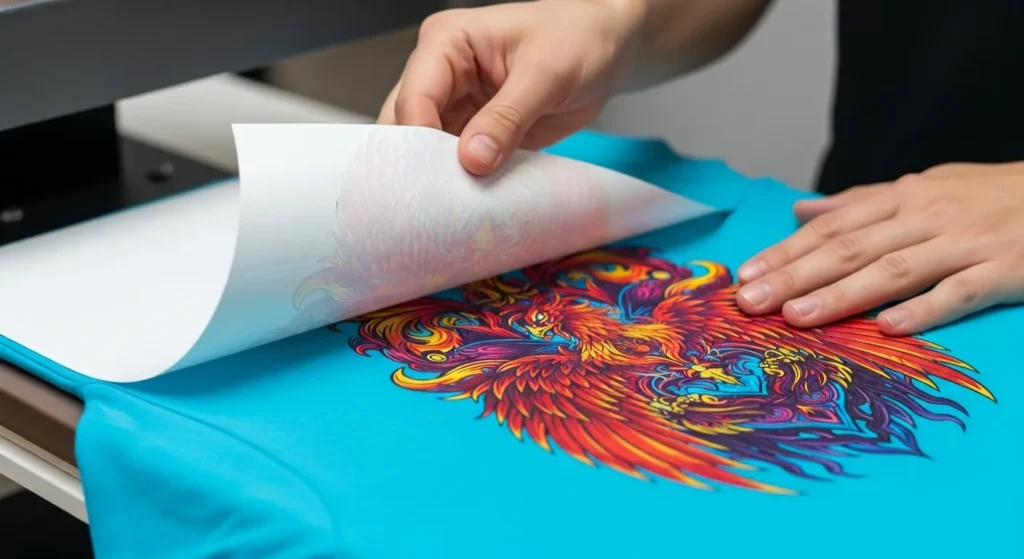
When the timer ends, lift the press and remove the transfer according to the transfer-paper manufacturer’s instructions. Avoid moving the paper across the fabric during removal, because movement can cause ghosting. Lay the item flat to cool before folding or packaging, following the blank and transfer supplier’s care guidance.

✅ Pro Tip:
Always test new blanks or materials with a small transfer first. Different fabrics and presses vary slightly, and a test run helps you fine-tune temperature, time, and pressure settings before doing a full batch.
For a broader breakdown of compatible fabrics and surfaces, see our sublimation material guide.
Common Mistakes With Polyester Sublimation
| Result | Possible causes | What to check |
|---|---|---|
| Dull color | Low polyester content, incorrect setting, color-management or printer issue | Blend, blank instructions, ink/nozzle workflow, and a controlled test |
| Fabric shine | Too much heat or pressure | Supplier limits, pressure, exposure time, and fabric finish |
| Ghosting | Transfer movement during pressing or removal | Tape, paper placement, and removal technique |
| Patchy color | Uneven pressure, moisture, seams, or heat coverage | Platen, garment positioning, moisture, and a test press |
| Faded after washing | Lower polyester content or care outside the supplier’s guidance | Fabric blend, blank instructions, and washing directions |
First-Press Check Before a Full Batch
- Write down the garment brand, product code, fiber blend, transfer supplies, and the supplier’s recommended settings.
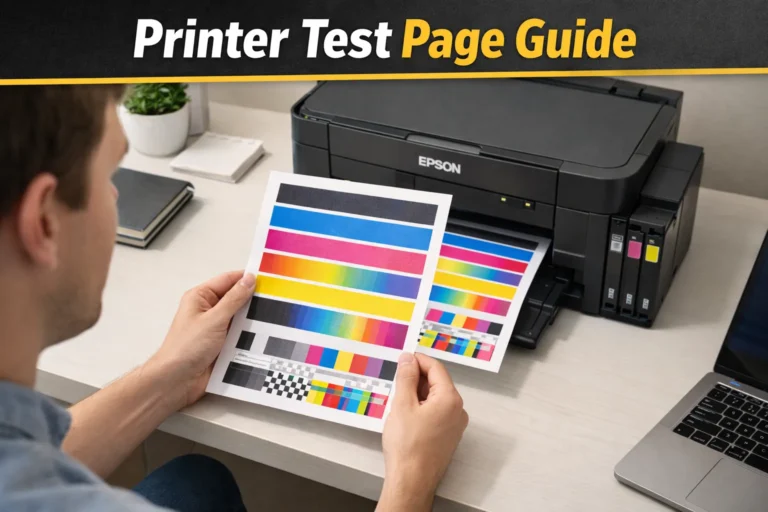
- Print a small sample containing both dark and light colors and press it using the documented workflow.
- Inspect the pressed fabric for color strength, sharp edges, ghosting, shine, and uneven areas.
- Record the result on the printable card. If something fails, check the likely cause and adjust only one supplier-permitted variable before retesting.
Reject a setup that damages or distorts the fabric, even if the colors seem stronger. Keep the validated garment-specific settings for repeat orders.

Care Tips & Maintaining Vibrancy
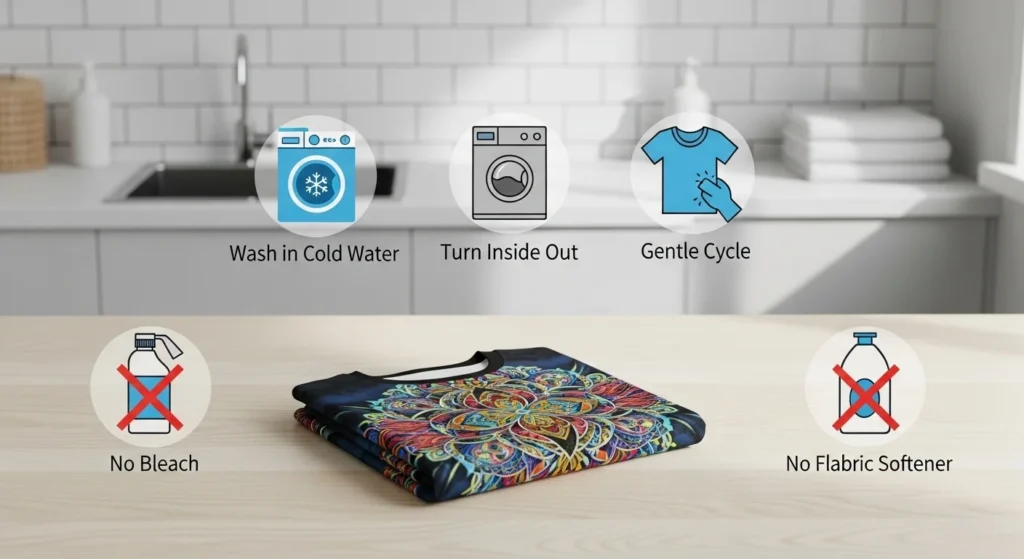
Follow the garment care label first. Gentle washing and drying may help protect the fabric and finish, but print appearance and wash durability also depend on the fiber blend and how the item was pressed.
Washing Instructions
- Turn garments inside out before washing
- Use cold water
- Select a gentle cycle
- Wash with similar colors to avoid dye transfer
Drying Guidelines
- Air dry whenever possible
- If using a machine, set to low heat or tumble dry low
- Avoid high heat, which can dull colors over time
What to Avoid
- Bleach or whitening agents
- Fabric softeners, which coat fibers and reduce brightness
- Ironing directly over the design
FAQs:
What temperature should I use for 100% polyester?
Start with the blank and transfer manufacturer’s instructions. Sawgrass currently lists 400°F (205°C) for 45 seconds at medium pressure as a polyester-fabric starting point, while HeatPressNation describes a broader 385–400°F, 45–60-second range for its polyester shirt instructions. Neither is a universal recipe.
Does 65% polyester need a different temperature than 100% polyester?
Not automatically. Polyester percentage mainly affects dye uptake and appearance. Use the setting validated for the specific garment and transfer system.
Can you sublimate a 50/50 polyester-cotton shirt?
Yes. Standard sublimation dye bonds to the polyester fibers, so the result may look softer or more faded than a 100% polyester print.
Does more polyester make sublimation brighter?
Generally, a higher polyester content allows more of the design to retain dye, but the blank, coating, fabric construction, ink system, and press process also matter.
Why does polyester get shiny under a heat press?
Excess heat, pressure, or exposure can affect some polyester finishes. Check the supplier’s limits and test the actual blank before production.
Should hoodies use a higher temperature than T-shirts?
Not necessarily. Thickness alone does not determine temperature. Follow the hoodie manufacturer’s setting and adjust only within validated instructions.




11 Comments