How to Prevent Banding, Clogging, and Print Head Issues
Few things are more annoying than hitting print and seeing streaks or lines across your design. Those faint horizontal bands or blank gaps are signs your printer’s crying for a little TLC. Let’s check the real causes of banding and how to keep your print heads clean and consistent.
What Causes Banding
Banding happens when some nozzles are blocked or the printer’s firing pattern gets misaligned. You’ll see light and dark horizontal lines across your print.
Fix:
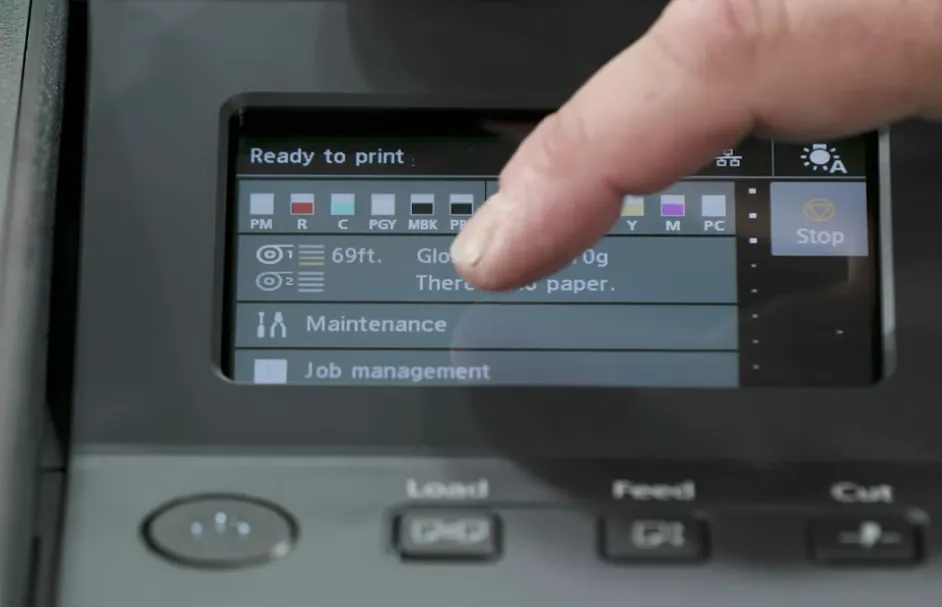
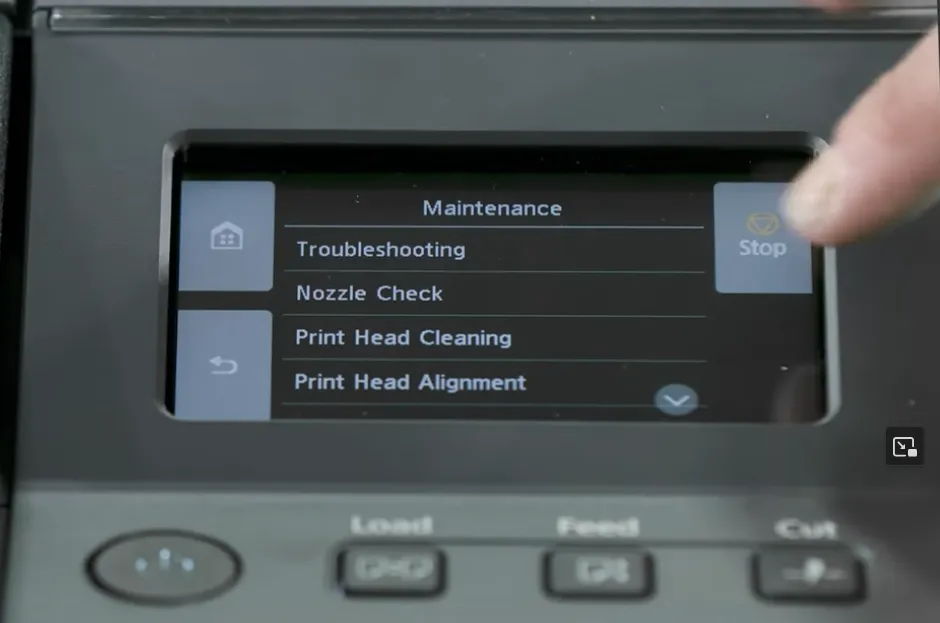
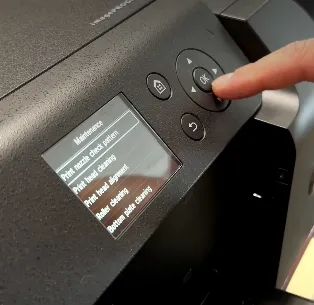
- Run a nozzle check from your printer’s maintenance menu.
- If you spot gaps, run one or two cleaning cycles.
- Avoid over-cleaning, though, it wastes ink fast.
Printer Banding and Print Quality Adjustments (Video Guide)
If you’re still seeing lines or uneven colors after cleaning your print head, this video from LexJet walks through easy ways to fix print banding and adjust print size accuracy.
The LexJet team explains how to correct two common issues: print banding and inaccurate print sizing. For banding, they suggest using your printer’s print quality adjustment feature, which auto-calibrates to remove lines. For sizing, they walk through length feed adjustments using a ruler to match output dimensions precisely.
Keep Nozzles from Drying Out
Sublimation ink dries faster than regular ink. If you don’t print often, it can clog the nozzles.
Prevention:
- Print a small color test page every few days.
- Turn your printer off properly (don’t unplug it) so it can park the heads correctly.
Watch for Print Head Alignment
If lines appear slanted or colors misalign, your print head might be slightly off.
Fix:
Run the print head alignment function found in your printer’s software. It’ll print a pattern and ask you to pick which line looks best.
Clean the Capping Station & Wiper
Dust or dried ink in your printer’s capping station or wiper can block nozzles. Use lint-free swabs and distilled water (or a recommended cleaning solution) to gently clean these parts once a month.
Use High-Quality Ink
Low-grade or expired ink clogs faster and can permanently damage your print heads. Stick with branded, fresh sublimation ink designed for your printer model.
Keep your printer running like new with Subli Genius Print’s maintenance checklist, or grab our recommended ink line that’s formulated to reduce clogging and improve nozzle flow.
Length Feed Adjustment (Dimensional Accuracy)
This method fine-tunes your printer to make sure the physical size of your prints is exactly right.
When to use it:
If your prints consistently come out slightly too small or too large, this is the adjustment you need, not the one for fixing banding.
Why it matters:
It’s especially important for precision jobs like:
- Engineering or schematics where prints must be accurate down to 1/6400 of an inch
- Canvas wraps that need perfect sizing to fit frames correctly
How to do it:
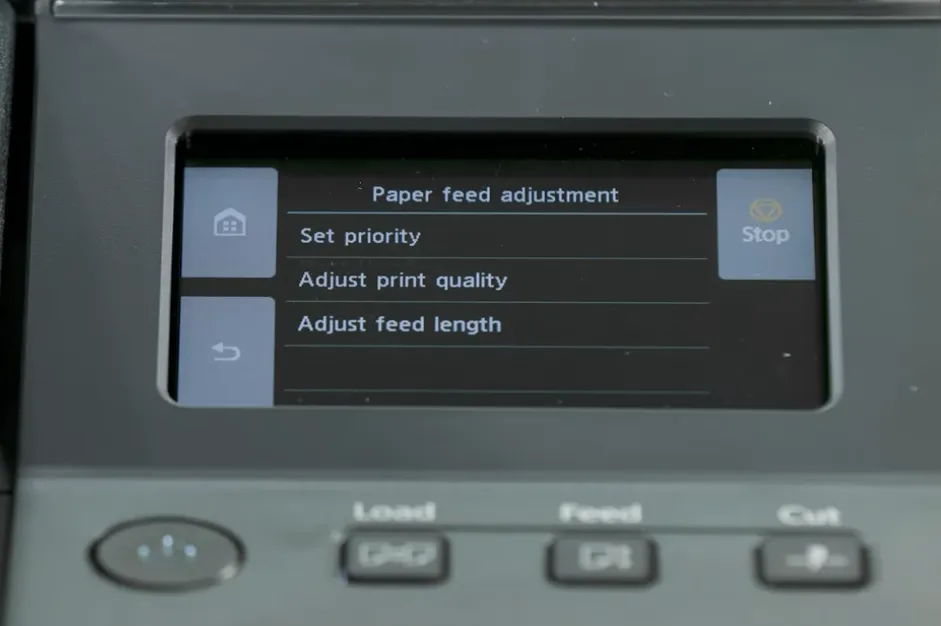
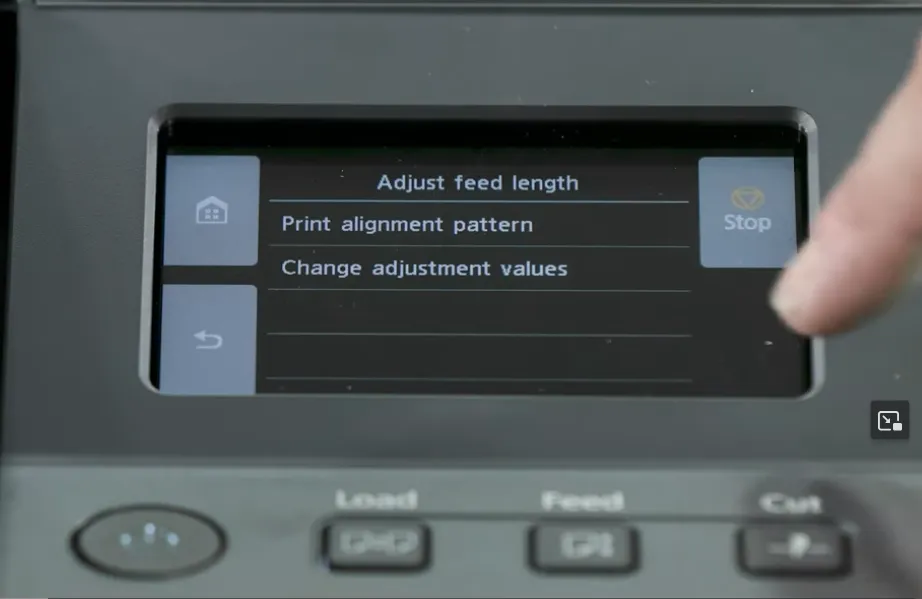
- Go to your printer’s Maintenance Menu and select Length Adjustment.
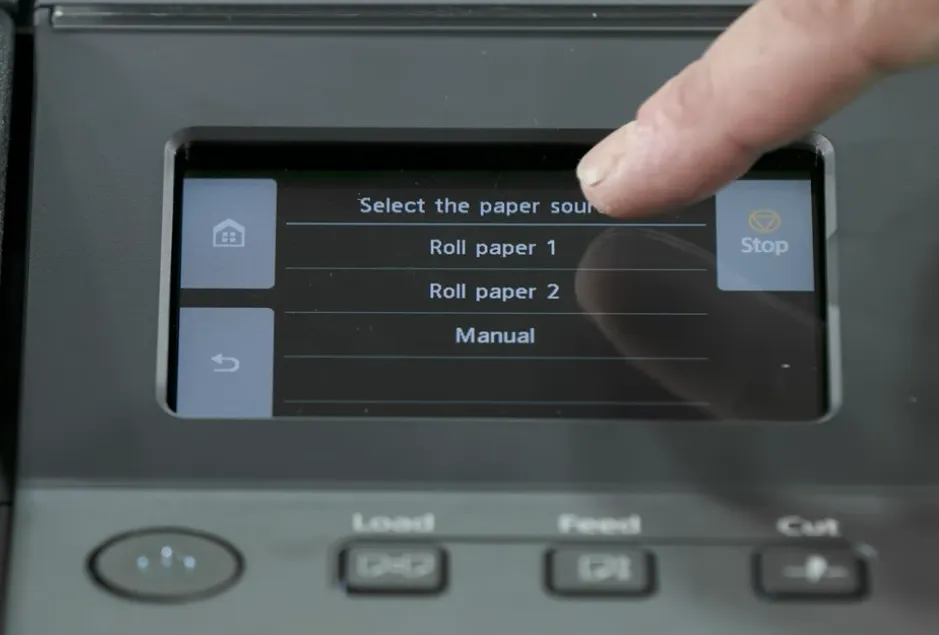
- Choose the correct media (roll or sheet) since calibration is media specific.
- Print a test page that includes a 30-inch ruler in inches and millimeters.
- Measure it with a metal ruler or yardstick for accuracy.
- Compare the printed length to the actual measurement, then input adjustments (+/-).
- Repeat until you hit 0% adjustment, which means perfect calibration.
Horizontal banding can sometimes improve after printing a few printer purge sheets PDF pages.
After using purge sheets, print a fresh printer test page to confirm whether the clogged lines have improved.
Print Quality Adjustment (Fixing Banding)
This is your go-to fix for visible lines or banding on prints when your media settings are already correct.
What it fixes:
- Gap banding: Faint white gaps between print lines
- Overlap banding: Ink lines overlapping too closely
How to do it:
- In the same menu, choose Print Quality Adjustment, then hit Auto.
- The printer prints a fine-line test pattern.
- It automatically scans that pattern and recalibrates to smooth out banding.
Why it’s great:
- Takes only a few minutes and uses minimal ink and paper (about 10 inches).
- Saves you from wasting larger, costly prints.
- You can rerun it anytime you switch between very different media types (like glossy vs. canvas).
- Length Feed Adjustment = fixes size accuracy for things like schematics and wraps.
- Print Quality Adjustment = removes lines and smooths colors for clean, band-free prints.
Together, they keep your prints sharp, accurate, and professional, without wasting materials.
How to Stop Your Print Head from Clogging So Often
If your printer keeps clogging every few days, it’s usually not broken, just needs better care and environment control. Here’s what helps most:
1. Keep it plugged in
Don’t unplug your printer. When it stays connected to power, it runs small self-cleaning cycles that prevent ink from drying in the nozzles.
2. Control humidity
Dry air makes clogs worse. A small humidifier near your printer keeps ink from drying out. Aim for balanced humidity, not condensation.
3. Print a quick test often
Running a tiny color test page once or twice a week keeps the ink flowing and nozzles clear, especially if you don’t print daily.
4. Clean the resting pad
The area where the print head parks can collect dried ink. Wipe it gently with a lint-free cloth and printer-safe cleaner now and then.
5. Use good ink and keep dust away
Stick with reliable ink brands and cover your printer when not in use to keep dust out and extend its life.
If your prints come out dull, misaligned, or blurry, this comprehensive guide to fixing sublimation printing mistakes walks you through the exact fixes step by step.
What’s the Most Common Cause of Banding?
The biggest reason for banding usually comes down to using the wrong media setting on your printer’s control panel. It’s the first thing you should double-check anytime you see visible lines or streaks in your prints.
If the correct media is already selected, especially if you’ve printed on that material before with no issues, then it’s time to run your printer’s Print Quality Adjustment from the maintenance menu. That setting automatically fine-tunes your print head alignment to fix gap banding (lines spaced too far apart) or overlap banding (lines printed too close together).
My Prints Have Banding: How Do I Fix It?
If your prints come out with streaks or uneven lines, that’s banding. It usually happens when the nozzles in your print head are partially blocked, stopping ink from flowing evenly onto the paper.
Here’s how to fix it:
- Run a nozzle check
This test shows which colors or sections aren’t printing correctly. If you see gaps or missing lines, it confirms that a nozzle is clogged. - Run a head cleaning cycle
Your printer will push ink through the nozzles to flush out any dried ink. You might need to repeat it once or twice for stubborn clogs. - Check your media settings
Make sure the paper type on your printer matches what you’re actually using. The wrong setting can also cause banding, even if the nozzles are clean.
To prevent future banding:
- Leave your printer powered on so it can run small auto-maintenance cycles.
- Print or run a quick nozzle check once a week to keep the ink flowing.
These small habits go a long way in keeping your prints smooth, sharp, and free from lines.
Getting faded or uneven colors? Make sure you’ve checked your sublimation paper settings before blaming your printer.
How to Avoid Banding When Printing Dark Images
Getting streaks or uneven gradients in darker prints? That’s classic banding, and it usually happens when your printer or file isn’t handling color and ink balance quite right. Here’s how to smooth it out.
1. Check your color mix
If you’re printing dark tones like black or deep gray, make sure they aren’t made up of only black ink. A richer black comes from blending cyan, magenta, yellow, and black (CMYK) together in balanced amounts.
If your gradient jumps from a full rich black to just a small percentage of plain black, that shift can cause visible banding. Keep small percentages of all four CMYK inks in your dark gradients for smoother transitions.
2. Let your printer handle color conversion
Most inkjet printers produce better results when you let them control the color management instead of sending them pre-converted CMYK files.
Try exporting your image in RGB and letting the printer driver handle the conversion to its own color space. This can help prevent gaps or oversaturation that sometimes lead to banding.
3. Calibrate with the right ICC profile
If your printer supports direct CMYK printing, make sure you’re using an ICC profile built for that exact printer, ink, and paper combo. Every printer has a limit to how much ink it can lay down, and exceeding that can create banding, blotches, or uneven color.
4. Balance your ink load
Too much ink makes colors muddy, too little causes streaks. Check your printer’s total ink limit settings or try reducing saturation slightly in your RIP or print driver until dark areas look smooth but still rich.
Quick tip:
Always do a small test print before a big job. If you see lines or uneven shading, adjust your color settings first, it’s usually a digital setup issue, not a hardware one.