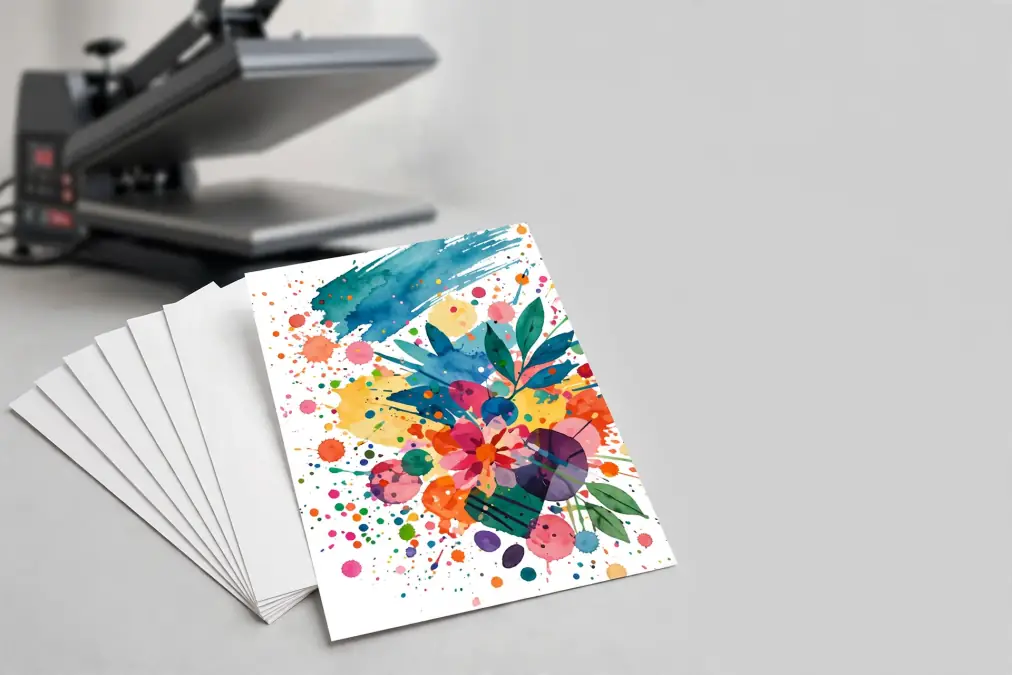
A-SUB Sublimation Paper Instructions: Print Side, Settings & Setup

Your color barely shows up after pressing, or it transferred fine last time but came out patchy this time, even though nothing in your process changed.
With A-SUB paper, that almost always traces back to one of three things: which side you printed on, whether your heat press is actually hitting the temperature it says, or how you’re handling the sheet itself.
This guide walks through all three, plus one question worth settling before you print anything: whether you can put a design on both sides of the same sheet.
Can You Print on Both Sides of A-SUB Sublimation Paper?
No. A-SUB sublimation paper, like most sublimation transfer paper, only carries the sublimation coating on one side. That coating is what lets the ink turn into a gas and bond to your blank when heat hits it.
Print sublimation ink onto the uncoated back of the sheet and the ink just sits on plain paper with nothing to bond to.
Pressing that side against a blank produces little to no transfer, and whatever does transfer usually looks faint and patchy.
This trips people up because it seems reasonable to expect the same flexibility as iron-on vinyl, where using both sides of a sheet is a normal option. Sublimation paper doesn’t work the same way.
If you’re trying to get more use out of each sheet, arrange multiple designs on the printable side instead of trying to use the back.
Most design software lets you lay out several small designs on a single letter or A4-size sheet before printing, the same way you’d arrange several stickers on one page. That gets you more prints per sheet without wasting the uncoated side.
What You Need for A-SUB Sublimation Paper
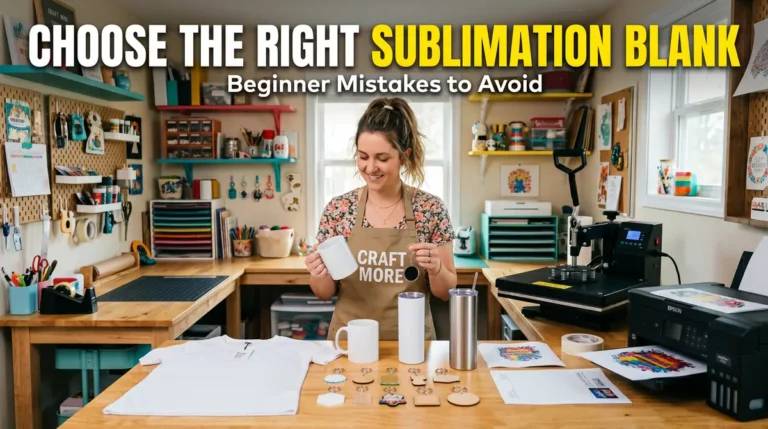
A-SUB paper only performs as well as the setup around it. Before you print anything, confirm you have:
- A sublimation printer loaded with sublimation ink. Regular inkjet ink will not sublimate, no matter how good the paper is.
- A-SUB sublimation paper sized to match your printer and project.
- A heat press or another device that holds a consistent set temperature. A household iron doesn’t hold heat evenly enough for reliable results.
- Heat-resistant tape, to keep the paper from shifting during pressing.
- A polyester or polymer-coated blank, such as a shirt, mug, tumbler, or hard surface.
- A lint roller, if you’re working with a fabric blank.
What Sizes Does A-SUB Sublimation Paper Come In?
A-SUB sells its paper in a few standard formats, and picking the right one depends on your printer and how much you’re printing at once.
Letter size (8.5 x 11 inches) fits most home inkjet printers converted for sublimation and covers the majority of small projects like mugs, ornaments, and single apparel transfers.
11 x 17 inches works for larger single designs or printers with a wider paper path, useful if you’re doing full-front shirt designs or larger tumbler wraps that need more surface area in one print.
Roll formats, typically sold in widths matching wide-format sublimation printers, make sense once you’re running high enough volume that individual sheets slow you down. Rolls also cut down on packaging waste per print, though they require a printer built to feed from a roll rather than a sheet tray.
If you’re only sublimating occasionally, letter size is the practical starting point. Move up to 11×17 or rolls once your order volume or design size makes single sheets a bottleneck.
Which Side of A-SUB Sublimation Paper Do You Print On?
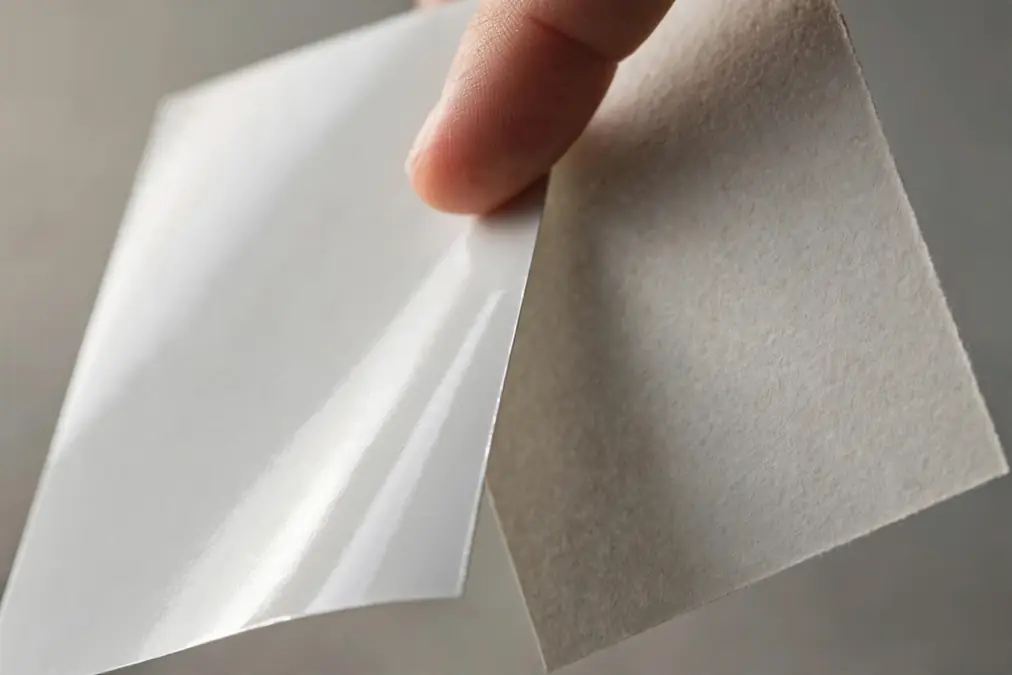
A-SUB paper has a coated print side and an uncoated back, and the two are close enough in appearance that it’s easy to load a sheet backward, especially under artificial light. A few ways to tell them apart:
- Brightness: hold both sides up to the light. The coated print side looks slightly brighter and whiter than the back.
- Feel: run a finger lightly across each side. The coated side feels a touch smoother, sometimes faintly tacky, while the back feels more like ordinary paper.
- Curl: sheets that have been sitting out often curl slightly toward the coated side.
- Packaging: check the ream wrapper or box insert. Many A-SUB packs mark the print side directly.
If you’re still unsure after checking these, print a small test image on one side. A clear, saturated result once pressed means you loaded it correctly.
A washed-out result at the right heat settings means the sheet was backward, so flip it for the next attempt. Check our guide how A-SUB compares to TexPrint and Hiipoo
Tip: Once you confirm the correct orientation for a full ream, mark the paper tray or the ream itself. That saves you from re-checking the print side every time you refill.
A-SUB Sublimation Paper Instructions: Step-by-Step Setup
Load the Paper Correctly
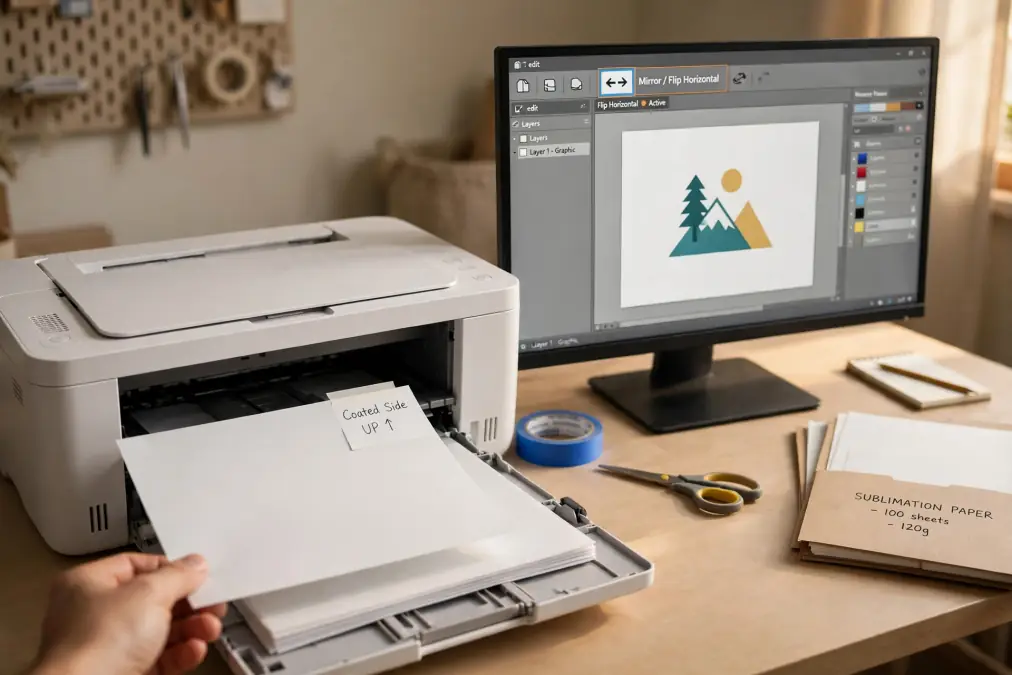
Load the sheet with the coated print side facing the direction your printer feeds ink onto. Some home inkjet printers used for sublimation load face-up, others face-down, so check your printer’s manual once and keep loading it the same way going forward.
Set your printer’s paper type to plain paper or matte presentation paper rather than photo paper. Photo paper settings often lay down more ink than the sublimation coating needs, which can leave colors oversaturated or slow to dry before pressing.
Mirror and Print Your Design
Mirror your design before printing. This step gets skipped constantly, and it’s the reason text and directional designs come out backward on the finished product. Most design software has a flip horizontal or mirror option built in for exactly this.
Our guide on printing a sublimation image without messing it up covers this step in more detail if you’re new to the process.
Print at your printer’s highest quality setting. Sublimation depends on getting enough ink density onto the coated paper for a full color transfer, and a draft or standard print setting can leave colors looking pale even on a correctly loaded sheet.
A-SUB Recommended Heat Press Settings
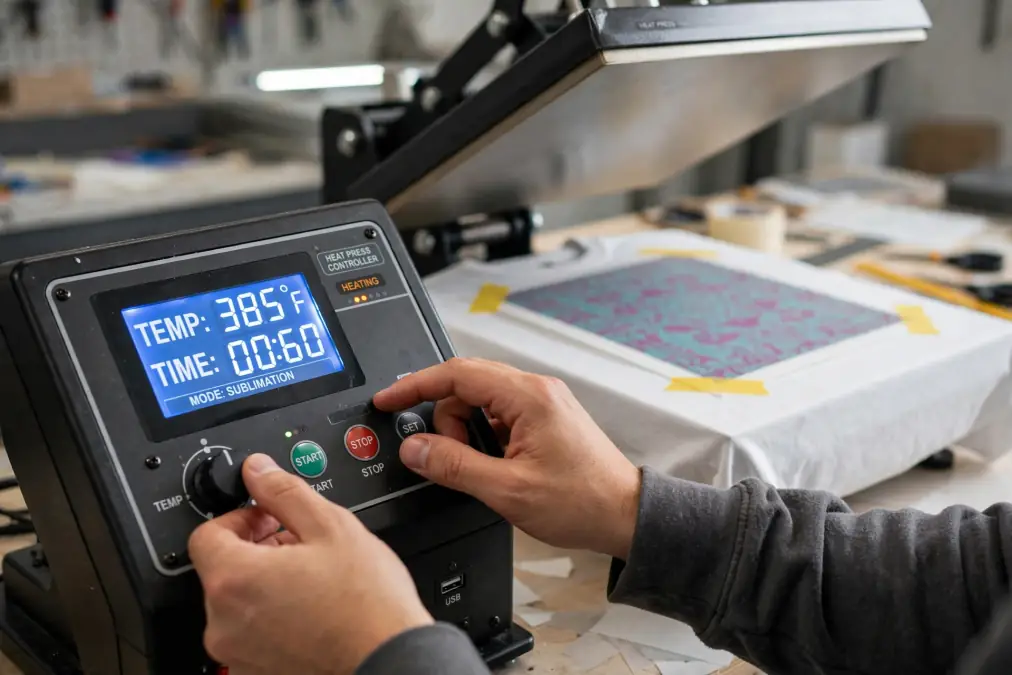
A-SUB lists 400°F (210°C) for about 20 seconds as its starting recommendation for textile transfers. Treat that as a starting point rather than a fixed rule, since heat press settings are driven more by your ink and blank than by the paper itself. If your ink manufacturer publishes different guidance, follow that over any general number.
For most polyester apparel, home sublimation setups typically land somewhere in the 375°F to 400°F range for 40 to 60 seconds. Hard substrates like mugs, tumblers, and coated blanks often need longer press times even at similar temperatures, since heat has to work its way through a rigid surface.
Our sublimation temperature chart breaks down settings by substrate if you’re working with more than one blank type.
Whatever setting you land on, confirm your press is actually hitting that temperature. Home and entry-level heat presses can run 10 to 20 degrees off the display reading, which is enough on its own to produce dull or patchy transfers even when everything else in your process is correct.
Here’s how to check whether your heat press temperature is accurate.
Can You Reuse A-SUB Sublimation Paper After Pressing?
Not reliably. Sublimation paper is built for one transfer. During pressing, the coating releases nearly all of its ink into the blank, and what’s left on the sheet afterward isn’t enough for a second full-strength print.
You can technically press the same sheet a second time, and you’ll usually get a visible image, but it comes out noticeably lighter and less saturated than the first pass. That’s fine for checking alignment or testing a placement, but it’s not something to plan around for a paying order.
Budget one sheet per finished transfer, and treat a usable second press as a bonus rather than a backup.
Does A-SUB Sublimation Paper Print White Ink?
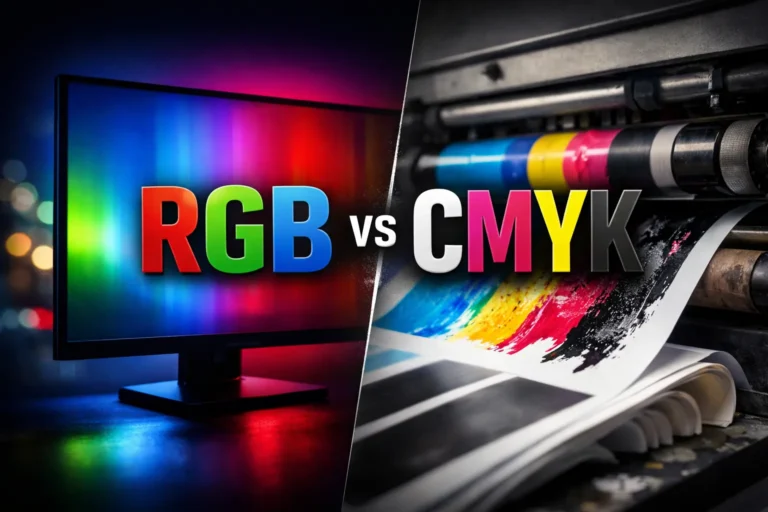
No, and this isn’t specific to A-SUB. Standard sublimation ink is CMYK based, meaning it’s mixed from cyan, magenta, yellow, and black dyes that are all translucent. There’s no white in that mix, so nothing in a typical sublimation setup lays down opaque white ink.
Any white area in your design simply prints as no ink at all, which means the color of your blank shows through instead. On a white shirt or mug, that reads as white. On a colored or dark blank, the same area shows the blank’s actual color, since nothing is covering it.
If a project depends on true white on a colored or dark surface, that calls for a different process rather than a settings change within standard sublimation.
Our guide on whether sublimation printers can print white walks through what those alternatives actually involve.
A-SUB Paper Not Transferring Right? Common Fixes
If results are inconsistent, especially between one order and the next, work through these before assuming the paper itself is bad:
- Faded or pale transfer: check the print side first. This is the most common cause, especially with a new pack that doesn’t have an obvious visual difference between sides. Confirm with a small test print before running a full job.
- Ghosting or blurred edges: the paper shifted during pressing. Heat-resistant tape on all four corners solves most of this, particularly on curved or padded blanks where the sheet can slide.
- Patchy or uneven color: usually moisture, either in the paper or the blank. Store A-SUB paper flat, sealed, and away from humidity, and pre-press fabric blanks for a few seconds to drive out trapped moisture before placing your design.
- Missing lines or banding in the print itself: this points to the printer, not the paper. Clogged nozzles are the usual cause, and our guide to unclogging a sublimation printer walks through clearing them.
- Problems across an entire batch: if every sheet from one order behaves differently than your usual paper, the batch itself may be off. It happens more often with bulk or unfamiliar suppliers, and it’s worth vetting your paper supplier before reordering in bulk.
What Size Should You Buy for A-SUB Sublimation Paper?
A-SUB is sold in the standard sizes most home setups use: 8.5 x 11 inches for mugs, tumblers, and small apparel, and larger formats like 11 x 17 for full adult prints if your printer can feed that width.
Letter size covers the majority of projects and is the practical starting point if you’re new to A-SUB. For a full breakdown of which size fits which project and printer, see our sublimation paper sizes guide.
Frequently Asked Questions
Can you use A-SUB sublimation transfer paper with any printer?
No. A-SUB paper needs a printer loaded with sublimation ink, whether that’s a converted inkjet printer or a dedicated sublimation printer. Standard inkjet or laser ink won’t sublimate under heat, regardless of which paper you use.
Which side of A-SUB sublimation paper do you print on?
The coated side, which looks slightly brighter and feels marginally smoother than the uncoated back. Check brightness, texture, and curl if you’re unsure, and confirm with a small test print before running a full batch.
What are A-SUB’s recommended heat press settings?
A-SUB lists 400°F (210°C) for about 20 seconds for textiles as a starting point, though your ink manufacturer’s guidance and your specific blank should take priority if they differ.
Can you reuse A-SUB sublimation paper after pressing?
Not reliably. A second press usually produces a visible but noticeably faded image, since most of the ink transferred during the first pass.
Does A-SUB sublimation paper print white?
No. Standard sublimation ink has no white channel, so white areas in a design print as no ink, letting the blank’s own color show through instead.
Check our guide for about vetting your paper supplier.
Getting Consistent Results
Most A-SUB paper issues trace back to one of three things: the wrong side of the sheet, a heat press that isn’t hitting its actual set temperature, or paper that shifted during pressing. Run a test print before committing to a full batch, especially with a new pack or a blank you haven’t used before, and you’ll catch most of these before they turn into a wasted transfer.