Why Is Sublimation Paper Sticking to My Tumbler? Causes & Fixes

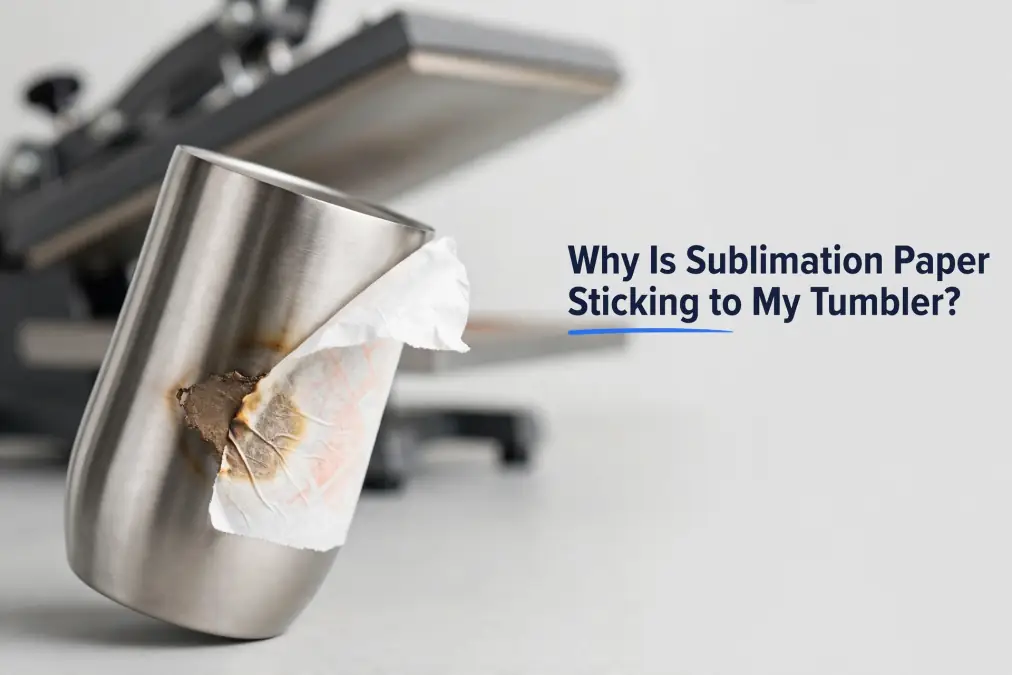
If your sublimation paper is sticking to your tumbler, browning, or leaving a powdery residue behind, you’re not doing anything unusual. This is one of the most common problems new tumbler sublimators run into, right up there with faded colors and ghosting.
It happens often enough in the first few projects that it’s practically a rite of passage, not a sign you’ve ruined your press or your blank.
The good news is that the cause is almost always one of a small number of things: too much heat, too much time, or a tumbler that wasn’t a great match for sublimation in the first place. None of those require replacing equipment. They require a few adjustments and a test press before your next full run.
Quick fix:
- Reduce heat press temperature by 10 to 30°F, and/or cut press time by a few seconds to a minute.
- Use heat-resistant tape actually rated for press temperatures, not general craft tape.
- Let the tumbler cool for a few minutes before peeling, rather than immediately or after it’s gone fully cold.
- Run a test press on a spare tumbler before committing to a full batch.
How Sublimation Actually Bonds to a Tumbler
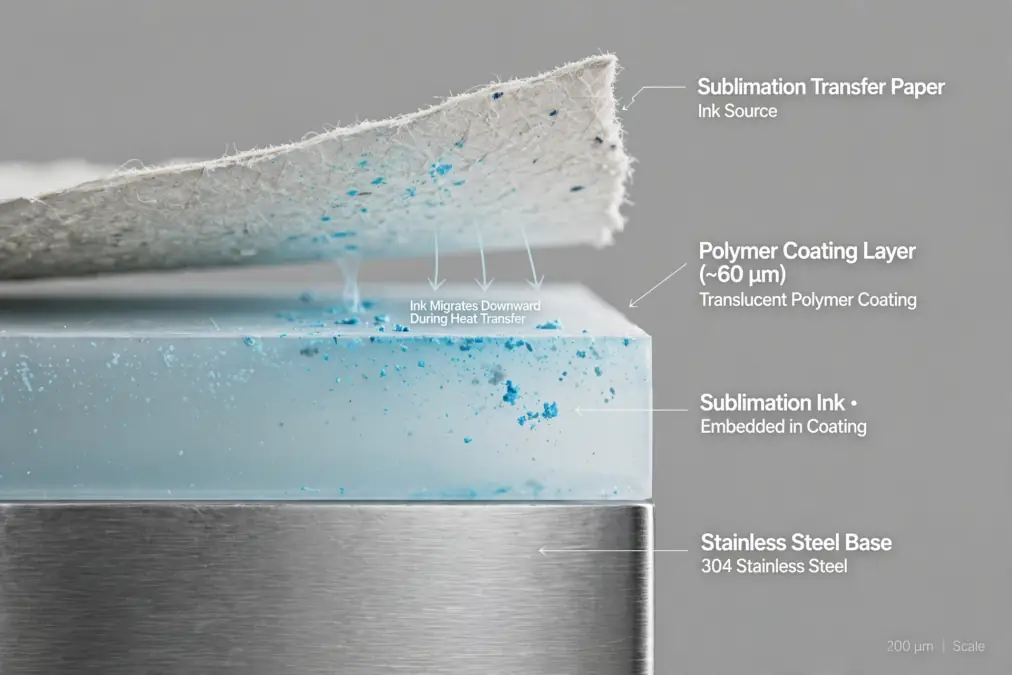
Sublimation works because the tumbler itself has a polymer or polyester coating designed to receive it. Standard, uncoated glass, plain stainless steel, and most ceramic won’t bond with sublimation ink at all, no matter how correct your settings are. The coating is what makes the whole process possible.
During pressing, heat converts the ink on your transfer paper from a solid directly into a gas, skipping the liquid stage entirely. That gas moves into the coating on the tumbler’s surface. As the tumbler cools, the gas reverts to a solid, locking the design permanently into the coating rather than sitting on top of it like paint or a sticker.
This is also why glass drinkware needs a specific sublimation-ready coating, sometimes marketed under a branded name, applied before the glass ever reaches your heat press. Standard drinking glasses don’t have this coating, and no amount of adjusting your press will get ink to bond to bare glass.
If you’re working with glass specifically, our guide to sublimating on glass covers what to look for in a blank before you start.
Sticking happens when this process goes wrong at the coating level. If the coating gets too hot for too long, it can soften or partially melt, and the paper fuses into it instead of releasing cleanly once the tumbler cools.
Why Sublimation Paper Sticks to a Tumbler
A handful of causes account for nearly every sticking problem:
- Too much heat or press time: this is the most common cause by a wide margin. Sublimation coatings have a temperature range they’re built for, and pushing past it, even briefly, can cause the paper to fuse to the surface instead of releasing.
- An incompatible or low-quality tumbler: not every blank sold as sublimation-ready has a consistent, well-applied coating. Cheaper or off-brand tumblers are more prone to sticking, since an uneven coating heats unevenly.
- Thin or low-quality sublimation paper: paper that isn’t built for curved, high-heat applications can soften or deform under press conditions that a heavier, tumbler-rated paper would handle fine.
- Trapped moisture: moisture in the paper or on the blank interferes with a clean release, and can contribute to uneven sticking in specific spots rather than across the whole design.
- Uneven or excessive pressure: too much pressure can push the paper harder into a coating that’s already close to its heat limit, increasing the chance it fuses rather than releases.
Most of the time, it’s a combination of two of these rather than just one, which is part of why the same settings that worked on one tumbler brand can fail on another.
What Your Tumbler Is Telling You
The specific way your paper is sticking is a useful diagnostic clue, not just an annoyance.
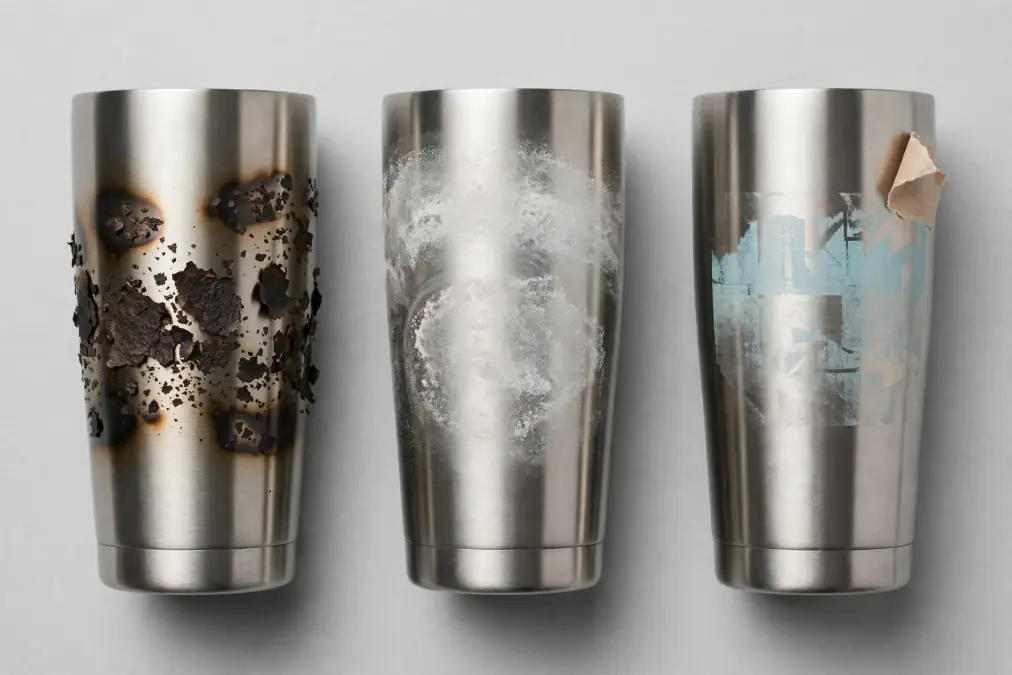
Brown or carbonized paper that’s fused to the tumbler almost always means too much heat, too much time, or both. This is the clearest signal to dial your settings back before your next attempt.
A powdery, chalky residue left behind, without obvious browning, usually points to the coating itself melting at a lower threshold than your settings assume. This can happen even at settings that work fine on a different tumbler brand, since coating formulations vary.
A faint or incomplete image with the paper still stubbornly stuck tells a different story: your settings might actually be too low rather than too high, or your wrap didn’t have even contact with the tumbler surface. In this case, the ink hasn’t fully transferred, so what’s sticking is closer to unreleased ink than melted coating.
This is worth separating from browning or residue, since the fix runs in the opposite direction. If you’re seeing this and suspect your equipment more than your settings, our comparison of mug presses versus convection ovens covers how the two methods handle heat differently.
How to Fix and Prevent It
Start with the most common cause first: reduce your temperature by 10 to 30 degrees Fahrenheit, or cut your press time by a few seconds to a minute, and run a test press on a spare tumbler before touching your actual project. Our guide to tumbler temperature settings has starting points by material if you’re not sure where to begin.
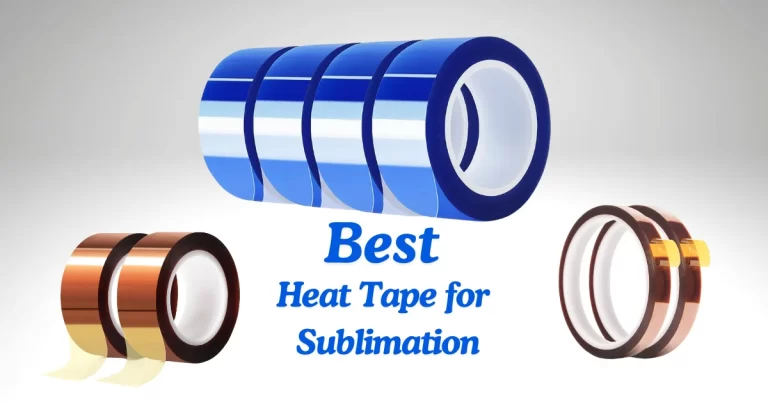
Switch to heat-resistant tape that’s actually rated for heat press temperatures. General craft tape or masking tape can soften, leave adhesive behind, or fail to hold the wrap snugly enough, all of which contribute to sticking and uneven transfers.
Our comparison of heat tapes for sublimation breaks down which options hold up best.
Wrap the tumbler tightly and evenly, working out air bubbles and wrinkles as you go. A loose or wrinkled wrap creates inconsistent contact with the coating, which can cause sticking in some spots and faded color in others on the same tumbler.
Don’t overtighten your press. More pressure isn’t automatically better, and excessive pressure on a coating that’s already near its heat limit makes sticking more likely, not less.
Let the tumbler cool for a few minutes before peeling. Peeling while it’s still extremely hot risks smearing ink that hasn’t fully set, while leaving it far too long can make already-fused paper harder to remove cleanly.
Why You Need to Rotate a Tumbler in a Heat Press
Rotating a tumbler partway through pressing solves two different problems depending on your setup, and it’s worth knowing which one applies to you.
If you’re using a convection oven or a sublimation oven, the tumbler is being heated from all directions but not always evenly. Rotating it halfway through the cycle prevents one side from overheating while the other stays underdone, which is a common contributor to sticking on just part of a design rather than the whole thing.
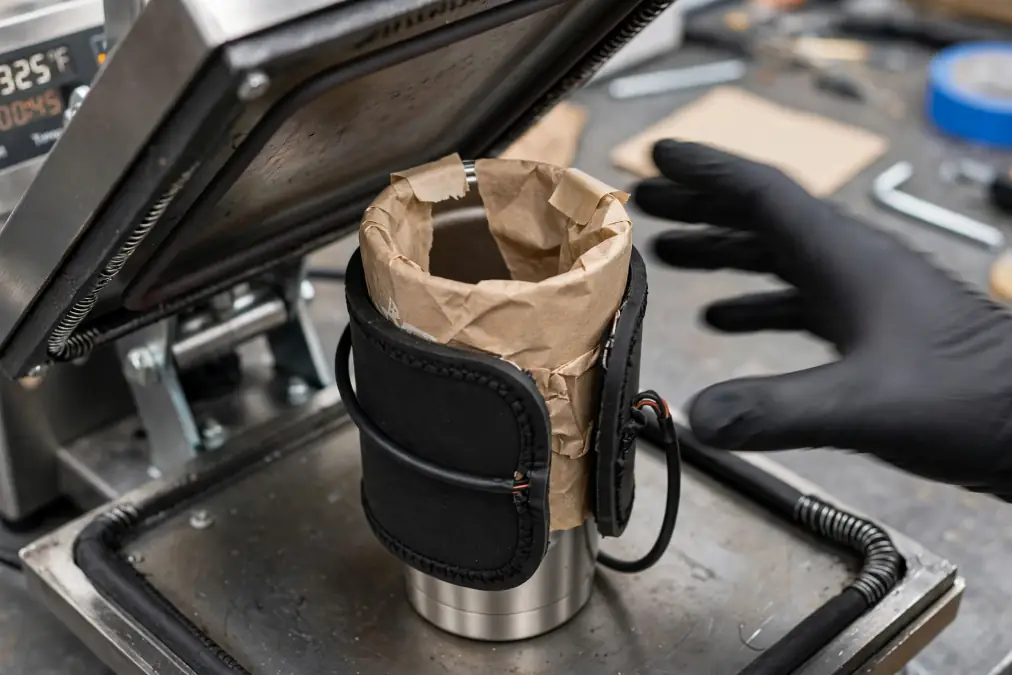
If you’re using a wrap-style or clamshell tumbler press, the issue is different. Many of these presses don’t fully enclose the tumbler’s circumference in a single cycle, there’s often a visible gap where the paper isn’t covered.
Rotating the tumbler 180 degrees and pressing a second time is how you cover that remaining section, not an optional extra step. Skipping it doesn’t usually cause sticking on its own, but it does mean part of your design never gets properly pressed at all.
Removing Paper Residue or Tape Marks From a Tumbler
If paper has already stuck and you’re trying to salvage the tumbler, a few methods work depending on what’s actually stuck.
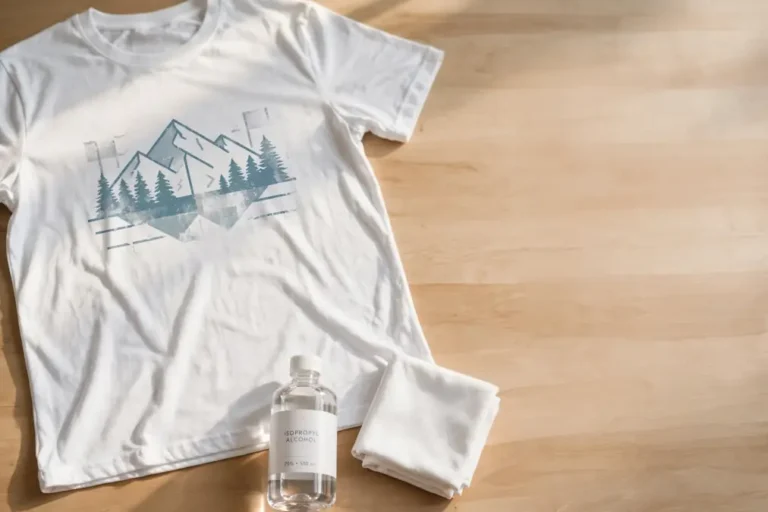
For light residue, rubbing alcohol on a soft cloth usually lifts it without damaging the coating underneath. Work in small sections and avoid abrasive scrubbing, which can scratch a coated surface.
For tape residue specifically, warming the area slightly with a heat gun or hairdryer softens the adhesive and makes it easier to lift, followed by rubbing alcohol to clear what’s left behind. Using proper heat-resistant tape rated for your press temperature in the first place prevents most of this.
For more stubborn residue that alcohol won’t touch, a dedicated adhesive remover can help, though it’s worth testing on a small, inconspicuous area first to confirm it won’t affect the coating.
If the tumbler is otherwise undamaged underneath the residue, it’s usually salvageable for a fresh design once it’s clean and completely dry.
If you’re dealing with a full ink transfer you need removed entirely rather than just paper residue, that’s a different process, covered in our guide to removing sublimation ink from mugs.
First Time Sublimating a Tumbler? Start With These Checks
Paper sticking on your first tumbler usually does not mean your printer or heat press is defective. Start by checking the blank, heat, time, pressure, and paper before changing several settings at once.
Use what you see on the finished tumbler as a clue:
| What you see | Check first |
|---|---|
| Brown or scorched paper | Too much heat or too much time |
| Paper stuck across most of the tumbler | Heat, time, pressure, or coating |
| Paper sticking only in patches | Uneven contact, moisture, dust, or surface contamination |
| Tape marks around the design | Excessive pressure, overheated tape, or unsuitable tape |
| Faded areas beside stuck areas | Uneven wrap contact or inconsistent heating |
| Paper fibers left on the coating | Paper quality, excessive heat, or softened coating |
Change one setting at a time on the next test. For example, lower the temperature first while leaving the time and pressure unchanged. If you change temperature, time, pressure, paper, and tape together, you will not know which adjustment solved the problem.
For other symptoms such as ghosting, banding, fading, or color shifts, use the common sublimation printing problems guide to diagnose them separately.
Using a 20 Oz Tumbler? Do Not Rely on One Universal Setting
A 20 oz tumbler does not automatically require one specific temperature or pressing time. Two tumblers with the same capacity can use different coatings, wall construction, and manufacturer instructions.
Before pressing a new 20 oz blank, check:
- The blank manufacturer’s temperature recommendation
- Recommended pressing or oven time
- Whether the tumbler needs to be rotated
- Recommended pressure
- Whether the transfer should be removed hot, warm, or after cooling
- Whether the instructions are for a tumbler press, mug press, or convection oven
This matters because changing equipment can change the required process even when the tumbler size stays the same.
If paper sticks on a 20 oz tumbler that previously worked, don’t immediately assume the size is the problem. Compare the tumbler brand, coating, paper, pressure, and actual press temperature with your successful run.
The Heat Press Settings Calculator can give you a starting point, but the blank manufacturer’s instructions should take priority.
Should You Rotate a 20 Oz Tumbler?
Rotate it when your press or oven setup requires rotation for even heating.
A press that does not heat the full circumference may require a second press after turning the tumbler. A horizontally placed tumbler in an oven may also need halfway rotation.
Don’t automatically add a second full heating cycle to every tumbler. Extra heat can turn a coverage fix into an over-pressing problem.
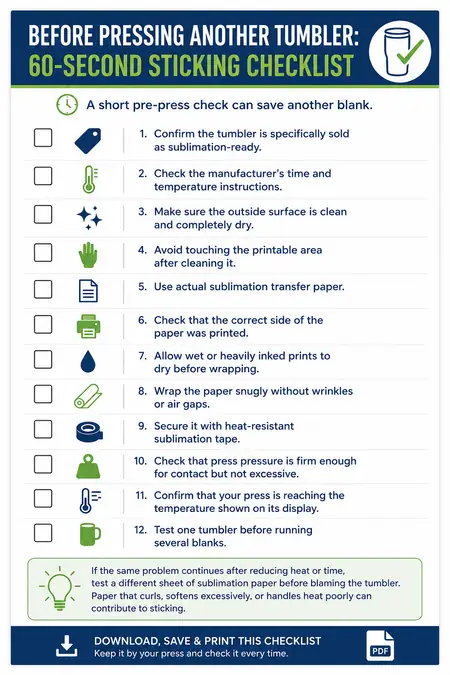
Before Pressing Another Tumbler: 60-Second Sticking Checklist
A short pre-press check can save another blank.
- Confirm the tumbler is specifically sold as sublimation-ready.
- Check the manufacturer’s time and temperature instructions.
- Make sure the outside surface is clean and completely dry.
- Avoid touching the printable area after cleaning it.
- Use actual sublimation transfer paper.
- Check that the correct side of the paper was printed.
- Allow wet or heavily inked prints to dry before wrapping.
- Wrap the paper snugly without wrinkles or air gaps.
- Secure it with heat-resistant sublimation tape.
- Check that press pressure is firm enough for contact but not excessive.
- Confirm that your press is reaching the temperature shown on its display.
- Test one tumbler before running several blanks.
If the same problem continues after reducing heat or time, test a different sheet of sublimation paper before blaming the tumbler. Paper that curls, softens excessively, or handles heat poorly can contribute to sticking.
For choosing paper by project and paper type, see the best sublimation paper guide.
Can You Save a Tumbler After the Paper Sticks?
Sometimes. The decision depends on whether only paper fibers are stuck to the surface or the tumbler’s sublimation coating has been damaged.
Try to save it when:
- The design underneath still looks sharp.
- Only small paper fibers remain.
- There is light tape adhesive on the surface.
- The coating is still smooth and intact.
Use gentle cleaning methods first. Avoid scraping the surface with metal tools or abrasive pads.
Use it as a test tumbler when:
- The coating looks bubbled, rough, yellowed, or peeled.
- Removing the paper pulls part of the finish away.
- The design has severe scorching or permanent discoloration.
- The blank would not meet the quality standard for a customer order.
A damaged tumbler can still be useful. Mark it as a test blank and use it when checking pressure, wrap placement, tape positioning, or new press settings. That gives a failed blank a useful job without risking another sellable tumbler.
Hot Peel or Cool Peel?
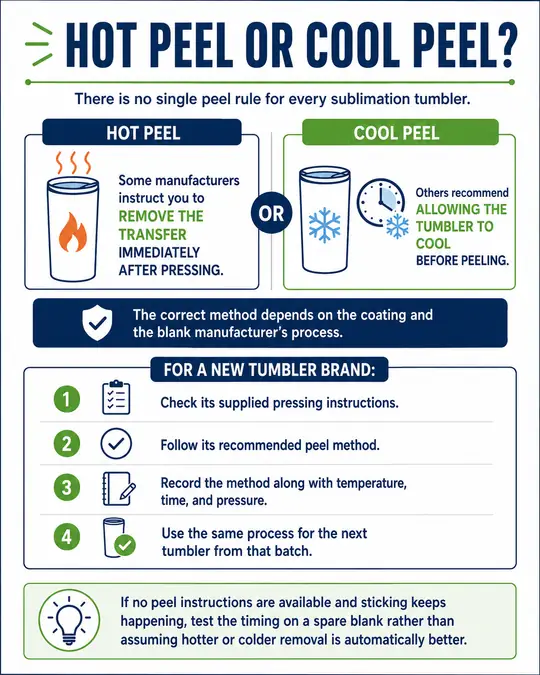
There is no single peel rule for every sublimation tumbler.
Some manufacturers instruct you to remove the transfer immediately after pressing. Others recommend allowing the tumbler to cool before peeling. The correct method depends on the coating and the blank manufacturer’s process.
For a new tumbler brand:
- Check its supplied pressing instructions.
- Follow its recommended peel method.
- Record the method along with temperature, time, and pressure.
- Use the same process for the next tumbler from that batch.
If no peel instructions are available and sticking keeps happening, test the timing on a spare blank rather than assuming hotter or colder removal is automatically better.
Frequently Asked Questions
How long do you press a tumbler for sublimation?
Most tumbler presses run 40 to 60 seconds at 350°F to 400°F, though the exact settings depend on your tumbler brand and press type. Our tumbler temperature guide breaks this down further by material.
What are the common problems with sublimation tumblers?
Paper sticking, ghosting from a shifted wrap, faded color from insufficient heat or time, and uneven color from a loose or wrinkled wrap are the issues that come up most often. Most trace back to heat, time, or how securely the design was wrapped.
What is the best sublimation paper for tumblers?
A heavier, tumbler-rated sublimation paper generally performs better than lightweight paper meant for flat items, since it holds up better against the curved surface and higher heat exposure. Our sublimation tumbler blanks guide covers paper and blank pairings that work well together.
How do you get sublimation off a tumbler?
Removing a full design is different from cleaning up paper residue. It usually involves heat, solvents like rubbing alcohol, or in some cases a paint stripper, and it rarely removes ink completely. See our guide to removing sublimation ink from mugs for the full process.
How do I line up a sublimation print evenly on a mug?
Wrap the paper around the mug first without taping it down, checking that the design sits the same distance from the handle on both sides, then tape it in place once it’s centered.
What sizes are available for sublimation glass drinkware?
Sizing varies by supplier, but common options include standard drinking glasses, wine glasses, and various tumbler capacities, typically in the same range as stainless steel tumblers. Check your specific supplier’s listings, since sizing isn’t standardized industry-wide.
The Bottom Line on Sticking
Sticking paper feels like a bigger problem than it usually is. In almost every case, it comes down to too much heat, too much time, or a tumbler whose coating wasn’t a great match for your settings.
Dial back your temperature or time, secure your wrap properly, and run a test press before your next full batch.
Once you find the right settings for a specific tumbler brand, sticking becomes the exception rather than something you’re troubleshooting every time.