How to Set Up Heat Press for Sublimation (Pressure, Calibration & Setup Guide)
Heat press setup is one of the most overlooked parts of sublimation printing. Even when temperature and time are correct, poor pressure calibration or uneven platen alignment can cause faded edges, ghosting, or patchy transfers.
This guide focuses on how to correctly set up a heat press for sublimation, including pressure adjustment, platen alignment, and heat distribution checks.
If you need exact temperature and time charts for materials, see the complete sublimation temperature chart.
How to Set Up Heat Press for Sublimation
Proper heat press setup is critical for consistent sublimation results. While temperature and time vary by material, pressure calibration, platen alignment, and heat distribution determine whether your transfers appear sharp, faded, or uneven.
This guide explains how to correctly configure a heat press for sublimation, including:
- pressure calibration
- platen alignment
- heat distribution checks
- machine setup for different blanks
For detailed material settings, see our complete sublimation temperature chart and heat press time guide.
Heat Press Pressure Guide for Sublimation
Correct pressure ensures the sublimation transfer remains in full contact with the material surface during pressing.
| Material | Recommended Pressure | Notes |
|---|---|---|
| Polyester fabric | Medium | Prevents press marks |
| Metal panels | Medium–Firm | Ensures full contact |
| Ceramic mugs | Medium | Use mug press or wrap |
| Acrylic | Light–Medium | Avoid warping |
| Phone cases | Medium | Use jig insert |
| MDF blanks | Medium | Remove protective film |
Too much pressure can leave press marks, while insufficient pressure may cause faded or uneven transfers.
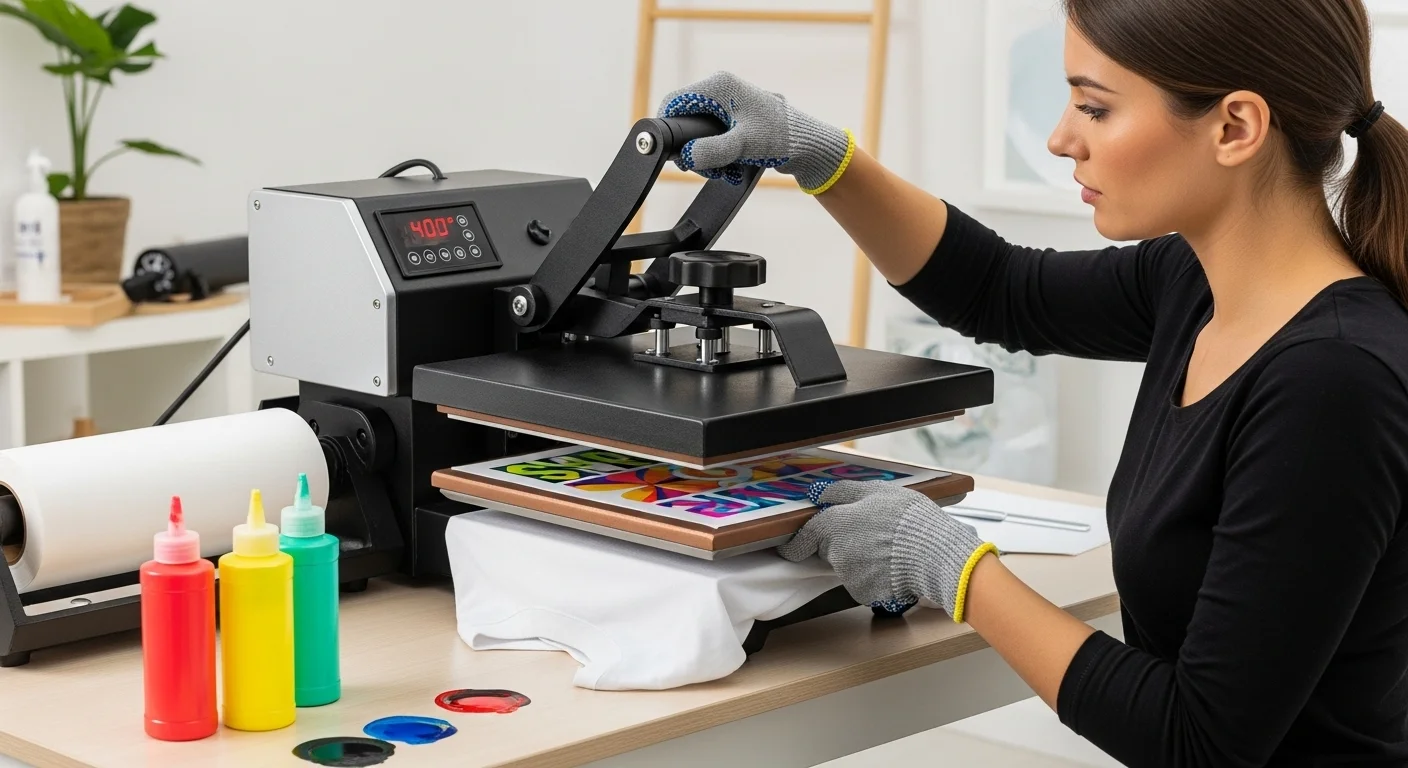
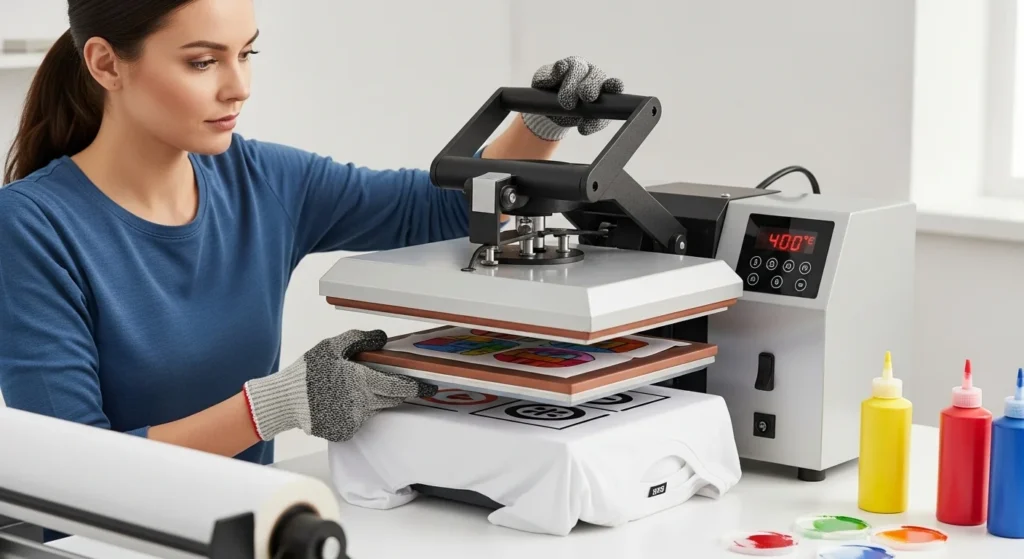
Heat Press Setup for Sublimation
Before pressing your first sublimation transfer, configure the heat press correctly.
1. Check Platen Alignment
The upper and lower platens should meet evenly across the entire pressing surface.
Signs of misalignment:
- faded corners
- uneven transfers
- ghosting near edges
2. Adjust Pressure Correctly
Pressure is usually controlled by the adjustment knob above the platen.
A good rule:
- light pressure for delicate materials
- medium pressure for fabrics and most blanks
- firm pressure for metal or thicker substrates
3. Preheat the Press
Allow the heat press to warm up for 5–10 minutes before starting production.
This ensures consistent heat distribution across the platen.
How to Test Heat Distribution
Even expensive heat presses can develop hot or cold spots.
Test heat consistency by:
- placing a sheet of sublimation paper across the platen
- pressing for 10 seconds
- checking color consistency
Uneven heating may require:
- platen replacement
- temperature recalibration
- pressure adjustment.
For detailed time and temperature charts, see our complete sublimation temperature guide.
How to Calibrate Heat Press Pressure
Follow these steps to calibrate pressure:
- Place a blank substrate inside the press
- Close the press and adjust the pressure knob
- Ensure even resistance when locking the handle
- Check that the platen contacts the material evenly
Correct pressure ensures the sublimation transfer remains in full contact with the substrate.
Heat Press Problems Caused by Incorrect Pressure
| Issue | Likely Cause | Fix |
|---|---|---|
| Faded edges | Uneven pressure | Adjust platen pressure |
| Press marks | Too much pressure | Reduce pressure slightly |
| Patchy transfer | Poor platen contact | Check platen alignment |
| Blurry transfer | Movement during pressing | Secure transfer with heat tape |

Again, always check the specific instructions for your heat press and materials, as these can vary.
Check out Sublimation Heat Guide: Unlocking the Art of Printing
For expanded problem diagnostics: Comprehensive Guide to Fixing Sublimation Printing Mistakes
Common Heat Press Setup Problems
| Problem | Cause | Fix |
|---|---|---|
| Faded edges | Uneven pressure | Adjust platen pressure |
| Press marks | Too much pressure | Reduce pressure |
| Patchy transfer | Poor platen alignment | Re-align platen |
| Blurry transfer | Paper movement | Secure transfer |
Regular maintenance, consistent settings, and expert tips can help you create stunning designs and ensure long-lasting project satisfaction.
As you continue your sublimation journey with Subli Genius Print, remember that every mistake is an opportunity to learn and improve. With practice and patience, you’ll find what works best for you and achieve your desired professional results.
What challenges have you faced with sublimation heat press settings, and how did you overcome them? Feel free to share your experiences and tips!
How to Test and Lock In Your Settings
To finalize accurate sublimation settings:
- Test on scrap material of the same type
- Adjust only one variable at a time, temperature, time, or pressure
- Increase or decrease in small increments, 5–10°F or 5–10 seconds
- Record successful settings in a material log
For automated pressure and temperature adjustments, Sublimation Temperature and Pressure Calculator
Documenting your successful settings ensures repeatable results across future jobs.
FAQs:
How much pressure should a heat press use for sublimation?
Most sublimation transfers work best with medium pressure, which ensures the transfer paper remains in full contact with the substrate without damaging the surface.
How do I know if my heat press pressure is correct?
A properly adjusted heat press should close with slight resistance and apply even pressure across the platen.
Why are my sublimation prints uneven?
Uneven prints usually happen when the heat press platen is misaligned or pressure is inconsistent.
Should I preheat a heat press before sublimation?
Yes. Allow the press to heat for 5–10 minutes so the platen reaches stable temperature.


9 Comments