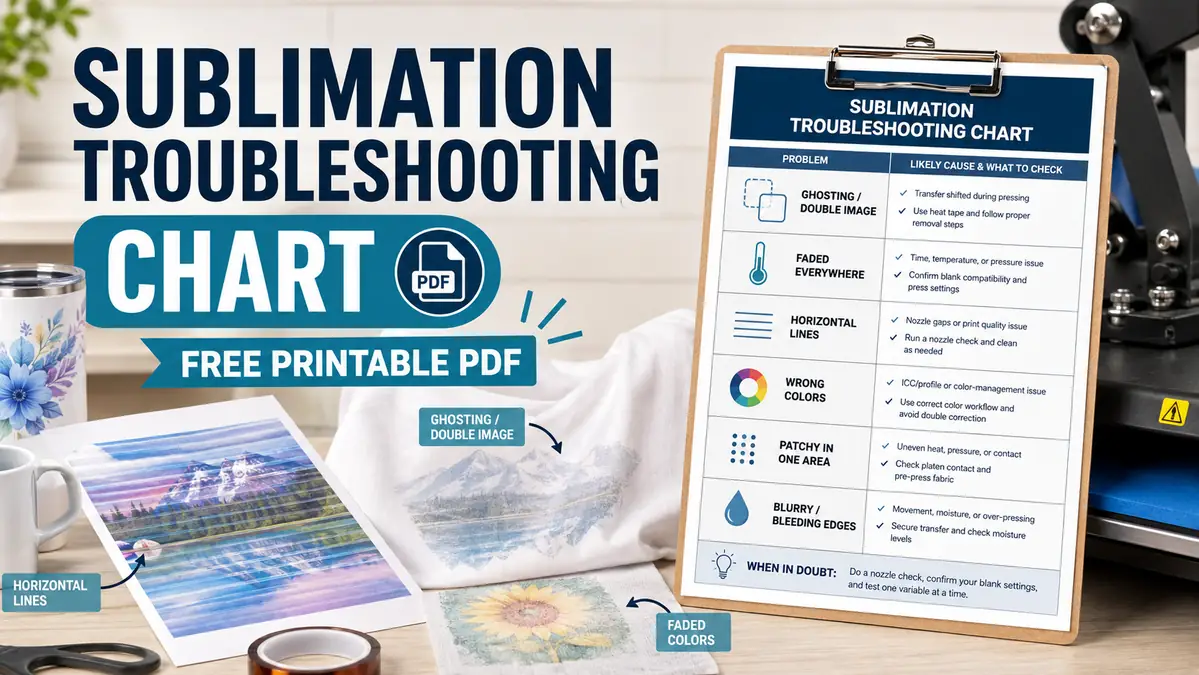
Sublimation Troubleshooting Chart: Free Printable PDF

A bad sublimation print usually gives you a clue before you change any settings. A double image points to movement. Horizontal lines point back to the printer. A patchy area points to heat, pressure, contact, or moisture. This sublimation troubleshooting chart turns those symptoms into a fast first check.
Quick answer: Identify what the failed print looks like, check the most likely cause first, and change only one variable before testing again. The printable PDF below is designed to stay beside your printer or heat press.
Download the Sublimation Troubleshooting Chart PDF
The one-page printable covers ghosting, faded prints, horizontal lines, wrong colors, patchy transfers, and blurry or bleeding edges. Each symptom points to the first area to inspect so you do not waste another blank changing unrelated settings.
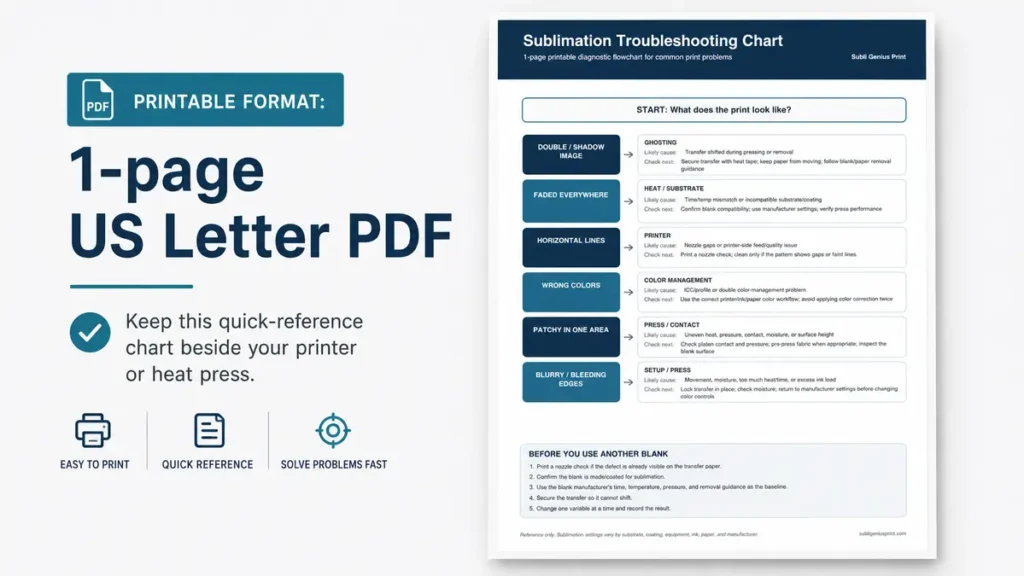
Printable format: 1-page US Letter PDF for keeping beside your sublimation printer or heat press.
Sublimation Troubleshooting Chart: What to Check First
| What you see | Check first | Likely area |
|---|---|---|
| Double or shadow image | Did the transfer move during pressing or removal? | Ghosting / transfer movement |
| Faded everywhere | Blank compatibility and manufacturer time/temp guidance | Heat / substrate |
| Horizontal lines | Print a nozzle check | Printer |
| Wrong colors | ICC profile and color-management workflow | Software / profile |
| Patchy in one area | Heat, pressure, platen contact, moisture, and surface height | Press / contact |
| Blurry or bleeding edges | Transfer movement, moisture, heat/time, and ink load | Setup / press |
Start with the symptom that most closely matches your print. Do not adjust temperature, pressure, color, and paper settings at the same time. One controlled change makes it much easier to tell what actually fixed the problem.
How to Use the Checklist Without Wasting Another Blank
- Check the transfer paper first. If lines, missing colors, or banding are visible before pressing, troubleshoot the printer before touching the heat press.
- Identify one main symptom. Choose ghosting, fading, banding, color mismatch, patchiness, or blur instead of trying to solve every possible cause at once.
- Return to the blank manufacturer’s baseline. Time, temperature, pressure, and removal instructions vary by substrate and coating. Sawgrass also treats its heat-settings chart as a starting point and recommends following substrate-manufacturer guidance.
- Change one variable. Retest before making another adjustment.
- Record the result. A simple settings log prevents you from solving the same problem again on the next batch.
If your press temperature seems inconsistent, use the heat press temperature accuracy guide before changing your normal production settings.
What Each Print Symptom Usually Points To
Double Image or Shadow: Check for Ghosting
A faint second copy of the design usually means the transfer shifted while dye was still transferring. Check tape placement, transfer security, how the press opens, and the removal method recommended for that blank or transfer paper.
Do not try to repair a ghosted finished blank by pressing it again. Fix the movement before the next attempt.
Faded Everywhere: Check the Blank and Press Baseline
An entire image that looks weak after pressing can come from an incompatible substrate, insufficient transfer conditions, an inaccurate press, or a coating that needs different settings. Avoid using one universal sublimation temperature for every blank.
For example, Sawgrass lists different starting temperatures for polyester fabric, ceramic mugs, acrylic, metal, and sublimation HTV. Use the blank manufacturer’s specifications first, then test from that baseline.
Horizontal Lines: Check the Printer Before the Press
If horizontal gaps or streaks are already visible on the printed transfer, run a nozzle check. Epson’s own maintenance guidance uses gaps or faint sections in a nozzle-check pattern as the signal that cleaning is needed.
For recurring nozzle problems, use the printer purge sheets and maintenance guide rather than repeatedly running cleaning cycles without checking the pattern.
Wrong Colors: Check ICC and Color Management
A clean print with the wrong hue usually needs a color-management check, not more heat. Confirm that the ICC profile matches the printer, ink, paper, and workflow you are using. Then make sure color correction is not being applied once in the design software and again in the printer driver. For related planning, see Hiipoo Sublimation Color Chart.
Epson’s color-management documentation notes that application-managed color and printer-driver color controls are different workflows. If you are using an ICC profile through the application, the printer driver normally should not apply a second adjustment. The ICC profile guide for sublimation can help you narrow down the correct setup.
Patchy in One Area: Check Heat, Pressure, and Contact
A single light or missing area often points to uneven platen contact, uneven pressure, moisture, seams, zippers, or a surface that is not sitting flat. Check the physical contact before increasing temperature across the whole press.
Blurry or Bleeding Edges: Check Movement and Moisture
Soft edges can come from transfer movement, moisture, excessive time or heat for that blank, or too much ink for the paper and print settings. Secure the transfer first and return to the manufacturer’s baseline before making manual color changes.
Before You Press Another Blank
- Print a nozzle check if the defect appears on the transfer paper.
- Confirm the blank is made or coated for sublimation.
- Use the blank manufacturer’s time, temperature, pressure, and removal guidance as the baseline.
- Secure the transfer so it cannot shift.
- Check platen contact if only one area is affected.
- Change one variable at a time and record the result.
When the Printable Chart Is Not Enough
The chart is meant for fast diagnosis, not every possible failure mode. If the first check does not solve the problem, use the 10 common sublimation printing problems and fixes guide for deeper troubleshooting.
Color-only problems are better handled through the sublimation color problems and fixes resource. Keeping these deeper guides separate lets this page stay useful as a quick chart rather than turning into another long troubleshooting article.
Frequently Asked Questions
What is a sublimation troubleshooting chart?
A sublimation troubleshooting chart matches a visible print problem with the first cause to check. For example, a double image points to transfer movement, horizontal lines point to the printer, and a patchy area points to heat, pressure, contact, or moisture.
Should I change temperature first when a sublimation print fails?
No. Start with the symptom and the blank manufacturer’s settings. A printer-side line problem will not be fixed by more heat, and a color-profile problem will not be fixed by more pressure. For related planning, see Cosmos Sublimation Color Chart.
Why are there horizontal lines in my sublimation print?
If the lines are visible on the transfer paper before pressing, print a nozzle check. Gaps or faint sections in the nozzle-check pattern usually indicate that the print head needs the maintenance procedure recommended for your printer.
Can I print the sublimation troubleshooting checklist?
Yes. The PDF is formatted as a one-page US Letter reference sheet so it can be printed and kept near a sublimation printer or heat press.
Keep the Chart Beside Your Press
Use the printable to identify the first check, then record the setting that worked for that exact blank. A short troubleshooting record is more useful than repeatedly changing several settings and hoping the next press comes out better.
Official references: Sawgrass sublimation heat press settings and Epson nozzle-check guidance.