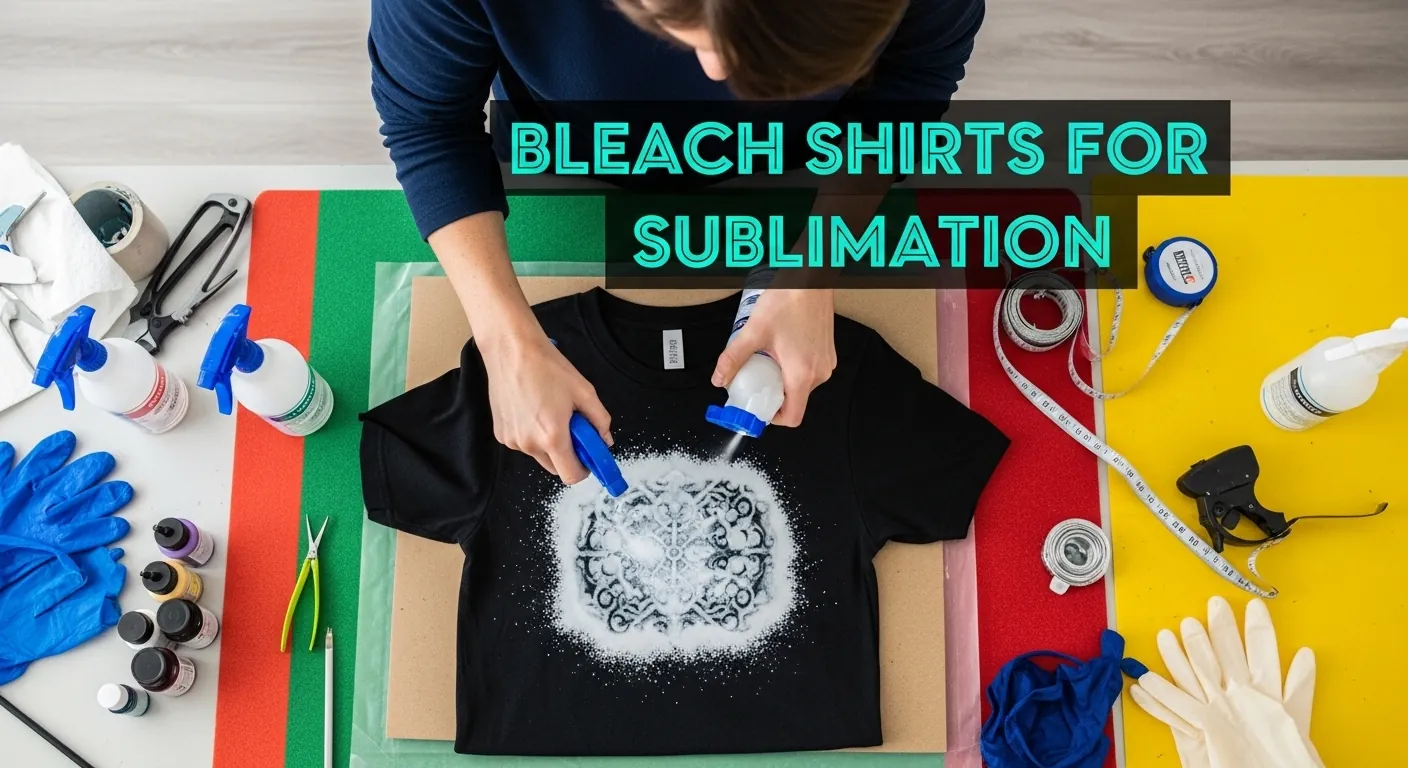
How to Bleach Shirts for Sublimation (Step-by-Step + Best Methods)
Bleached shirts for sublimation are one of the easiest ways to make your designs stand out on darker fabrics. If your prints look dull or faded, the issue is often the fabric, not your design.
Bleaching creates a lighter base that allows sublimation ink to visually pop, even on black or dark shirts. In this guide, you’ll learn exactly how to bleach shirts for sublimation, what materials work best, and how to avoid common mistakes.
If you’re new to the process, start with this beginner sublimation printing guide to understand how sublimation works.
What Is a Bleached Shirt for Sublimation?
A bleached shirt for sublimation is a dark-colored shirt that has been lightened in specific areas using bleach to create contrast for a sublimation design.
This technique works because sublimation ink bonds best with light-colored polyester surfaces. Bleaching mimics that effect on darker shirts by removing pigment from the fabric.
What Shirts Work Best for Bleach Sublimation?
The best shirts for bleach sublimation are polyester or polyester blends.
- Ideal blend: 65% polyester / 35% cotton
- Works well: 50/50 blends (with lighter results)
- Not ideal: 100% cotton (designs appear faded)
Polyester is essential because sublimation ink bonds with synthetic fibers, not natural ones. Learn more in this best fabrics for sublimation guide.
Best colors for bleaching:
- Black (most dramatic results)
- Dark gray
- Navy blue
Tools and Materials You Need
Before starting, gather these essentials:
- Household bleach
- Spray bottle or splatter brush
- Stencil or adhesive vinyl
- Cardboard insert
- Gloves and mask
- Plastic sheet for workspace protection
Using the right materials helps control your bleach pattern and prevents damage to your shirt.
Step-by-Step: How to Bleach Shirts for Sublimation
Step 1: Prepare the Shirt Properly
Place cardboard inside the shirt to prevent bleach from soaking through. Smooth out wrinkles so your design stays sharp.
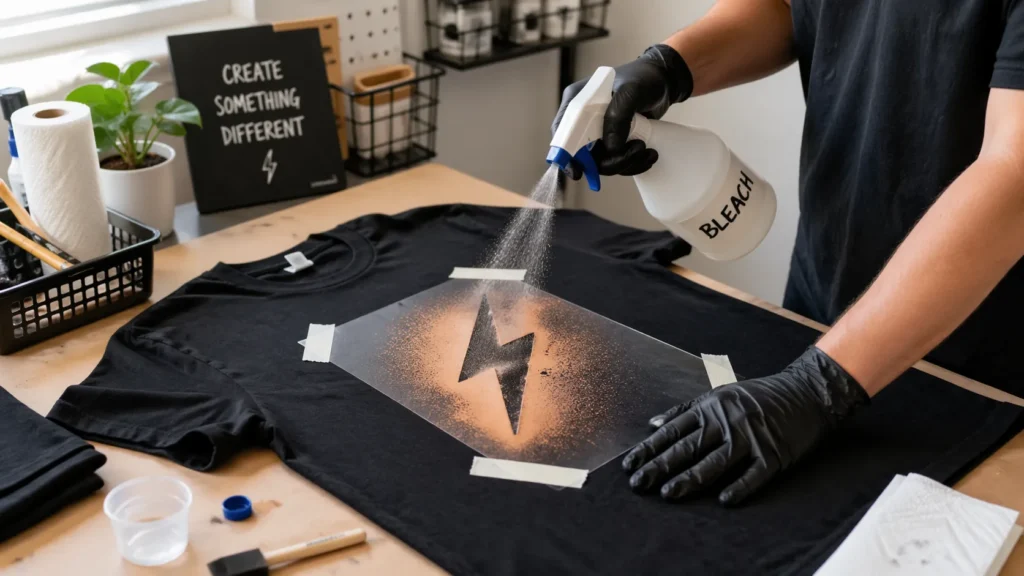
Step 2: Apply Your Design or Stencil
Use adhesive vinyl or a stencil to define your design area. Secure it firmly to avoid bleed lines.
Freehand spraying is also an option if you want a distressed or grunge look.
Step 3: Spray or Apply Bleach
Fill your spray bottle with bleach and apply lightly.
- Keep distance: 6–10 inches
- Spray evenly
- Avoid oversaturation
Too much bleach can blur edges and weaken fabric fibers.
Step 4: Let It Develop (With or Without Sun)
Bleach reacts quickly, usually within 5–10 minutes.
With sunlight:
- Faster reaction
- Brighter contrast
Without sunlight:
- Works indoors
- Takes slightly longer
Watch closely to avoid over-processing.
Step 5: Neutralize and Wash the Shirt
Rinse immediately with cold water to stop the bleaching process.
Optional:
- Use hydrogen peroxide bath for full neutralization
Then wash with mild detergent and let it dry completely.
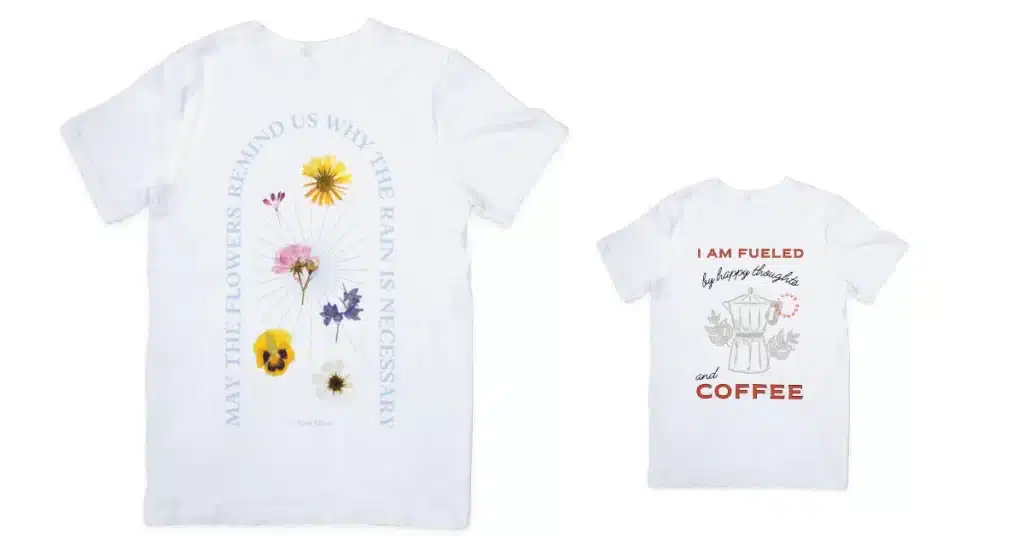
How to Add Sublimation Design After Bleaching
Once your shirt is dry, it’s ready for sublimation.
Basic heat press settings:
- Temperature: 385–400°F
- Time: 45–60 seconds
- Pressure: medium
If you’re unsure about settings, check this heat press temperature for sublimation guide.
The bleached area will enhance contrast, making your design look brighter.


Common Mistakes to Avoid
Avoid these common issues:
- Using low-polyester fabrics
- Applying too much bleach
- Skipping the rinse step
- Expecting bright prints on cotton
- Uneven spray patterns
If your results look dull or inconsistent, follow this sublimation troubleshooting guide to fix common problems.
Pro Tips for Better Bleach Sublimation Results
- Test on a scrap shirt first
- Use layered sprays for texture
- Try different stencil styles
- Adjust spray distance for softer edges
- Always work in a ventilated area
Small adjustments make a big difference in final results.
Can You Bleach Shirts for Sublimation Without Sun?
Yes, you can bleach shirts indoors without sunlight.
- Let bleach process naturally
- Use a warm room to speed reaction
- Avoid using direct heat tools excessively
Sunlight speeds up the process, but it is not required.
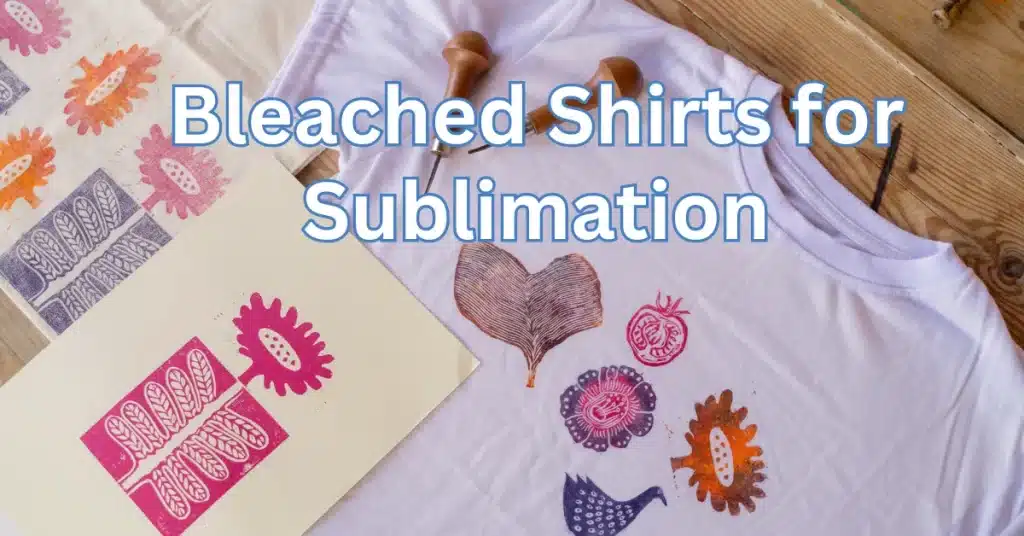
How to Make a Bleach Shirt Stencil
You can create simple stencils using:
- Adhesive vinyl (best for clean edges)
- Freezer paper (budget-friendly option)
Stencils help you control bleach placement and create sharper designs.
Frequently Asked Questions
What color does black turn when bleached?
Black shirts usually turn orange, brown, or reddish tones depending on fabric composition.
Can you sublimate on bleached cotton?
Yes, but results are less vibrant. For better results, use polyester blends or read this sublimation on cotton explained guide.
How long should bleach sit on a shirt?
Typically 5–10 minutes, but always monitor closely to avoid over-bleaching.
Can you bleach shirts in a washing machine?
No, this method does not allow controlled designs and can damage fabric unevenly.carefully on 50 cotton and 50 polyester fabric.