How to Clean Your Sublimation Printer: (Step-by-Step Guide)
If your sublimation prints are coming out streaky, faded, or missing colors, your printer likely needs cleaning.
Clogged nozzles, dried ink, and dust buildup are common issues, especially if the printer hasn’t been used regularly. The good news is most cleaning problems can be fixed in under 30 minutes without special tools.
In this guide, you’ll learn:
- What causes sublimation printer clogs
- How to run a built-in cleaning cycle properly
- How to manually clean the printhead
- How to clean rollers and the paper path
- When a deeper clean is actually necessary
Follow the steps below to restore sharp colors, smooth ink flow, and consistent print quality.
Quick Cleaning Checklist ✅
- Unplug the printer before starting.
- Wipe exterior and interior with lint-free cloth.
- Clean printer head, rollers, and wiper blade.
- Run nozzle check after every cleaning.
- Store inks properly and print weekly to avoid clogs.
What Causes Sublimation Printer Clogs
Before cleaning anything, it helps to know why clogs happen in the first place. Most issues aren’t random. They build up slowly.
Here are the main causes:
- Infrequent printing
Sublimation ink dries faster than regular ink. If the printer sits unused, dried ink blocks the nozzles. - Low-quality or old ink
Cheap ink leaves residue inside the printhead and ink lines. - Dust buildup
Dust can mix with moisture and ink mist inside the printer. - Improper shutdown
If the printer isn’t turned off correctly, the printhead may not park in the capping station, which leads to drying. - Extreme temperature or humidity
Ink thickens in cold rooms and dries faster in hot, dry environments.
Most clogs are preventable. Printing even a small color test page once a week keeps ink flowing and reduces buildup.
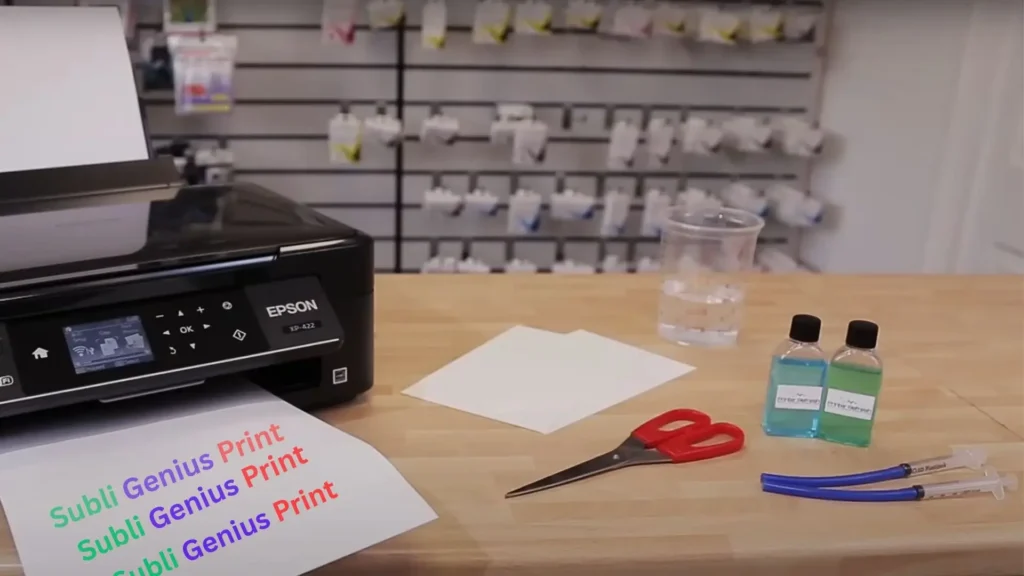
Tools You Need
Gather these before you start to make the process smooth:
- Distilled water: Tap water can leave residue, so don’t use it.
- Isopropyl alcohol (70% or higher): For cutting through dried ink.
- Lint-free cloths: Microfiber works great; avoid paper towels (they leave lint).
- Cotton swabs: For those tiny, hard-to-reach spots.
- Gloves (optional): If you don’t want inky hands.
Step-by-Step Cleaning Process
What You’ll Need:
- Distilled water
- 50% isopropyl alcohol
- Lint-free cloth
- Cotton swabs
- Disposable gloves
Helpful Tools:
- Soft brush
- Tweezers
Time & Cost:
The full cleaning process takes about 25 minutes.
Supplies cost around $5, depending on what you already have.
1. Check the Manual
Every printer’s a bit different. Your model’s manual (or an online version) will tell you where the printhead is and any specific cleaning quirks. Search your printer’s model number with “cleaning guide” if you can’t find it.
2. Power Off and Unplug
Safety first! Turn off your printer and unplug it. You don’t want it randomly spraying ink while you’re cleaning.
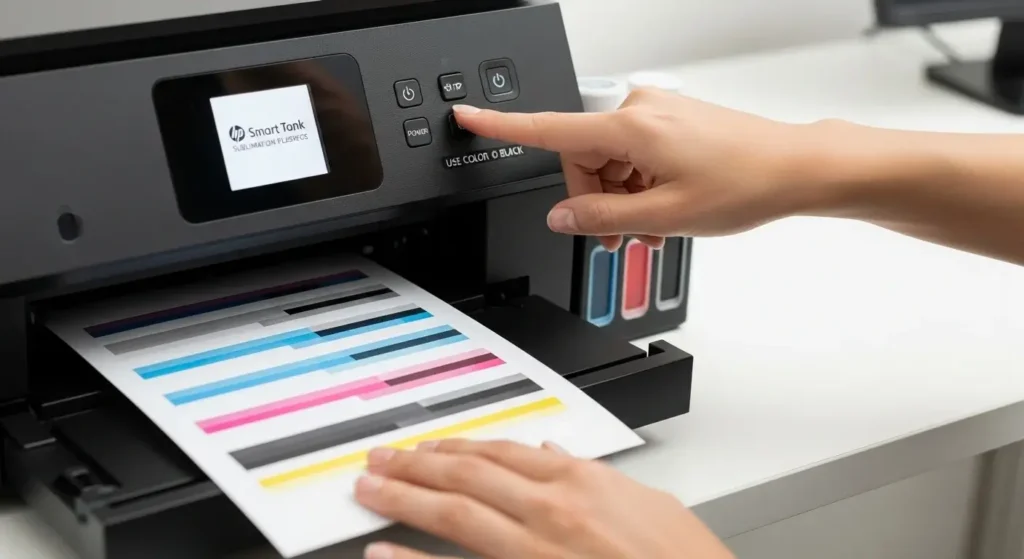
3. Run a Built-In Cleaning Cycle
Most sublimation printers, like Epson or Sawgrass, have a cleaning option in the menu (look for “maintenance” or “cleaning”). Here’s how:
- Go to the printer’s control panel.
- Run one or two cleaning cycles.
- Print a test pattern (aka nozzle check) to see if the streaks or clogs are gone.
- If it’s still bad, try one more cycle, but don’t overdo it, too many cycles waste pricey ink.
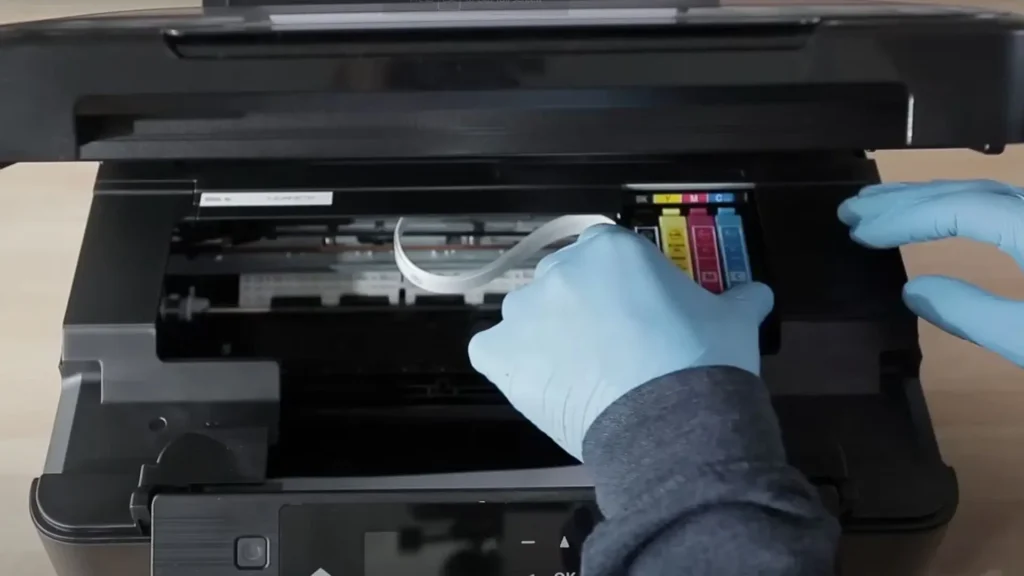
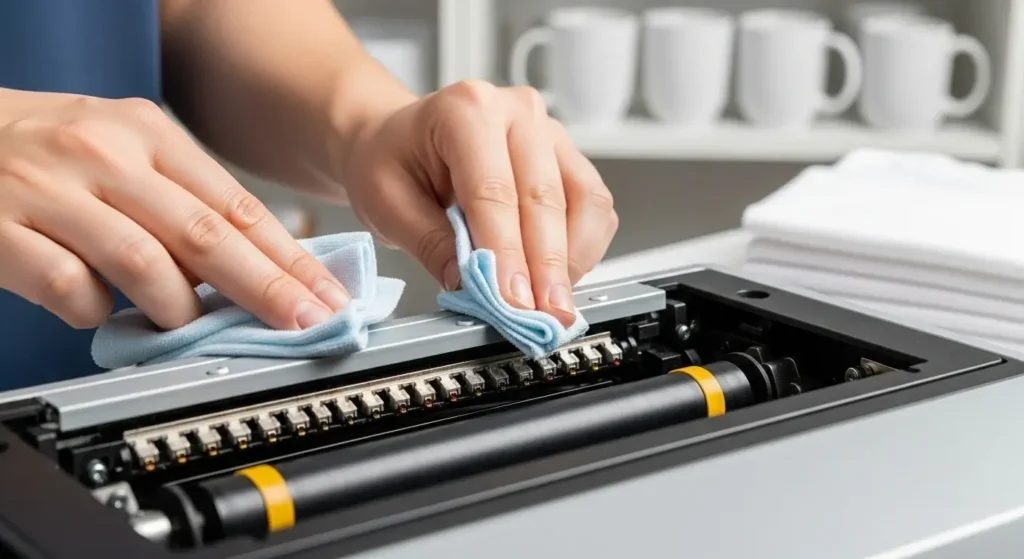
4. Manually Clean the Printhead
If the auto-clean doesn’t fix it, you’ll need to get hands-on:
- Mix a 50/50 solution of distilled water and isopropyl alcohol.
- Dampen (don’t soak) a lint-free cloth with the solution.
- Gently wipe the printhead (usually under the lid near the ink cartridges). Think soft touches, like petting a puppy.
- For stubborn dried ink, let the solution sit for a minute, then wipe.
- Use cotton swabs for tight spots, but don’t jam them in.
5. Check Ink Lines and Waste Ink Pads
Ink lines can clog if the printer sits unused, and waste ink pads can get gross:
- Ink lines: Check your manual for how to access and flush them (if possible). Some models need special cleaning fluid.
- Waste ink pads: These collect excess ink at the bottom. If they’re soaked, soak up excess with a cloth or replace them (super messy, so gloves help).
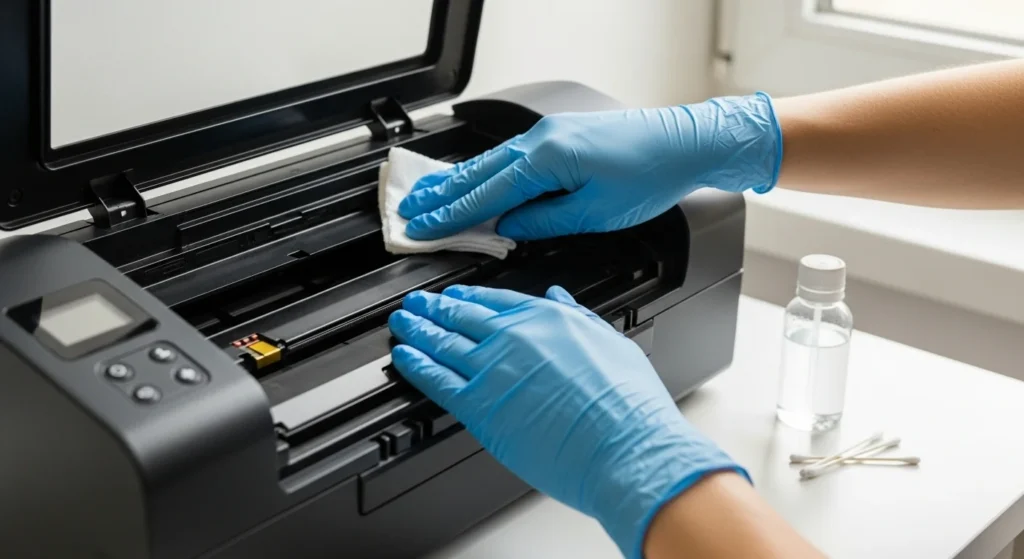
6. Clean the Exterior and Paper Path
Dust and paper bits can mess with prints:
- Wipe the outside with a damp cloth (just water, no alcohol).
- Use a dry lint-free cloth to clear debris from the paper path where the paper feeds.
- Gently wipe the rollers, but don’t force anything.
Run Built-In Cleaning Cycle
Start here. Always.
Most sublimation printers have an automatic cleaning function built into the menu. This should be your first step before manual cleaning.
How to run a cleaning cycle:
- Turn the printer on.
- Open the control panel menu.
- Find Maintenance or Head Cleaning.
- Run one cleaning cycle.
- Print a nozzle check test page.
If the test page improves but still shows gaps, run one more cycle.
Avoid running more than 2–3 cycles in a row. Cleaning cycles use a lot of ink, and overdoing it can fill the waste ink pad quickly.
If there’s no improvement after two cycles, move to manual cleaning.
Manual Printhead Cleaning
If the built-in cleaning doesn’t fix the issue, it’s time to clean the printhead manually.
⚠️ Always turn off and unplug the printer before starting.
What you need:
- Distilled water
- 70% or higher isopropyl alcohol
- Lint-free cloth or microfiber cloth
- Cotton swabs
- Gloves (optional)
Steps:
- Open the printer lid and locate the printhead.
- Lightly dampen a lint-free cloth with a 50/50 mix of distilled water and isopropyl alcohol.
- Gently wipe the bottom of the printhead. Do not scrub.
- Use cotton swabs for tight areas.
- Let everything air dry for a few minutes.
- Close the printer, plug it back in, and run a nozzle check.
Never press hard or insert sharp objects under the printhead. The nozzle plate is delicate.
Manual cleaning is effective for dried ink buildup that auto-clean cycles can’t clear.
Clean Rollers and Paper Path
Sometimes streaks and print defects aren’t from clogs at all. They come from dirty rollers or debris in the paper path.
Cleaning this area improves feed accuracy and prevents smudging.
Steps:
- Turn off and unplug the printer.
- Remove any paper from the tray.
- Use a dry lint-free cloth to wipe the paper path.
- Gently wipe the feed rollers with a slightly damp cloth (distilled water only).
- Allow rollers to dry completely before turning the printer back on.
Do not use alcohol on rubber rollers. It can dry them out and reduce grip over time.
If paper jams happen frequently, debris in this area is often the cause.
How Often Should You Clean?
It depends on how much you print:
- Daily use: Run a cleaning cycle every couple of weeks.
- Occasional use: Clean before big projects or if you notice print quality dropping.
- Idle printers: Run a cycle monthly to prevent clogs.
When to Do a Deep Clean
A standard cleaning cycle fixes most minor clogs. But sometimes that’s not enough.
You should consider a deep clean if:
- You’ve run 2–3 cleaning cycles and the nozzle check still shows gaps
- Certain colors are completely missing
- Prints look banded or uneven across large areas
- The printer has been unused for several weeks
- Ink flow seems weak even after manual printhead wiping
A deep clean usually means running an extended cleaning cycle through the printer’s maintenance menu. Some models call this “Power Cleaning” or “Ink Flush.”
⚠️ Use this sparingly.
Deep cleaning uses significantly more ink than a normal cycle and can fill the waste ink pad faster. Only run it when regular cleaning and manual wiping haven’t improved results.
After a deep clean, always print a nozzle check test page to confirm that all colors are flowing evenly.
If problems continue even after a deep clean, the issue may be related to ink lines, dampers, or worn components, not just dried ink.
Pro Tips
- Use quality ink: Cheap or old sublimation ink can clog things up. Stick with the brand’s recommended ink.
- Don’t over-clean: Too many cleaning cycles burn through ink fast.
- Keep it regular: I learned the hard way after skipping maintenance and ending up with blurry shirt prints for a friend’s event.
Check here our guide about the best sublimation printer settings to optimize your print quality.
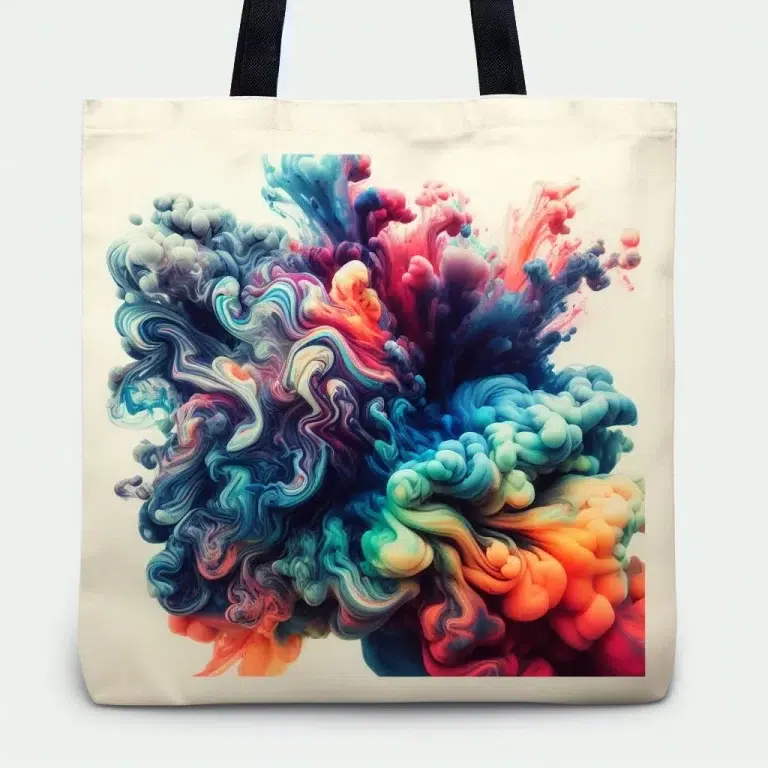
Professional Sublimation Printing & Wholesale Custom Products
Looking for high-quality sublimation printing for apparel, drinkware, and promotional items? Subli Genius Print delivers vibrant color, sharp detail, and long-lasting results for businesses, brands, and resellers across the U.S.
3 Comments