How to Sublimate Mugs: Time, Temperature, and Beginner Steps

Learning how to sublimate mugs is one of the easiest ways to make personalized gifts or start selling custom drinkware. This guide covers the supplies, design setup, mug-press process, time and temperature, and the mistakes that cause faded or blurry results. For related planning, see Can You Sublimate on Silicone Watch Bands? What Actually Works.
What You Need to Sublimate a Mug
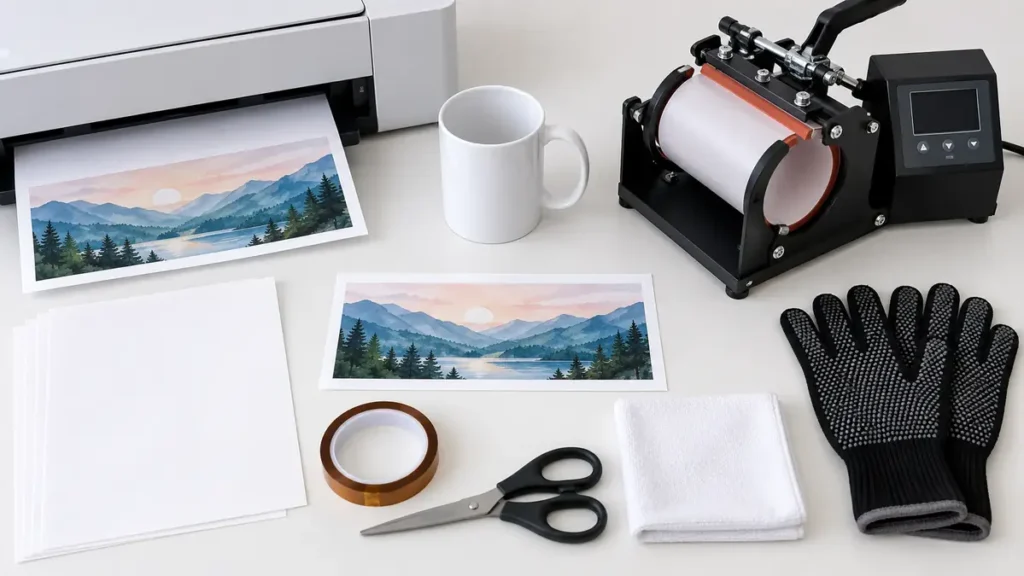
- White polymer-coated sublimation mug, usually 11 oz For related planning, see White Sublimation Printer Explained.
- Sublimation printer with sublimation ink For related planning, see How Much Does It Cost to Print Shipping Labels? (Print Shop Cost Guide 2026).
- Sublimation paper
- Mug press or a dedicated sublimation oven For related planning, see 7 Reasons Why You Should Buy a White Ink Sublimation Printer in.
- Heat-resistant tape and scissors
- Lint-free cloth and heat-resistant gloves For related planning, see Sublimation Troubleshooting Chart.
Use a Sublimation-Ready Mug
A regular ceramic mug will not work reliably because sublimation ink needs a polymer coating. Choose a mug labeled for sublimation, inspect it for chips or coating defects, and wipe the surface clean before applying your transfer.
How to Sublimate a Mug Step by Step
1. Create and mirror your design
Size the artwork for the printable area of the mug and mirror it before printing. Mirroring is especially important for names, logos, and text.
2. Print on sublimation paper
Print on the coated side recommended by your paper manufacturer using sublimation ink. Let the sheet dry briefly so the design does not smear during wrapping.
3. Prepare and tape the mug
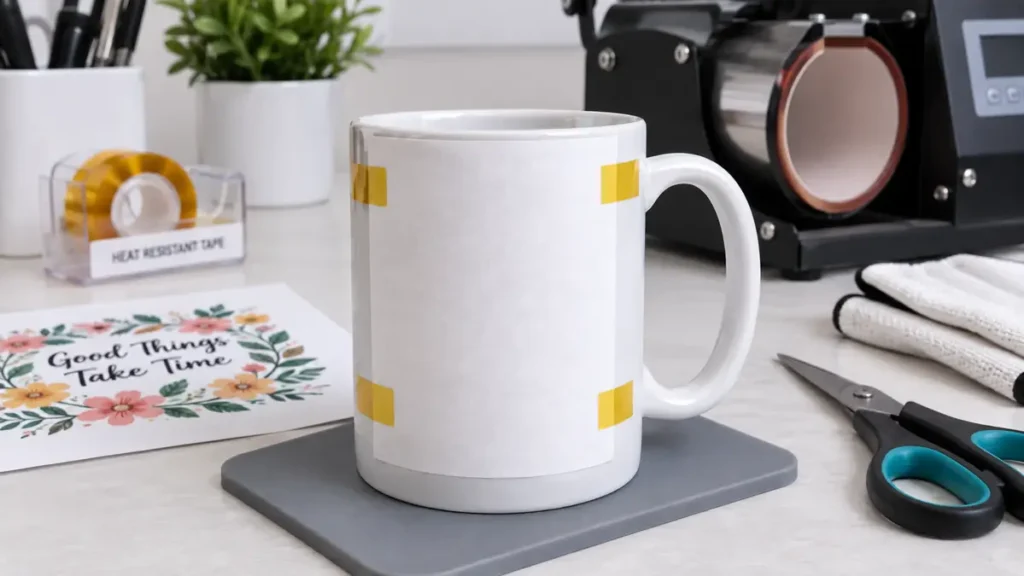
Remove dust with a lint-free cloth. Place the printed design face-down against the mug, keep the edges straight, and secure it tightly with heat-resistant tape. Avoid loose paper because movement causes ghosting.
4. Press at the correct time and temperature
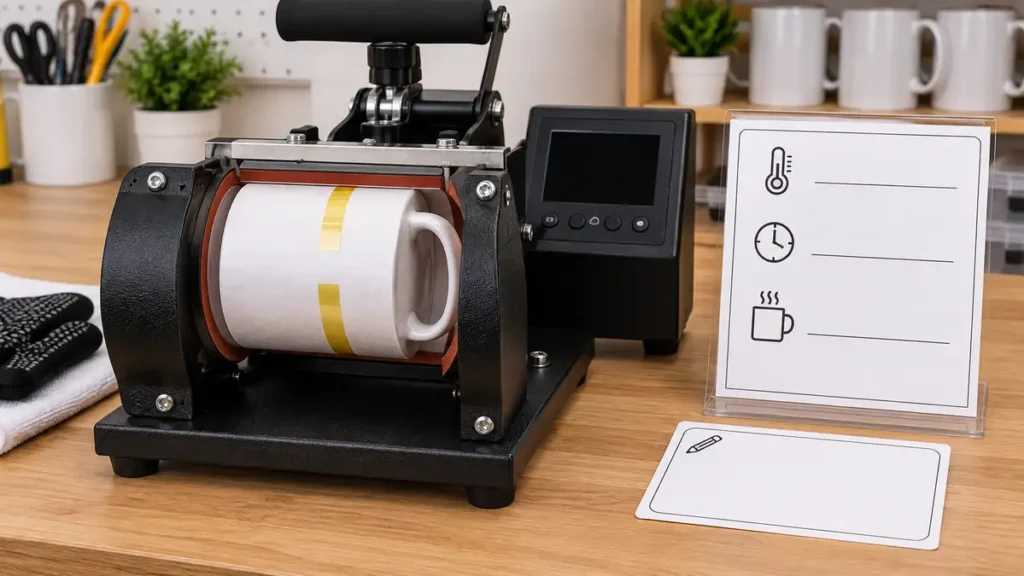
For many standard 11-ounce coated ceramic mugs, a common starting point is 400°F for 180 to 240 seconds with medium pressure. Always follow the blank manufacturer’s instructions first because coatings and presses vary.
5. Remove the transfer safely
Wear heat-resistant gloves, remove the mug carefully, and peel the paper while it is still hot if your blank instructions recommend a hot peel. Place it on a heat-safe surface and let it cool.
Common Mug Sublimation Problems
- Faded colors: check ink, paper side, pressure, and heat time.
- Blurry edges or ghosting: tape the transfer tighter and do not move it after pressing.
- Uneven color: check that the mug is centered and the press applies even pressure.
- Brown or yellow tint: reduce time or temperature only after confirming the blank’s recommended settings.
- White gaps: make sure the design reaches the coated area and the transfer is flat.
When Your First Mug Fails: A Better Troubleshooting Order
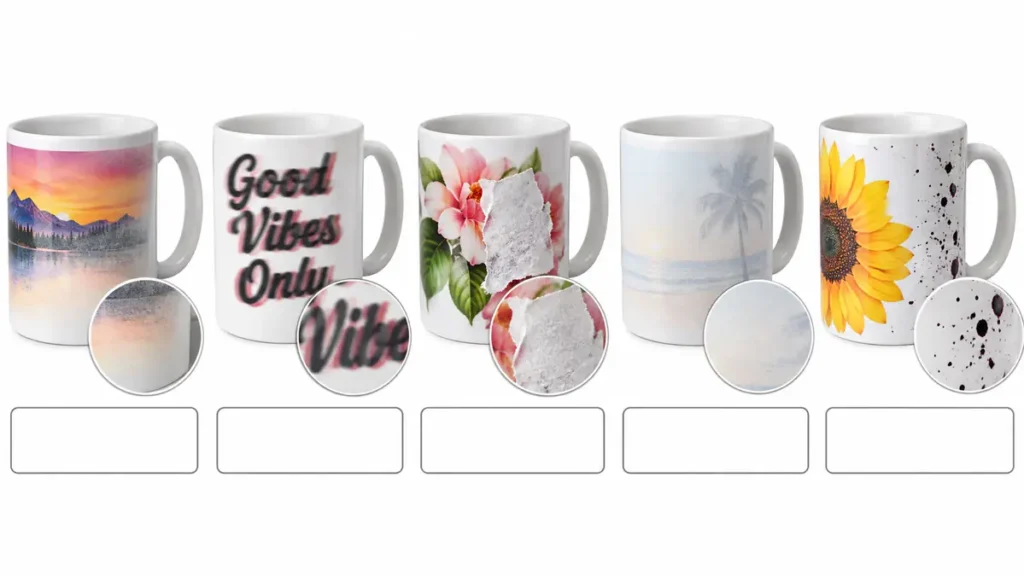
Beginner questions often focus on temperature, but the mug, heat coverage, pressure, and transfer movement can all create similar-looking failures. Test one variable at a time instead of immediately adding more heat.
- Faded near the handle, rim, or bottom: treat it as a possible heat or pressure coverage problem. Check that the mug sits correctly in the press, keep the artwork inside the reliable printable area, and follow the blank maker’s settings.
- Blurry text or a doubled image: the transfer probably moved while hot. Tape it firmly, add the recommended protective paper, and do not lift and replace the transfer during the cycle.
- Paper sticks to the mug: stop and inspect the blank coating, paper, pressure, and time. Do not assume a longer press will fix it; test a known sublimation-ready mug and follow its instructions.
- No transfer or very weak color: verify that the mug is polymer-coated, the sublimation paper is loaded on the correct side, the printer is using sublimation ink, and the transfer reached the required surface temperature.
- Ink on the sides or unwanted dye: use blowout paper or a clean protective sheet, keep the press clean, and remove loose transfer edges before heating.
These checks reflect recurring problems reported by sublimation makers: edge and bottom fading, paper sticking, ghosting after a transfer is lifted, and failed transfers caused by the wrong blank or paper. Community advice is useful for spotting symptoms, but the manufacturer’s instructions should control the final temperature, time, pressure, and safety steps.
Frequently Asked Questions
Can you sublimate on any ceramic mug?
No. Use a mug with a compatible polymer sublimation coating.
What temperature do you use for mug sublimation?
400°F is a common starting point, but use the instructions for your specific mug blank and press.
How long do you press a sublimation mug?
Many 11-ounce mugs use about 180 to 240 seconds. Test one blank before producing a batch.
For color planning before you print, compare your artwork with our sublimation color chart.
Once your first mug is successful, record the mug brand, paper, ink, temperature, time, and pressure. That simple record makes future batches much more consistent.