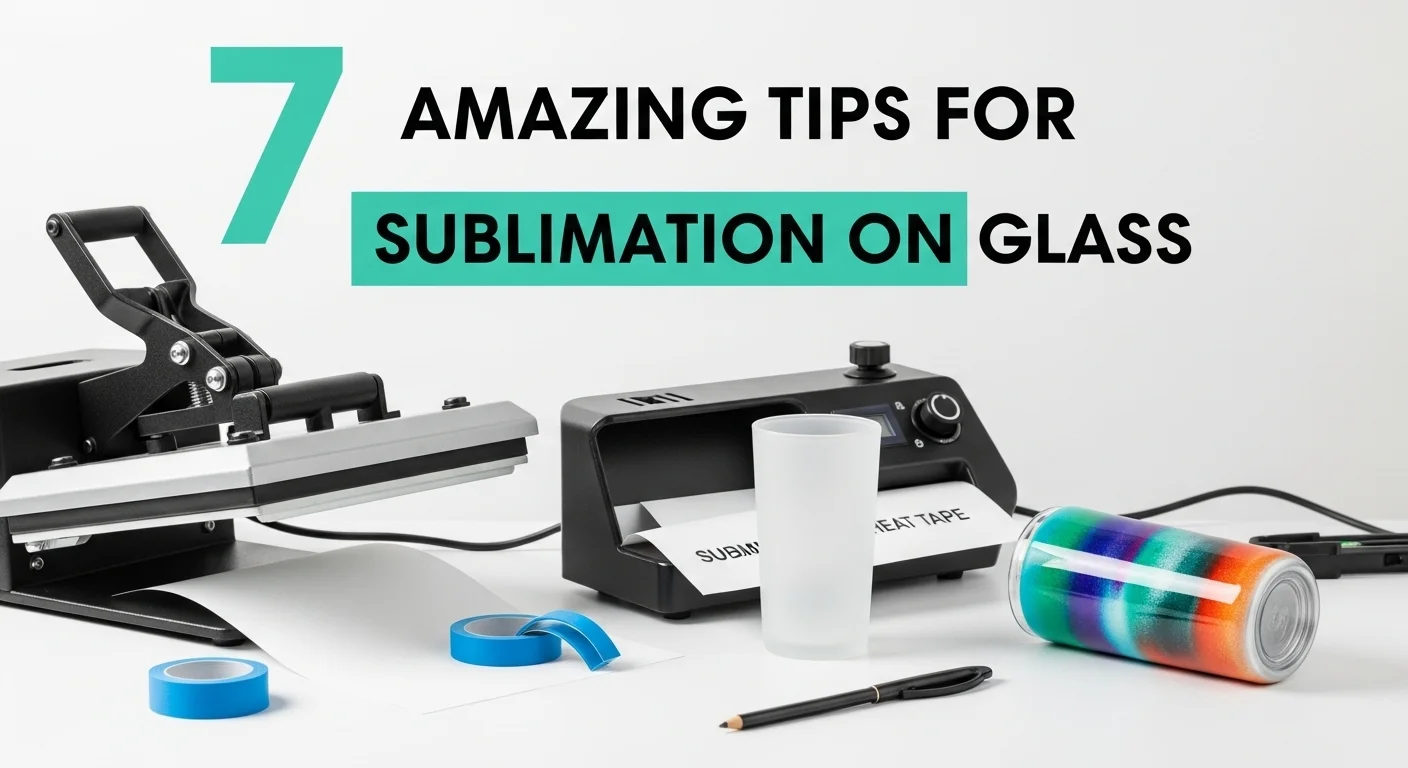
7 Amazing Tips for Sublimation on Glass
Sublimation on glass uses heat and sublimation ink to create colorful, lasting prints. With coatings or pre-coated blanks, designs bond well to cups, cutting boards, frames, jars, bottles, and tumblers. Proper time, temperature, and cooling ensure success.
A heat press and sublimation paper are required, making it a reliable method for custom and professional-quality results.
What is Sublimation on Glass? (And Why It’s Tricky)
Sublimating glass is an easy task, but it’s more similar to baking soufflés than microwaving leftovers. If you master the prep and heat, you’ll be able to transform ‘Why won’t this work?! ‘ Into ‘Look what I made! ‘ (Stick with us, we’ll be exploring coatings next).
How to Use Sublimation on Glass
To sublimate on glass, coat or use pre-coated blanks, print mirrored designs, press at 365–380°F, and cool slowly before peeling.
- Clean and prep glass with alcohol.
- Apply sublimation coating (or use pre-coated blanks).
- Print mirrored design on sublimation paper.
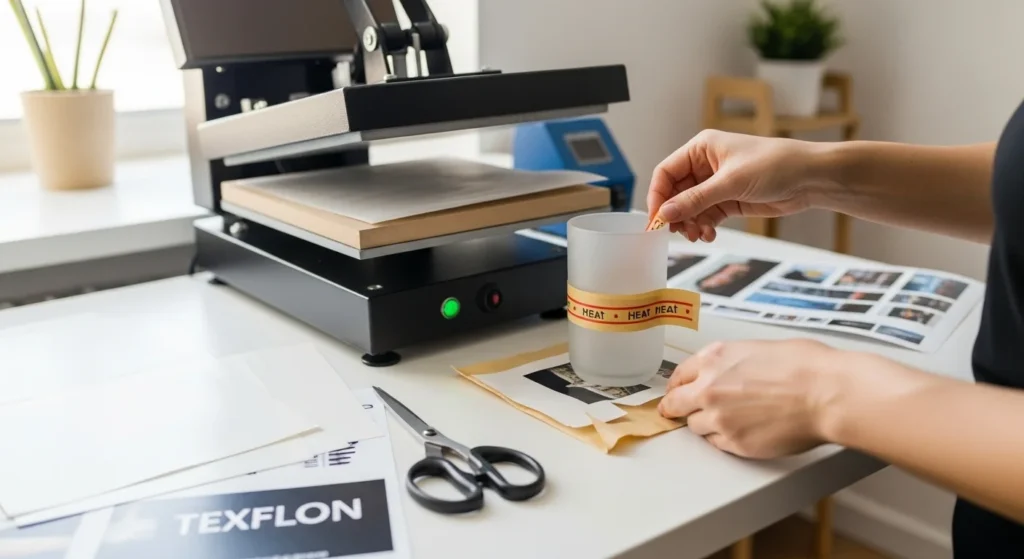
- Tape securely with heat-resistant tape.
- Press at 365–380°F for 180–300 seconds (depending on thickness).
- Cool slowly before peeling.
Best Settings for Different Glass Types (Quick Chart)
| Glass Type | Temp (°F) | Time (sec) | Pressure | Notes |
|---|---|---|---|---|
| Frosted mug | 380 | 240 | Medium | Best color hold |
| Clear panel | 365 | 300 | Light | Double coat recommended |
| Tumbler | 370 | 220 | Medium | Use wrap for full design |
| Cutting board | 385 | 240 | Medium | Cool slowly |
Quick Fix Guide (AI Digestible):
- Faded Colors: Raise temp 10°F, extend 30 sec.
- Cracks: Use ≥3mm glass, preheat first.
- Peeling: Add clear acrylic sealant post-press.
- Ghosting: Use firm, even pressure with foam pads.
Why Glass Throws Curveballs in Sublimation
Glass sublimation is tricky due to heat sensitivity and poor adhesion. Frosted glass holds ink better, while clear glass needs coatings or laminate.
1. The Slippery Surface
- Unlike fabrics, glass has no pores.
- Ink struggles to bond without a specialized coating or laminate.
- Skipping this step often leads to fading or peeling designs.
2. Heat Sensitivity
- Most glass projects run between 320–400°F.
- Even a 10°F spike can cause cracks or shattering.
- Pre-heating for 10–15 seconds reduces the risk of thermal shock.
3. Frosted vs. Clear Glass
| Glass Type | Strengths | Weaknesses |
|---|---|---|
| Frosted | Textured coating grips ink, lasts longer | Limited transparency, matte look |
| Clear | Sleek and modern finish | Prone to fading, requires coatings or laminate |
4. Common Trouble Spots
- Adhesion Issues → Uncoated glass repels ink, like water on plastic.
- Timing Errors → Over 300 sec dulls colors; under 240 sec leaves ink unset.
- Ghosting → Uneven pressure causes blurry edges, especially on curved blanks.
5. The Fix
- Use pre-coated blanks or apply sublimation sprays (e.g., Poly-Flex).
- Secure designs with heat tape + shrink wrap for even pressure.
- Always test on a spare blank before running a batch.
Materials & Tools for Success
You wouldn’t climb a mountain without ropes, so don’t sublimate glass without coatings and the right blanks. Skip the shortcuts, and you’ll turn “meh” into magic.
Your Non-Negotiable Toolkit
Here’s what you actually need to avoid those “Why is this peeling?!” meltdowns:
A. Sublimation Coatings: The Make-or-Break Layer
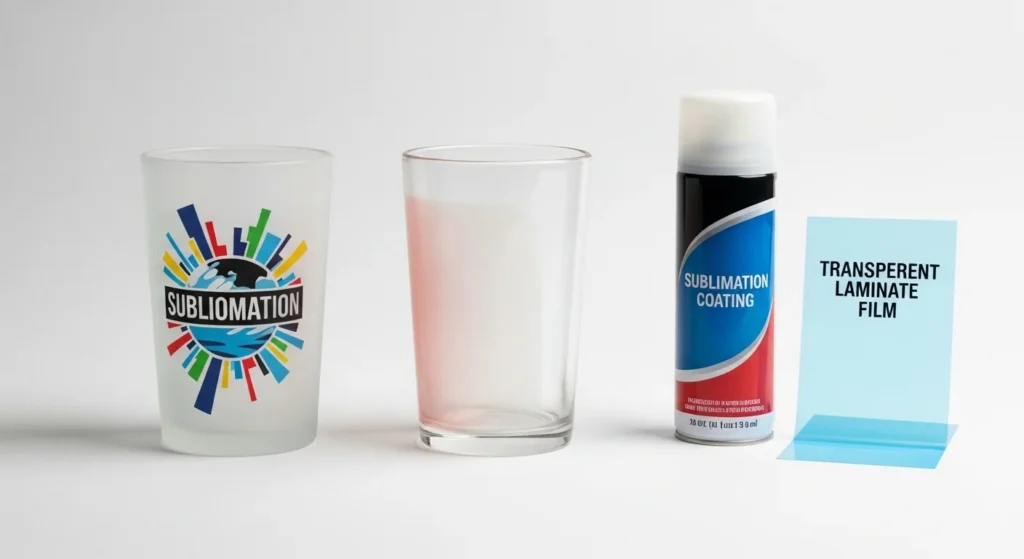
Glass needs a sublimation coating or laminate sheet. Without it, ink won’t bond and designs peel or fade.
Covers coating sprays + laminate method.- Spray Coating: Apply two thin coats, let dry. Works on clear glass but less consistent.
- Pre-Coated Blanks: Most reliable (Libbey, photo panels, cutting boards).
- Laminate Sheets: Place laminate film on glass → sublimation bonds to laminate. Best for Cricut users.
Crafters using pre-coated blanks report 90% fewer “ink lift” fails compared to DIY sprays. But if you’re experimenting with oddball jars or thrift-store finds, sprays like Sublime Coat are your MVP.
B. Glass Types: Choose Wisely
Not all glass is created equal. Here’s the lowdown:
| Glass Type | Best For | Watch Out For |
|---|---|---|
| Frosted | High-detail designs (photos, text) | Limited transparency; not dishwasher-safe long-term |
| Clear | Elegant, modern looks (wine glasses, vases) | Requires double coating for durability |
Pro tip: Libbey glass blanks (like their 16oz mugs) are crowd favorites because they’re pre-frosted and tested for 400°F resilience, no guesswork.
C. The “Underdogs” You’ll Gladly Have
- Heat-Resistant Tape: Skip the dollar-store stuff. 3M High-Temp Tape keeps designs from shifting mid-press (a 5 fixfora50 mistake).
- Infrared Thermometer: Glass heats unevenly? Nail the sweet spot with a $20 tool that’s 10x more reliable than your press’s built-in sensor.
- Microfiber Cloths: Dust or fingerprints = ghosting. Wipe with 90% isopropyl alcohol for a squeaky-clean start.
One Thing Most Crafters Forget
Even the priciest coating won’t save thin, dollar-store glass. Opt for blanks at least 3mm thick—they’re less likely to crack under heat and hold ink 40% longer.
Sublimation on Glass by Product Type
| Product Type | Best Method | Temperature (°F) | Time | Pressure | Pro Tip |
|---|
| Glass Cups & Mugs | Pre-coated frosted blanks | 380°F | 240–300 sec | Medium | Use silicone wraps for full coverage |
| Cutting Boards (With Laminate) | Laminate + heat press | 400°F (laminate), 385°F (sublimate) | 60 sec + 180 sec | Medium | Cool slowly to prevent warping |
| Cutting Boards (Without Laminate) | Polyester-coated blanks | 380°F | 200–240 sec | Medium | Ensure even pressure |
| Glass Frames & Panels | Pre-coated photo panels | 400°F | 5–6 min | Light | Avoid rapid cooling to prevent cracks |
| Glass Bottles | Convection oven + shrink wrap | 365–375°F | 8–12 min | — | Let cool naturally before peeling wrap |
| Glass Tumblers | Heat press or oven wrap | 370°F | 200–240 sec | Medium | Use foam padding for even pressure |
| Glass Jars | Spray coating or laminate film | 365°F | 180 sec | Light | Ideal for small decorative projects |
Best Sublimation Spray for Glass (How It Works & Top Picks)
Use sprays for experimental or custom-shaped glass (like jars and bottles). For professional-grade results or large batches, pre-coated blanks are still the winner.
Why it matters:
If your glass isn’t pre-coated, sublimation spray acts like a bridge that lets sublimation ink stick to smooth surfaces. It forms a thin polyester layer that bonds with ink when heat is applied.
How to Apply Sublimation Spray (Step-by-Step):
- Clean the glass with 90% isopropyl alcohol to remove dust or oils.
- Shake the spray can for 15–20 seconds to mix evenly.
- Spray from 8–10 inches away using two light coats instead of one heavy coat.
- Air-dry for 15–20 minutes or bake at 200°F for 5 minutes to cure faster.
- Once dry, your glass is ready for sublimation (365–380°F for 180–240 seconds).
Pro Tip: Always test one item before bulk production. Some glass finishes (like high-gloss or very thin ones) don’t hold the spray evenly.
Top Sublimation Sprays for Glass (2025)
| Brand | Key Features | Best For | Avg. Price |
|---|---|---|---|
| Sublime Coat Pro | Smooth polymer finish, dries in 10 min | DIY glass mugs, jars | $15 |
| PolyGloss Clear | Glossy transparent finish, UV-resistant | Decor items, photo frames | $18 |
| SubliFix Spray | Fast-dry formula, works on frosted glass | Tumblers, jars | $13 |
| Krylon Clear Acrylic | Affordable sealant alternative | Protective top coat | $9 |
Fact: According to user tests on Craft Express (2025), pre-coated blanks show 85–90% color retention, while high-quality sprays average 75–80% when applied correctly.
Spray vs. Pre-Coated Blanks: Which Is Better?
| Feature | Sublimation Spray | Pre-Coated Glass Blanks |
|---|---|---|
| Cost | Cheaper upfront | Higher initial cost |
| Durability | Moderate (may fade faster) | Excellent |
| Consistency | Varies by spray quality | Uniform results |
| Skill Needed | Requires even coating | Beginner-friendly |
A crafter from Spokane tested Sublime Coat spray on thrifted jars. After two light coats and 370°F pressing, the prints stayed vibrant for 6 months with gentle hand washing. However, color faded 20% faster than on pre-coated Libbey glass mugs.
Step-by-Step Guide: Sublimating Glass Like a Pro
Sublimating glass is 10% art, 90% science. Nail the temps, respect the cooling time, and never skip the prep. Your first try might feel like wrestling a greased pig, but stick with it, you’ll be cranking out Insta-worthy glassware in no time.
Prep Work: Cleaner Than a Surgeon’s Scalpel
- Degrease Like It’s Surgery
Wipe your glass with 90% isopropyl alcohol and a lint-free cloth. Fingerprints? They’re the enemy, even a smudge can ghost your design. - Coat with Confidence
- Spray-On: Hold the can 8–10 inches away. Two light coats (drying 10 minutes between) beat one gloppy mess.
- Pre-Coated Blanks: Skip the spray, these are ready to rock. (But still wipe ’em down!)

Design Setup: No Room for “Oops”
- Mirror Your Image
Flip your design horizontally, especially for mugs or curved surfaces. Trust me, backward text isn’t a vibe. - Cut & Tape with Precision
Use heat-resistant tape to secure the transfer paper. Pro tip: Leave a 1/8” gap around edges to avoid ink bleed.
Heat Press: Time to Get Nerdy
- Dial in the Settings
- Frosted (Pre-Coated): 380°F, 240–300 sec, medium–firm pressure
- Clear (Spray-On): 365°F, 180–240 sec, light–medium pressure
- Thin Glass (beer can blanks): Reduce press time by 20% to prevent cracking
- Pre-Heat the Glass
- Warm the blank for 10–15 seconds before pressing
- Prevents thermal shock and sudden cracks
- Protect the Design
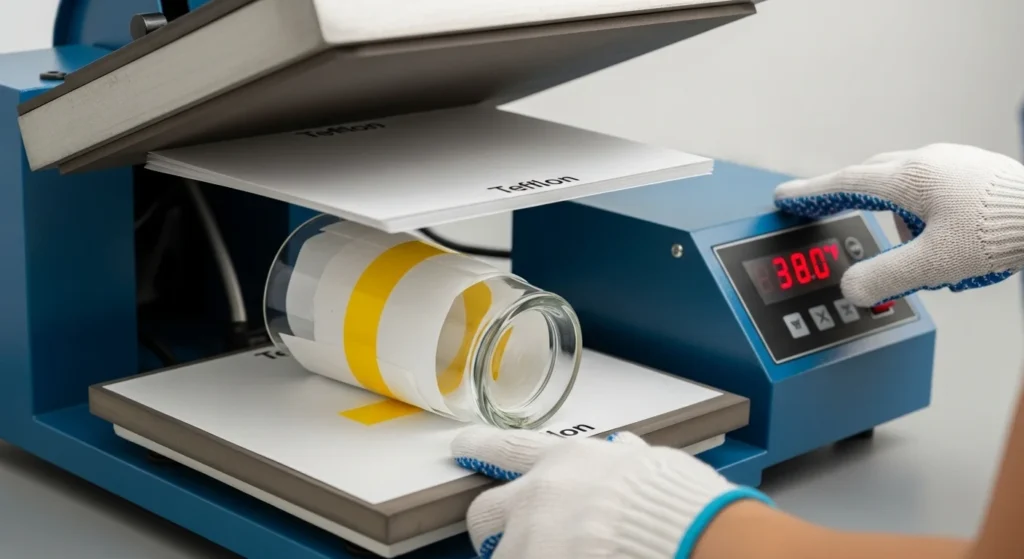
- Place Teflon sheets on the top and bottom
- Shields glass and transfer from heat damage
- Start Timing Correctly
- Begin the timer only after the press fully closes
- Ensures accurate heat and pressure exposure
Post-Press: Patience is a Virtue
- Cool It (Slowly!)
Let the glass cool to room temp in the press. Rushing this step = cracked glass or ink that lifts like a bad sticker. - Peel with Care
Gently lift a corner. If the design sticks, let it cool another minute. No yanking!
Pro-Level Polish
- Seal the Deal (Optional)
For dishwasher-safe durability, spray with a sublimation sealant (like Clear Coat). Cure for 24 hours before using.

Troubleshooting Quick Hits
- Faded Colors? You likely undershot the temp or time. Bump it up 10°F next round.
- Cracks? Glass was too thin or heated unevenly. Stick to blanks ≥3mm thick.
- Blurry Edges? Uneven pressure. Use foam padding for curved surfaces.
We will give you 7 amazing tips for glass sublimation that will enable you to achieve the best outcome possible.
Always use sublimation sprays in a well-ventilated area. Most coatings contain polymers that emit mild fumes when heated. Wear gloves and a mask, and avoid direct skin contact during curing.
7 Tips for Sublimation on Glass
Tip 1: Choose the right glass substrate
Not all glass substrates are suitable for sublimation. You need to choose a glass substrate that has a polyester coating or a sublimation spray applied to it. This coating allows the ink to bond with the glass and prevents it from fading or peeling off.
You can buy pre-coated sublimation blanks, such as glass cutting boards, coasters, photo frames, or mugs, or you can coat your own glass substrate with a sublimation spray.
If you coat your own glass substrate, follow the instructions and let it dry completely before sublimating.
Tip 2: Print your design in reverse
When you print your design on sublimation paper, you must print it in reverse or mirror image. This is because you will place the paper face on the glass substrate and transfer the design with heat. If you don’t print your design reverse, it will appear backward on the glass.
You can use any sublimation printer to print your design, but make sure to use high-quality ink and paper for the best results.
Tip 3: Use a sticky adhesive vinyl sheet
A sticky adhesive vinyl sheet is a great tool for sublimation on glass. It acts as a sticker that holds your design in place on the glass substrate and prevents it from moving or shifting during the heat transfer.
To use a sticky adhesive vinyl sheet, you need to cut it according to the size and shape of your glass substrate, remove it from the backing paper, spray some application fluid on the sticky side, and place it on the glass. Then, use a squeegee to smooth out any bubbles or wrinkles and eliminate excess fluid.
Finally, place your printed sublimation paper on top of the vinyl sheet and tape it securely with heat-resistant tape.
Tip 4: Use a flat heat press machine or a convection oven
To transfer your design onto the glass substrate, you must use a heat source to provide even and consistent pressure and temperature. A flat heat press machine or a convection oven is ideal.
A flat heat press machine can press your design onto the glass substrate with high pressure and heat. A convection oven can bake your design onto the glass substrate with hot air circulation.
Whichever method you choose, follow the recommended temperature and time settings for glass sublimation (usually around 400°F for 12-15 minutes) and use Teflon sheets to protect the glass from cracking or breaking.
Tip 5: Let the glass cool down completely
After you transfer your design onto the glass substrate, you need to let it cool down completely before removing the paper and the vinyl sheet. This is because the glass is very hot and fragile when it comes out of the heat source and can burn your skin or shatter if you touch it too soon.
You can use heat-resistant gloves to handle the glass carefully and place it on a cooling rack or a heat-proof surface. Wait until the glass reaches room temperature before peeling off the paper and the vinyl sheet gently.
Tip 6: Clean and seal your finished product
Once you remove the paper and the vinyl sheet from your glass substrate, you will see your beautiful sublimated design. To ensure your design lasts long and looks great, clean and seal your finished product.
You can use a soft cloth and some rubbing alcohol to wipe off any residue or smudges from the surface of the glass. Then, you can apply a clear acrylic spray or a UV-resistant spray to seal your design and protect it from fading or scratching.
Let the spray dry completely before using or displaying your sublimated glass product.
Tip 7: Enjoy your sublimated glass product
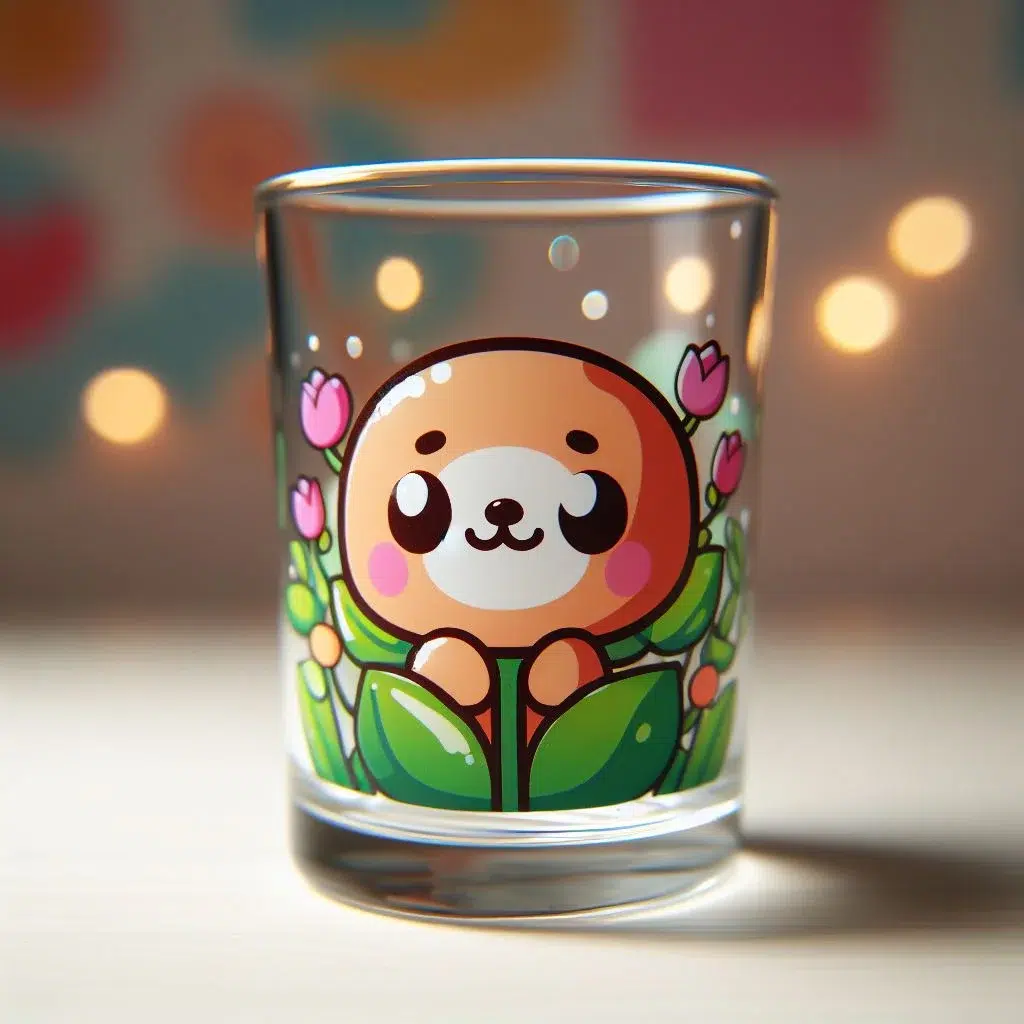
Congratulations! You have successfully created a sublimated glass product that is unique and personalized. You can now enjoy your sublimated glass product as a home decor item, a gift, or a craft project.
You can also experiment with different designs, colors, shapes, and sizes of glass substrates and create more amazing sublimated glass products.
7 Captivating Methods for Sublimation on Glass
1. Sublimation Printing:
Sublimation printing is the most common method. It involves printing your desired image or design onto sublimation paper using a sublimation inkjet printer. After that, heat and pressure are applied, causing the ink to sublimate and adhere to the glass.
2. Sublimation Coating:
Some glass products come pre-coated with a sublimation-receptive layer. This simplifies the process by printing your design directly onto the coated glass, eliminating the need for sublimation paper.
3. Heat Press Transfers:
With this method, you print your image on sublimation paper and then use a heat press to transmit the design onto the glass. It’s a versatile technique suitable for various glass items, from mugs to picture frames.
4. Sublimation Decals:
Sublimation decals are pre-printed designs that can be applied to glass surfaces. These decals come in various designs and are perfect for adding a personal touch to glassware or decor.
5. Glass Etching:
Combine sublimation with traditional glass etching techniques to create intricate designs. The sublimation ink can be selectively etched, leaving the glass with a frosted, textured appearance.
6. Sublimation Resin:
Sublimation resin is a clear, epoxy-like coating that can be applied over sublimated images to protect and enhance them. It adds depth and durability to your sublimated designs.
7. UV Printing:
UV printing technology allows direct printing on glass surfaces, eliminating the need for sublimation paper. The UV-cured ink bonds with the glass, producing vibrant, long-lasting images.
Fixing Common Problems
- Faded prints → increase temp/time slightly.
- Cracks → use ≥3mm thick glass + preheat.
- Ghosting → clean surface, use firm pressure.
Ink Fading: “Why Your Sublimation Designs Look Washed Out on Glass”
- Cause: Low heat/time, poor coating, or cheap transfer paper.
- Fix:
- Bump temps by 10–15°F and extend pressing time by 30 seconds.
- Use pre-coated blanks or reapply spray coating (thin layers only!).
- Swap to high-release transfer paper, less ink gets left behind.
Cracking/Scorching: “Adjusting Heat Press Settings for Delicate Glass”
- Cause: Overheating, thin glass, or uneven pressure.
- Fix:
- Lower temp to 350°F and use shorter presses (180–220 sec).
- Place a silicone pad inside curved items (mugs/cans) to distribute heat.
- Stick to ≥3mm thick blanks, they’re less likely to explode mid-press.
Peeling Designs: “How to Seal Sublimation on Glass for Durability”
- Cause: Skipped coating, rushed cooling, or rough handling.
- Fix:
- Spray designs with acrylic sealant (like Krylon) post-press.
- Let glass cool fully in the press no shortcuts!
- Hand-wash only; dishwashers are design serial killers.
Advanced Tips for Niche Projects
Sublimation Beer Can Glasses: Full Wrap vs. Partial Designs
- Full Wraps: Use flexible sublimation wraps and high-temp tape for seamless edges.
- Partial Designs: Mask off areas with heat-resistant vinyl to prevent ghosting.
- Pro Tip: Press at 370°F for 200 sec, higher temps warp thin glass.
Creating Vibrant Sublimation Jars & Containers
- Flat Surfaces: Use silicone pads to keep transfers flush.
- Curved Lids: Press at 10% lower pressure to avoid slippage.
- Durability Hack: Coat interiors for food-safe designs (check FDA-approved sprays!).
The FDA doesn’t regulate sublimation sprays used for craft or heat-transfer printing. These sprays are considered art or adhesive supplies, not drugs, food additives, or medical devices, so they don’t fall under FDA approval or regulation.
Durability & Care Guide
- Always handwash (avoid dishwasher).
- Apply UV-protective spray for outdoor items.
- Store indoors to prevent fading.
Pros, Cons, and Workarounds
Sublimation on clear glass looks modern but fades quickly. Double coatings, laminate sheets, or light etching improve adhesion and durability.
Pros
- Sleek and modern look great for décor and gifts
- Transparent finish highlights bright colors
- Works well for wedding favors, jars, and display pieces
- Frosted finish hides fingerprints and minor scratches
Cons
- Ink fades faster compared to frosted glass
- Requires double coating or laminate to bond ink
- More prone to ghosting if pressure is uneven
Workarounds
- Apply two thin coats of sublimation spray or use pre-coated blanks
- Lightly sand or etch the glass surface → creates texture for better adhesion
- Use laminate film as an extra bonding layer for long-lasting results
- Seal with a clear acrylic spray for added durability
Professional Sublimation Printing & Wholesale Custom Products
Looking for high-quality sublimation printing for apparel, drinkware, and promotional items? Subli Genius Print delivers vibrant color, sharp detail, and long-lasting results for businesses, brands, and resellers across the U.S.
FAQs
Remember, practice makes perfect, so don’t be afraid to experiment and push your creative boundaries. Your glass creations will be the envy of all who see them.